My Christmas gift to myself was a large lot of Perry Miniatures ACW cavalry. I have both mounted and dismounted groups. Sharp Practice is ideal for small engagements using cavalry, so I went all in.
Here is how they turned out:
 |
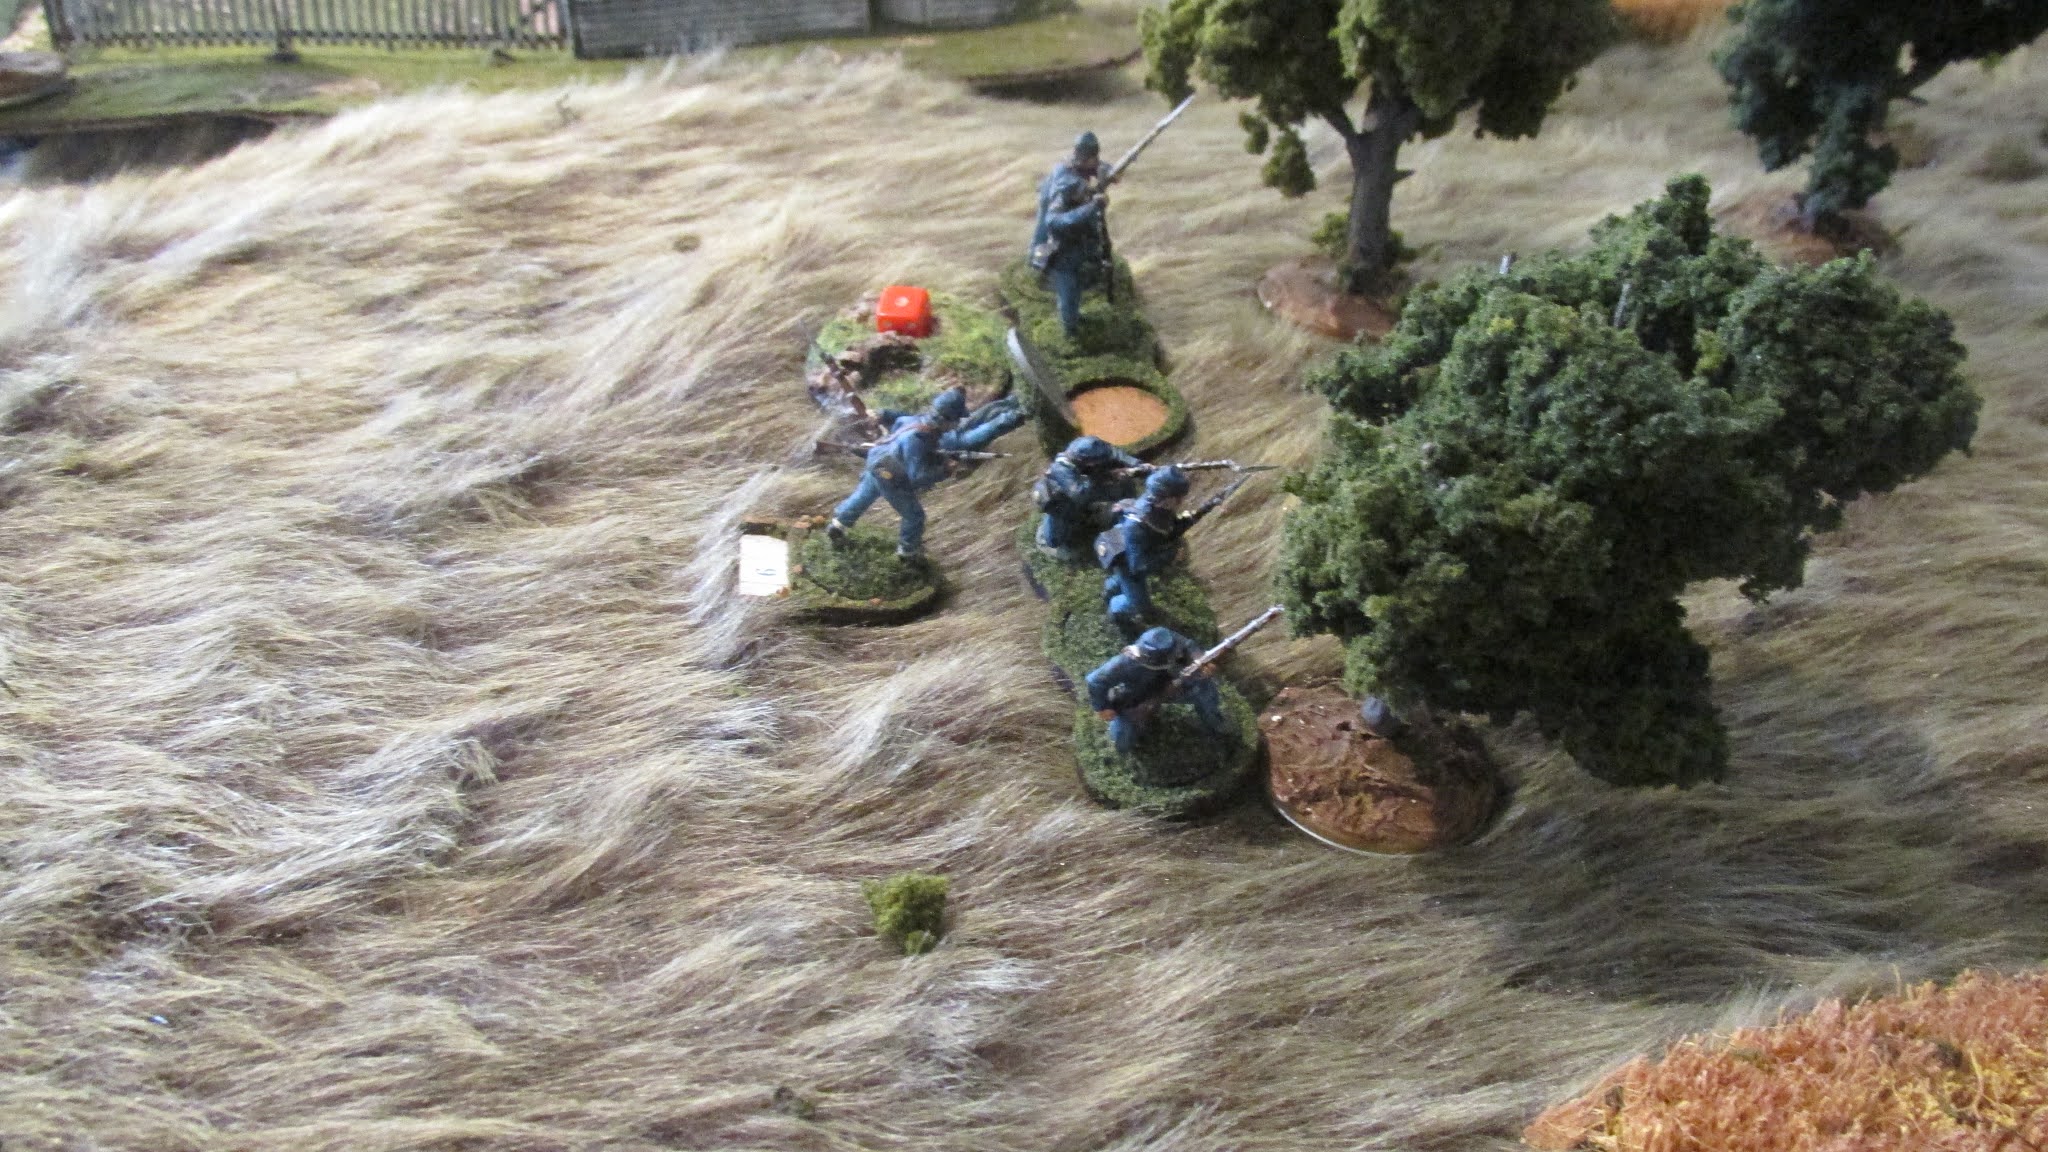
| Union dismounted. |

 |
| Union mounted |

 |
| Confederate dismounted |

 |
| Confederate horse holder |
 |
| Confederate mounted |

 |
| Confederate collection |
 |
| Union collection |
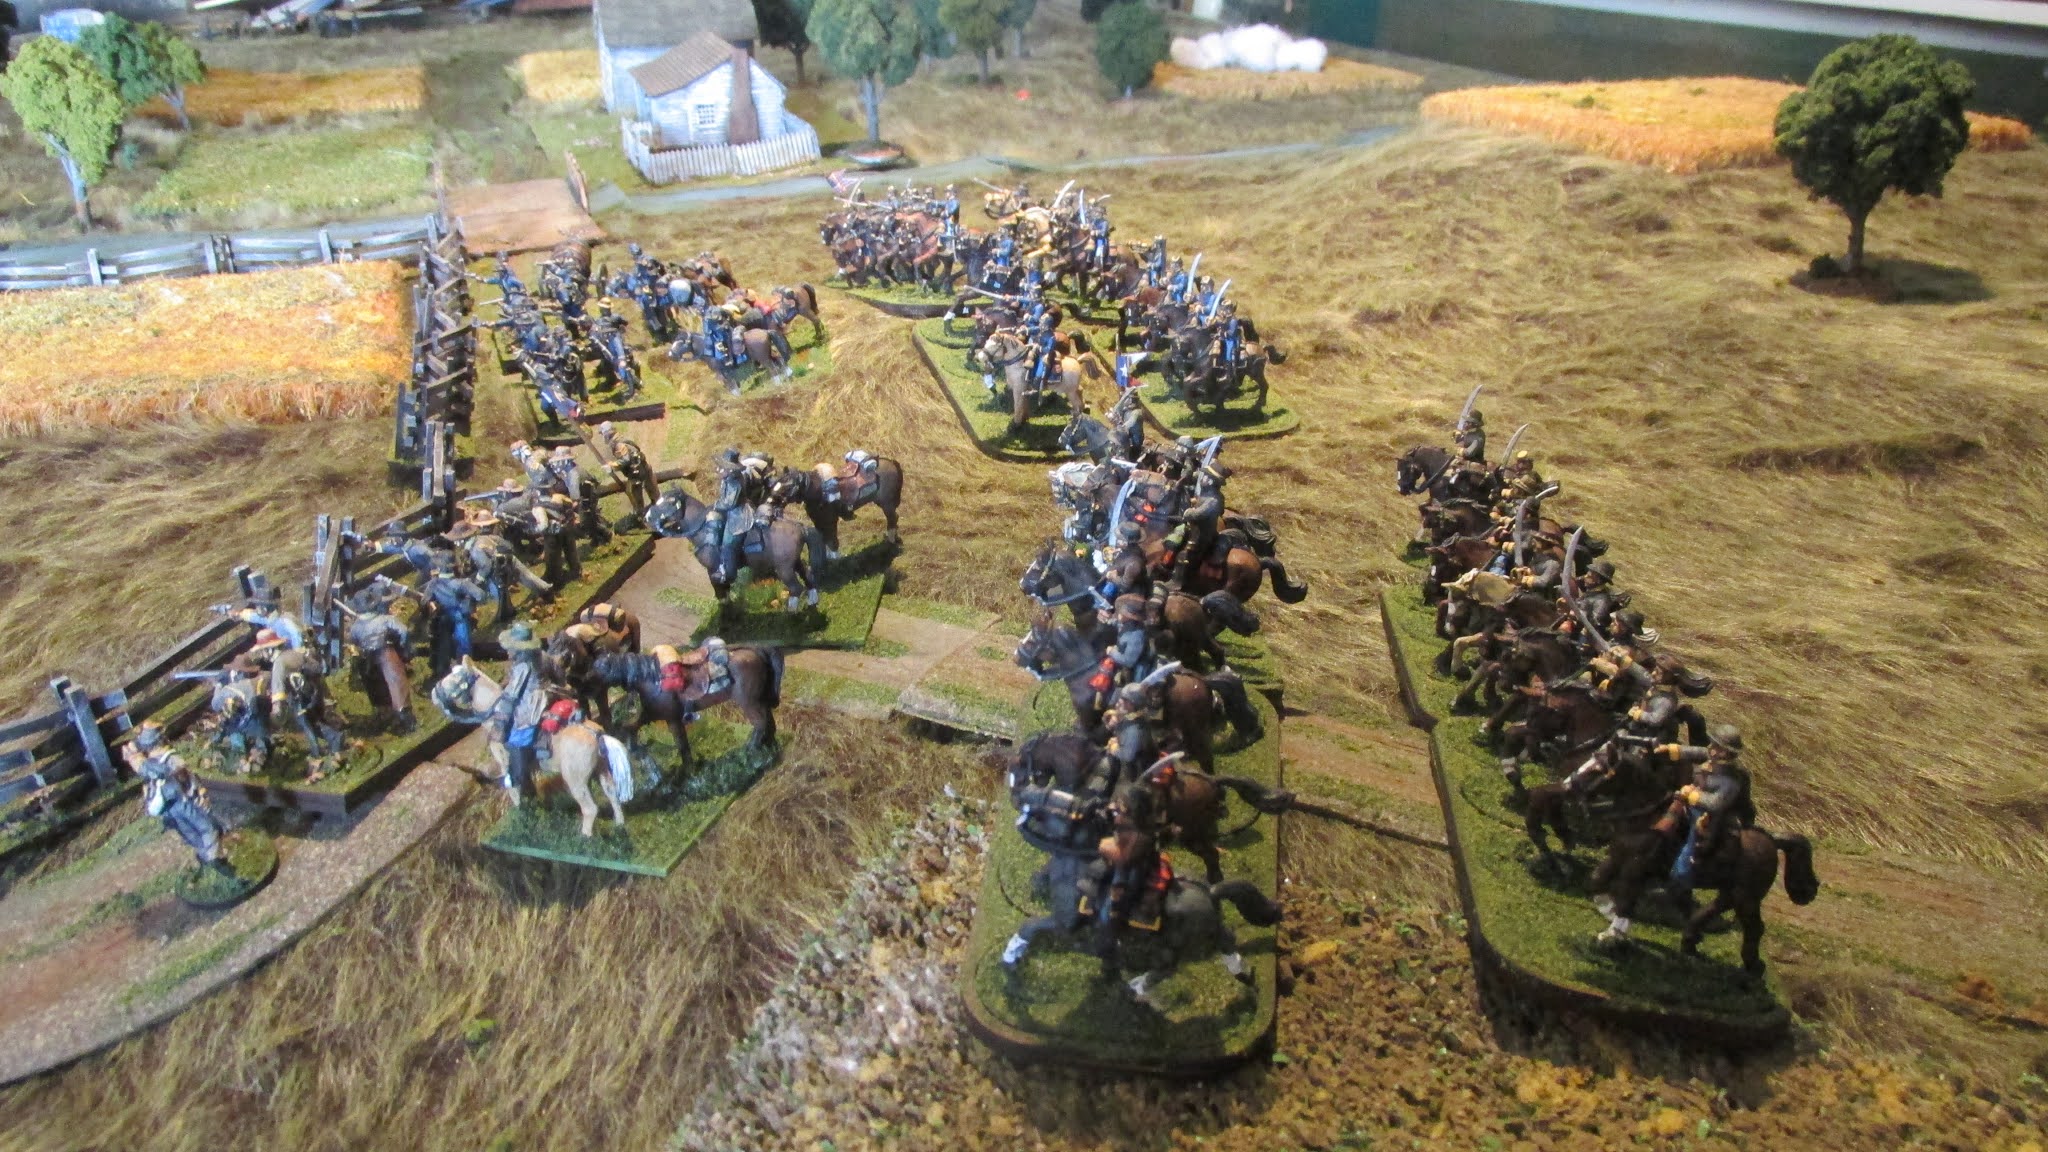 |
| The whole group |