It has been a long time since I have had an ACW battle. I decided to tackle a large one to get as many figures on the table as possible.
 |
| I used Brad Butkoich's excellent resource as a guide. |
 |
| The map was quite helpful. |
 |
| Lots of background information gave me a good picture of the situation. |
 |
| Perhaps the most valuable aspect of the book is the detailed army rosters that are provided, giving details such as weapon type and morale status along with the number of men in the unit. |
My table was just the right size to fit the features of the map on to. I used my old Geohex to generate the contours and then put my mats over that. It was a bit tricky trying to keep the Geohex pieces from moving while placing the mat over them, but it worked out. If anything, next time I will make the features higher.
Once the mats were down it took me about an hour to place the roads, fields, fences, structures and woods. It was coming along quite nicely.
Next, I generated the labels for all of the units. This took awhile, but I enjoyed getting intimately acquainted with all the various commanders and their units.
Finally, the troops were placed in position as close to historically as possible.
 |
| An overview of the table looking west from Big Roundtop. |
 |
| Law's brigade of Hood's division. |
 |
| Robertson's brigade of Hood's division. |
 |
| Benning's Georgia brigade in support. Anderson's is in the background. |
 |
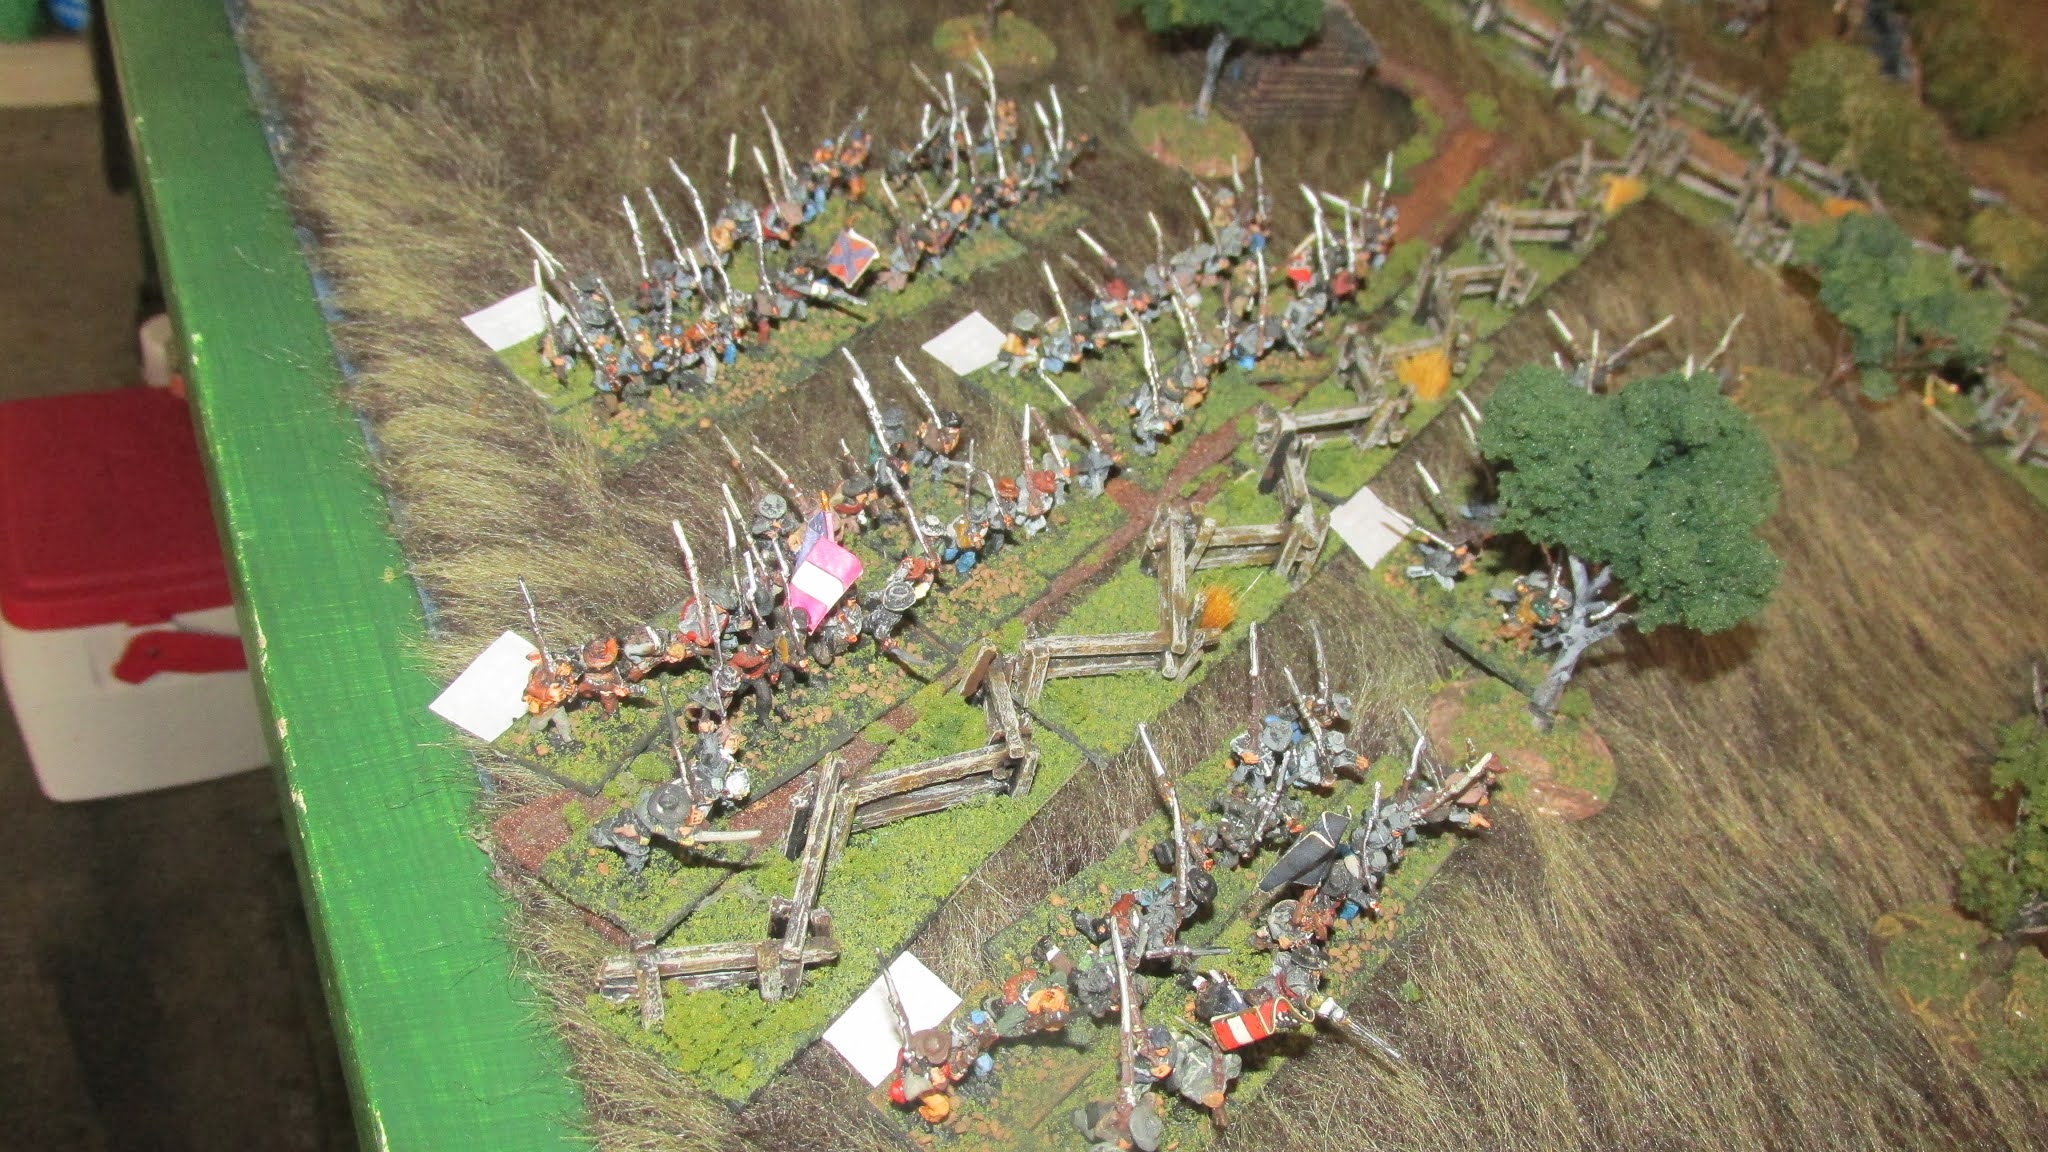
| Ward's brigade. |
 |
| The Confederate gun line made up of batteries from the artillery reserve. |
 |
| Looking north down the Emmitsburg Pike. |
 |
| McLaws' division. |
 |
| McLaws' divisional artillery. |
 |
| Birney's position at the apex of the salient. The Peach Orchard is in the center rear of the picture. |
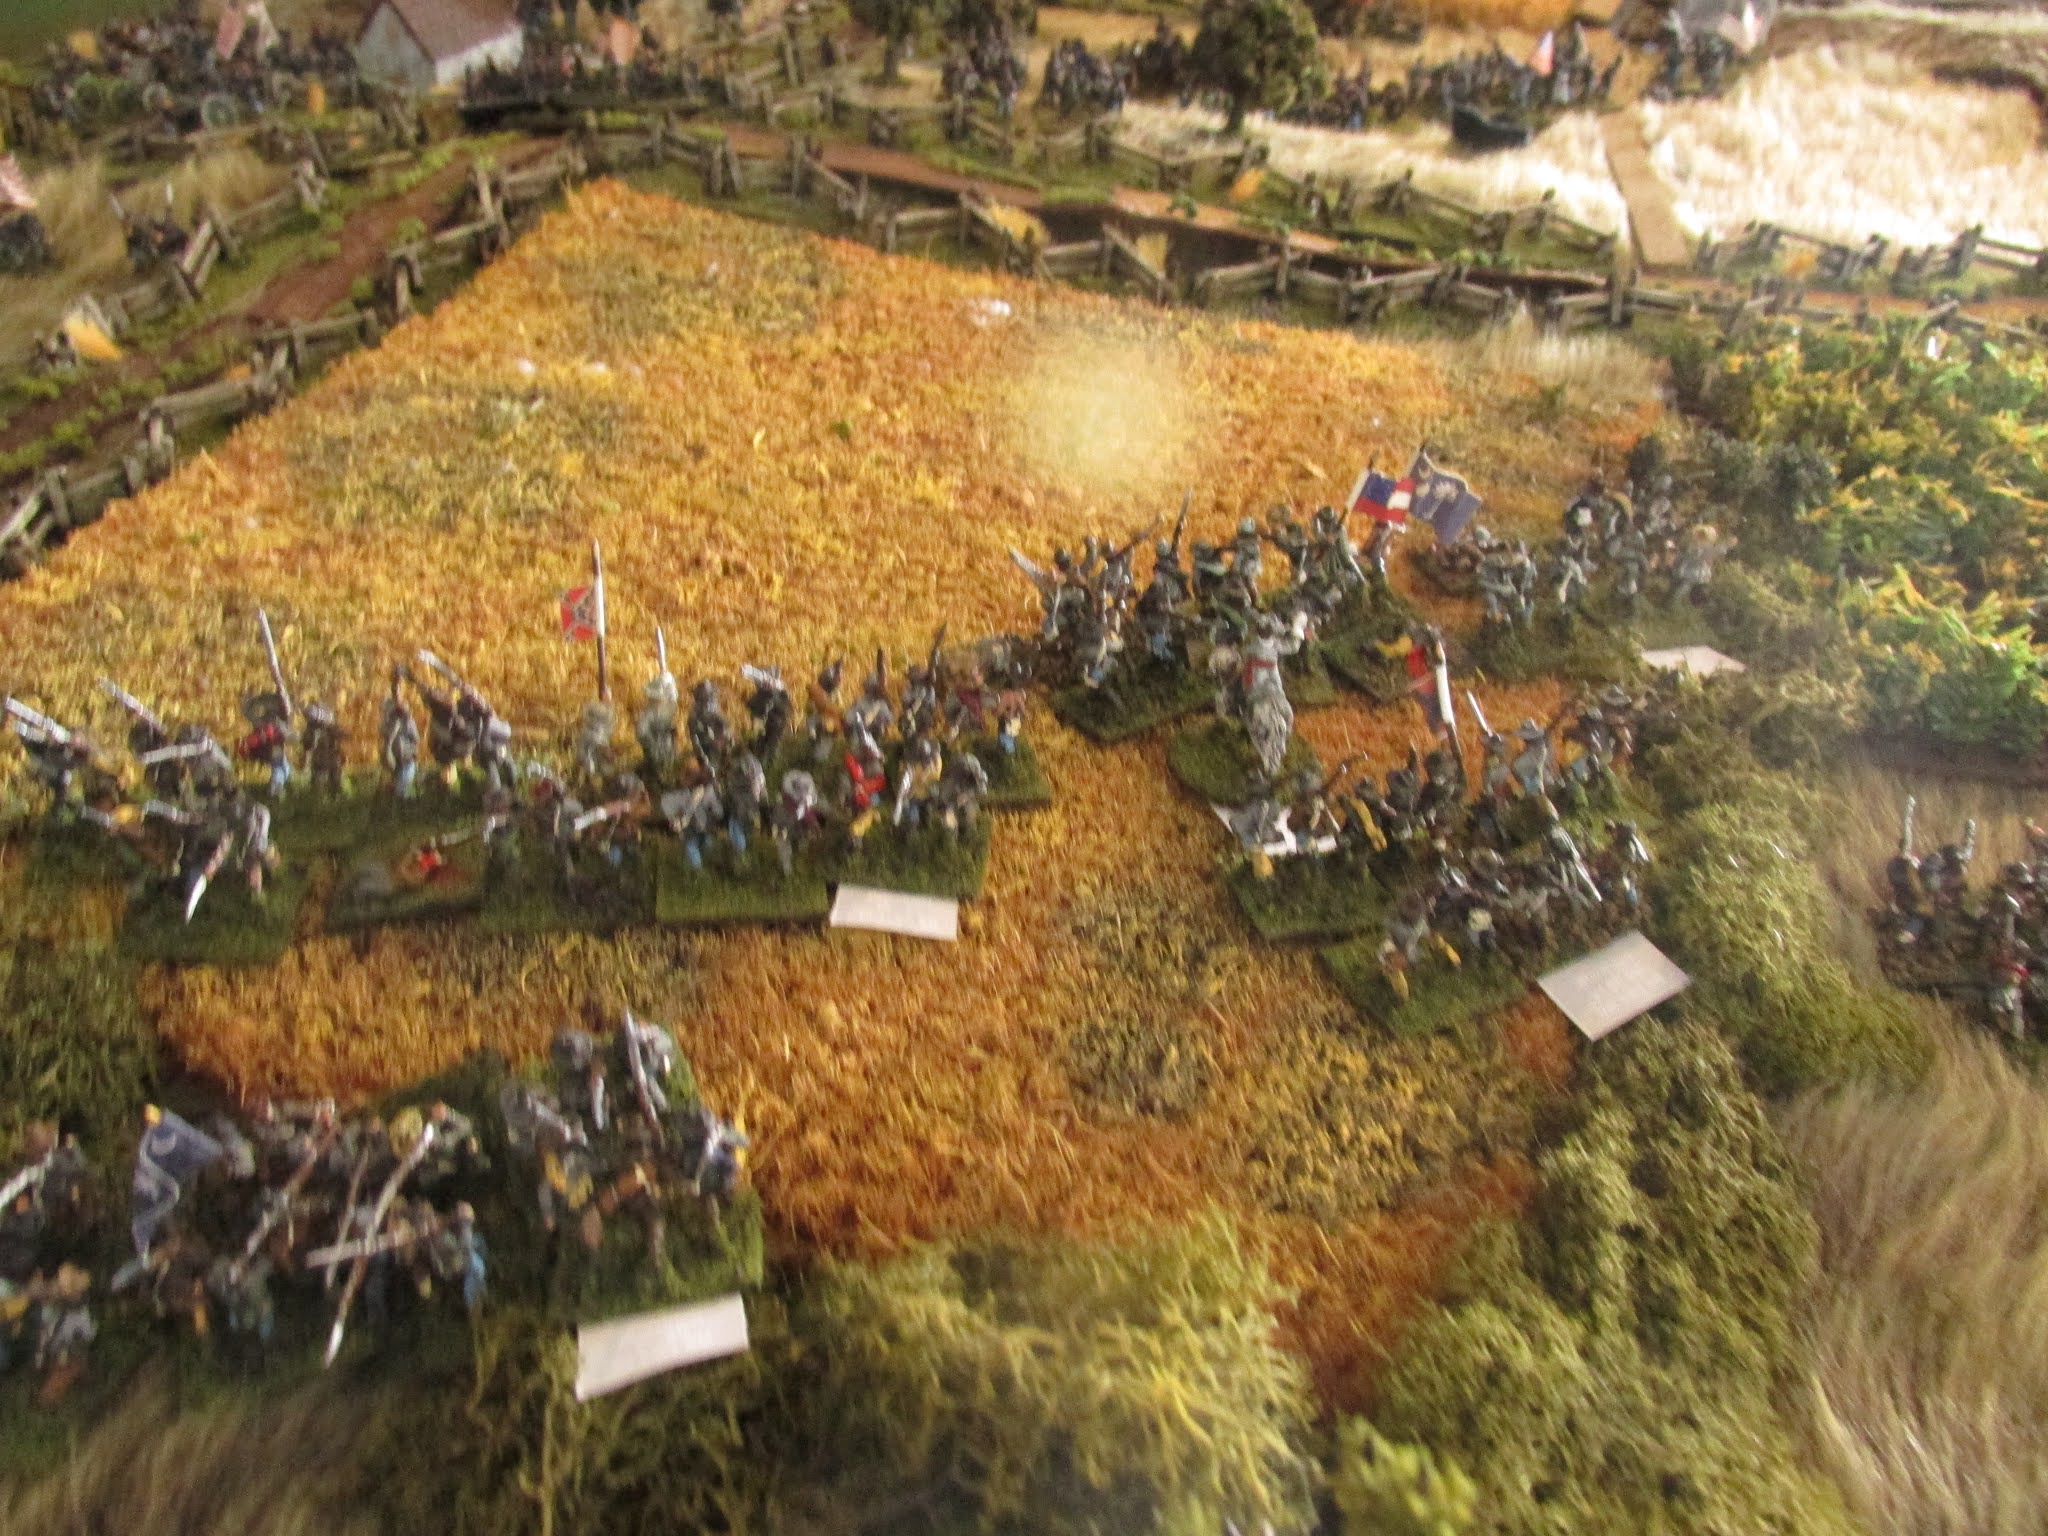
 |
| The Wheatfield |
 |
| Burling's brigade in support |
 |
| From behind the Union line. |
 |
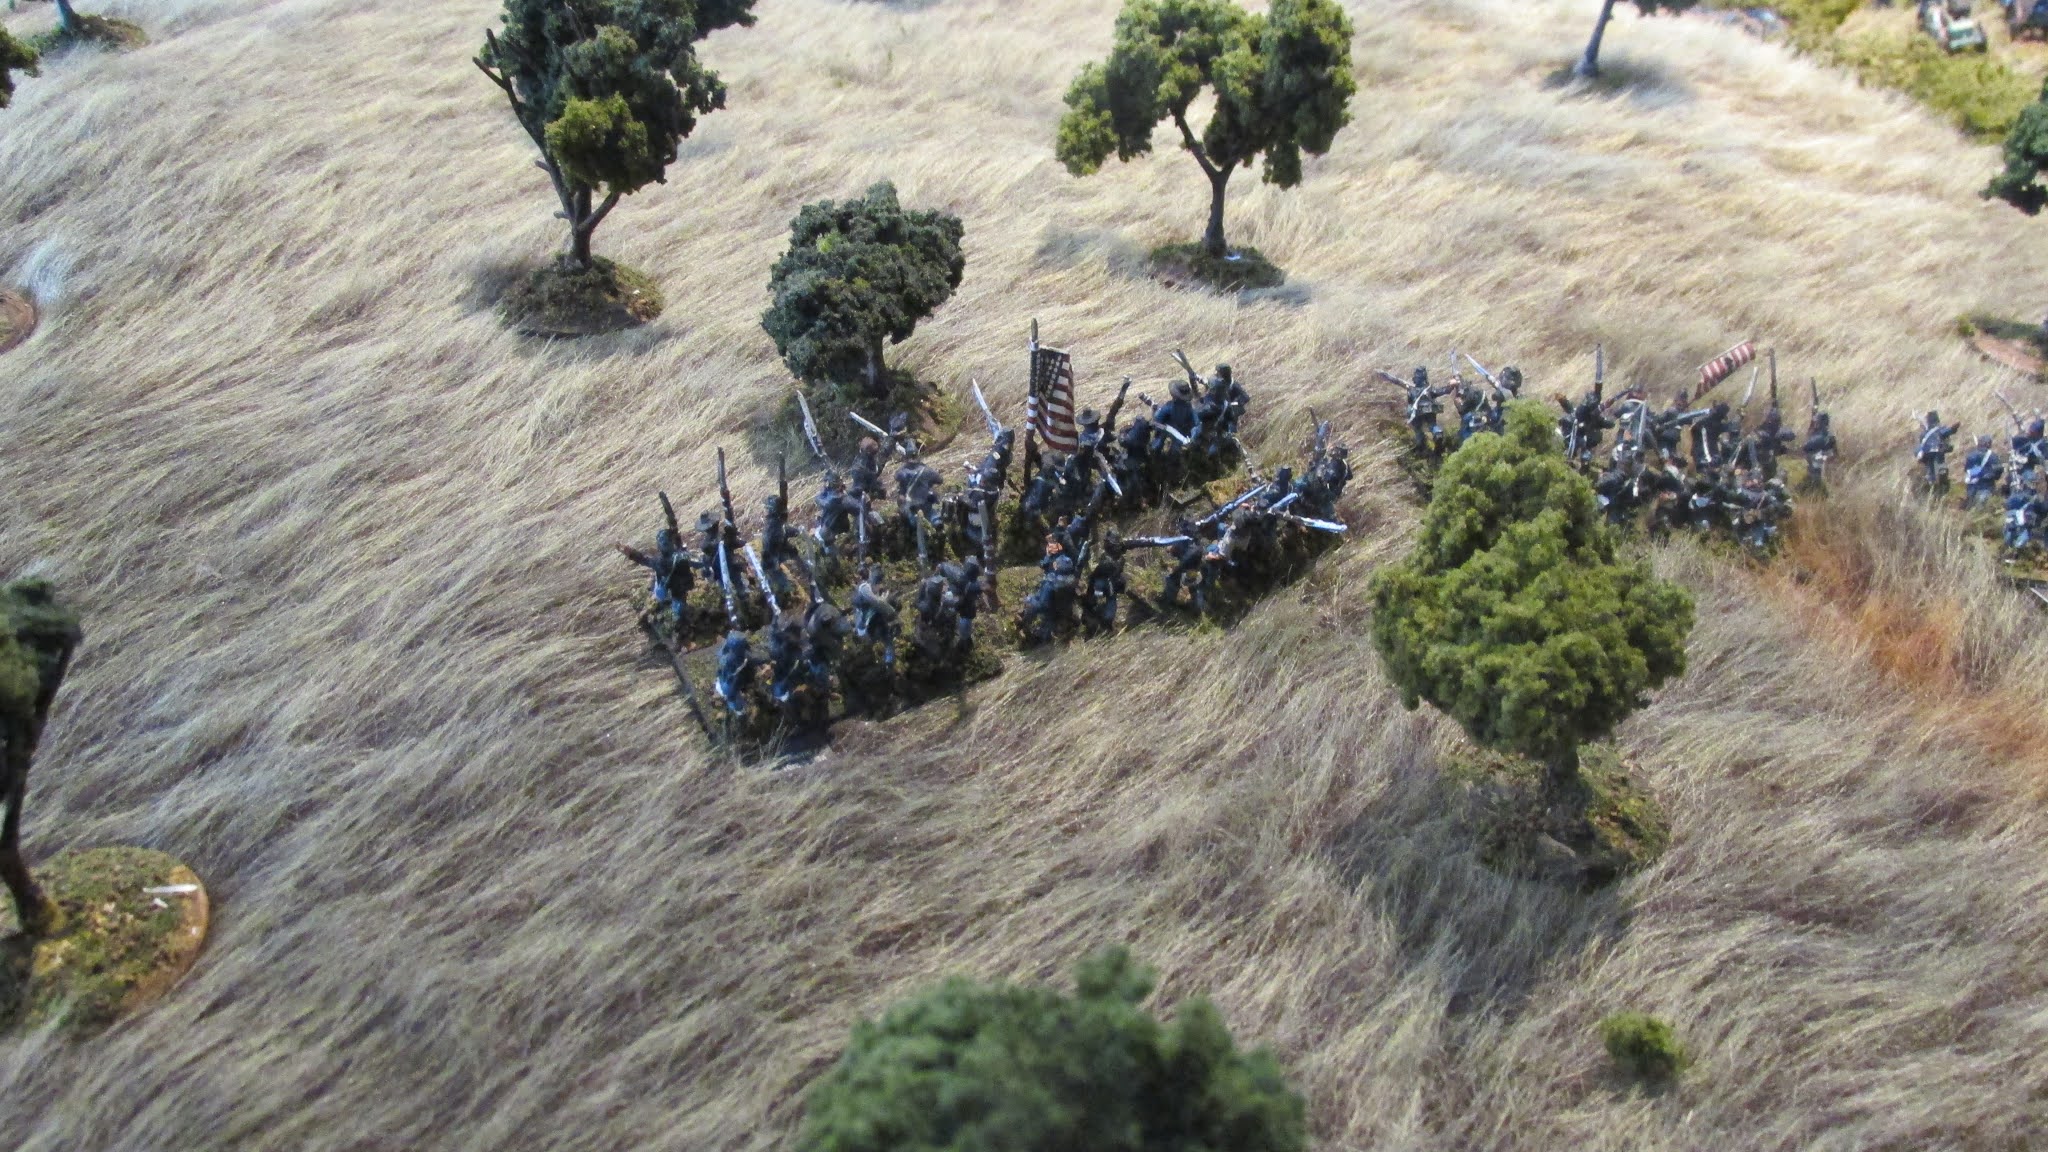
| Vincent's brigade in position on Little Roundtop. |
 |
| The 20th Maine, the "end of the line." |
 |
| Another shot of the entire table. |
I am fortunate to have space in my garage for my table, so I can leave it up. It will probably take a while to fight this out to a conclusion.