Well, I am finally retired. It being summer, I can't really tell the difference yet because I have had an extended break for the last twenty years. I am sure, however, that come August when I should be going back to the classroom I will feel it much more so.
I finally had a chance to try out my 28mm Romans and Carthaginians in a small Hail Caesar game to try to refresh myself on the rules. I got through about three turns this afternoon, far enough that I wanted to go back and check some things in the rule book and then get back at it tomorrow.
The Romans had four divisions and the Carthaginians three; not even, but the Carthaginians had the high ground, and this was just to get back into the rules anyway.
On the first turn, the first Carthaginian division blundered, the other infantry division wanted to stay put on the high ground, but the cavalry division rolled low enough to get three moves and advanced towards the Roman cavalry.
On the Roman turn, two of the three infantry divisions rolled high and couldn't move. The third was able to just move once. The cavalry charged the Carthaginian horsemen who counter-charged, resulting in two combats. In one a Roman unit was supported by another against one Carthaginian unit, and in the second the division commander attached himself to the third unit to add three more dice to that attack. In both combats the Romans would be rolling 11 dice against 8. Despite the poor odds, the Carthaginians fought to a draw in one combat and actually won the other by a difference of three. The commander was not wounded, but the unit rolled low on the break test and broke!
In the next turn, the Carthaginians won the initiative. The two infantry divisions held their ground while the cavalry division was hoping to roll low enough to get two moves. No such luck. But with one move available, the victorious Carthaginian cavalry unit moved into position for a flank charge on the supporting Roman unit. The drawn combat continued, with the Romans winning by one. The Carthaginian horse unit was disordered, but remained locked in combat.
On the Roman half of the turn, the infantry continued to advance.
On turn three, the Carthaginians once again secured the initiative. The cavalry battle came to its climax with a second Roman unit breaking and the third locked in combat.
The Roman infantry advanced to within javelin range of the Carthaginian line and launched their weapons, scoring individual hits on three different units. Break tests were taken and all were passed.
This is where I decided to take my break.
 |
| The conclusion of the cavalry battle |
 |
| A Roman division advances toward the Carthaginian left |
 |
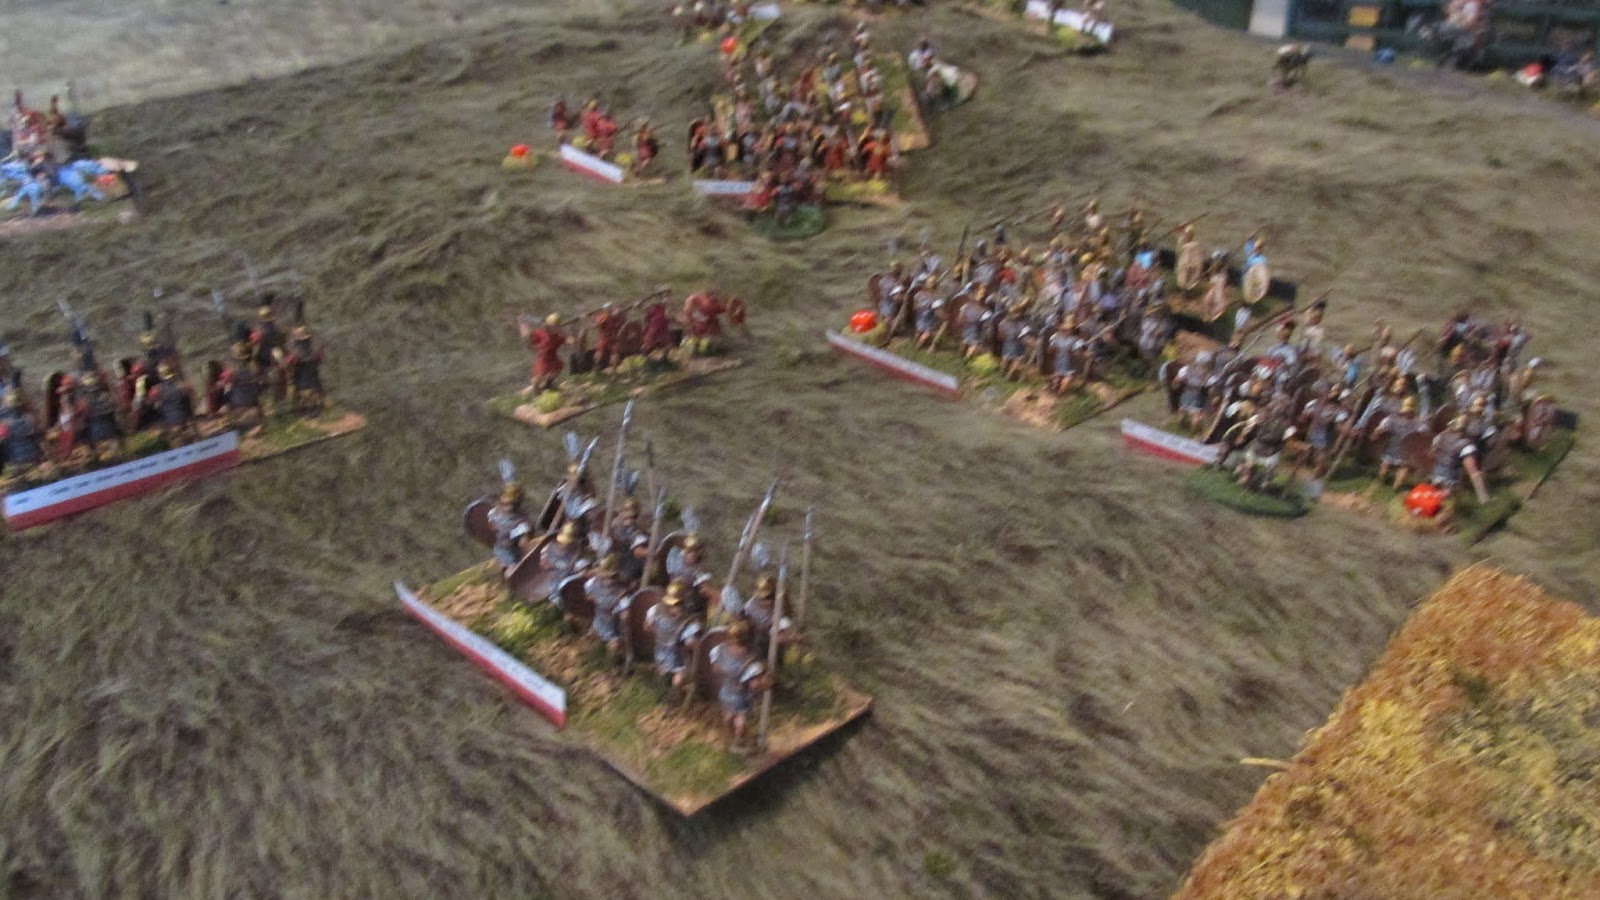
| Another Roman division advances |
 |
| An overview of the battle |
 |
| From behind the Carthaginian line |
 |
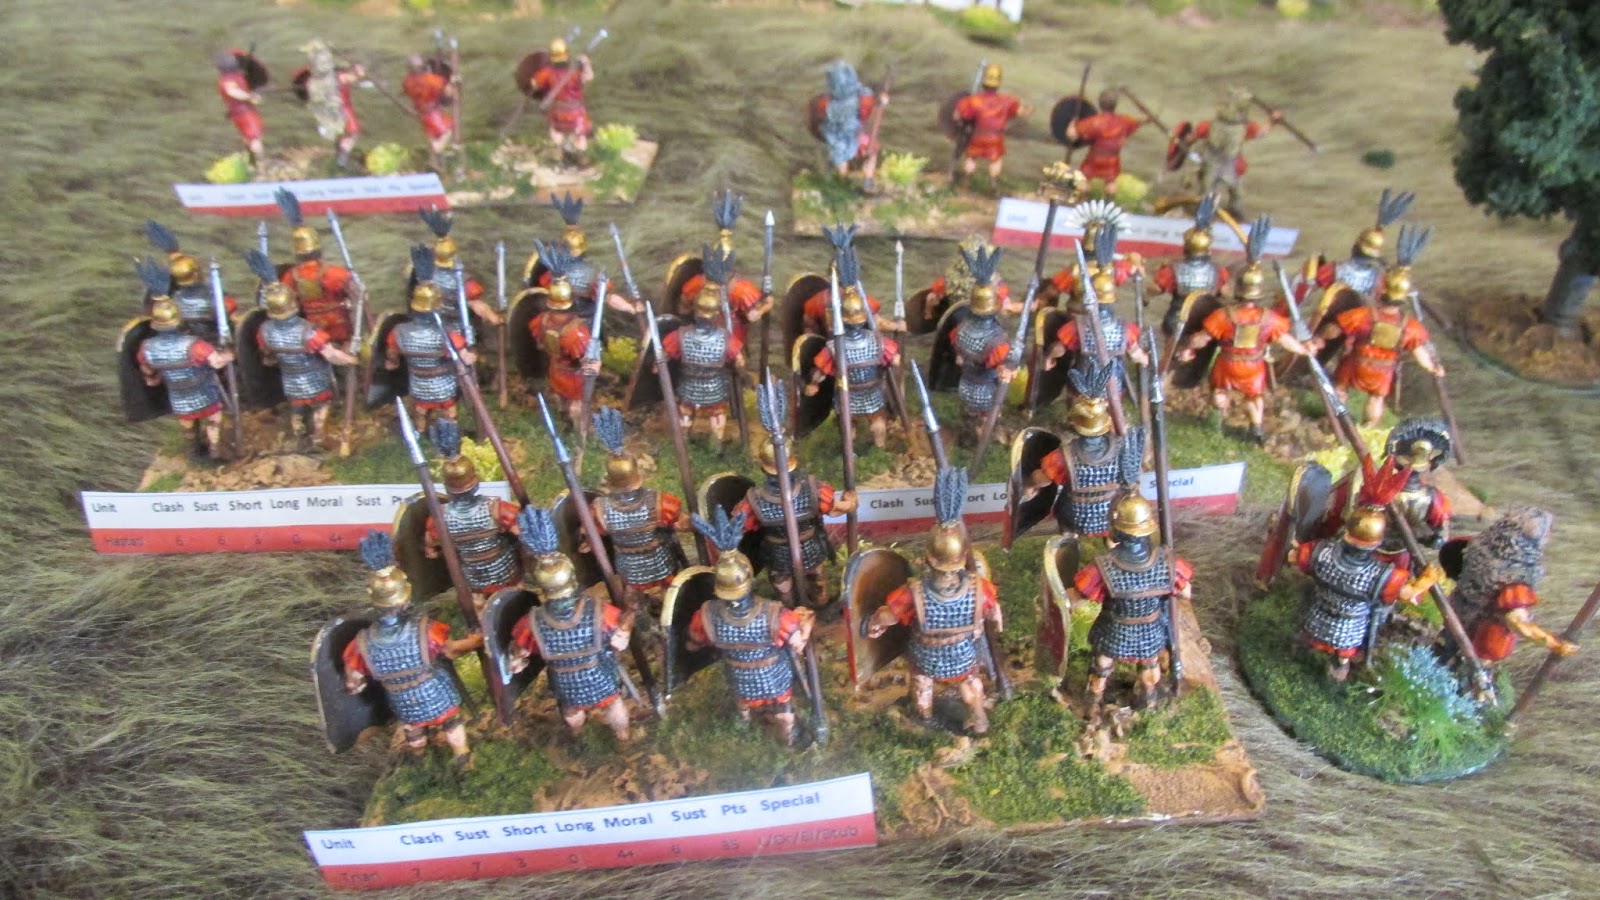
| The Carthaginian heavy infantry |
 |
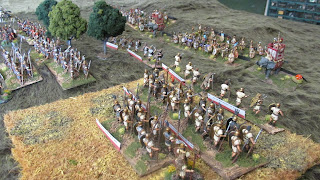
| The Roman army commander and his division |