Thursday, July 30, 2020

Sharp Practice Final Turns

I finished my Sharp Practice game today. There were four more turns before the issue was decided, and it was decided decisively. 

The French continued to pound away at the thin red line. Casualties mounted, particularly amongst the officers, and this is what ultimately determined the outcome.

On turn 10 of 11 the British commanding officer was hit for the third time. This wound proved fatal and dropped the army morale two more points. The same turn Captain Sharp was knocked out. At the beginning of turn 11, the British moral was on one. The French determined to eliminate Sharp's squad of riflemen to secure the victory. A volley from three groups of French line, 27 dice into total, resulted in four hits. A six and two fives were rolled. This left one rifleman with four shock. The unit broke and the game was over.

The lines draw closer

The KGL pull back

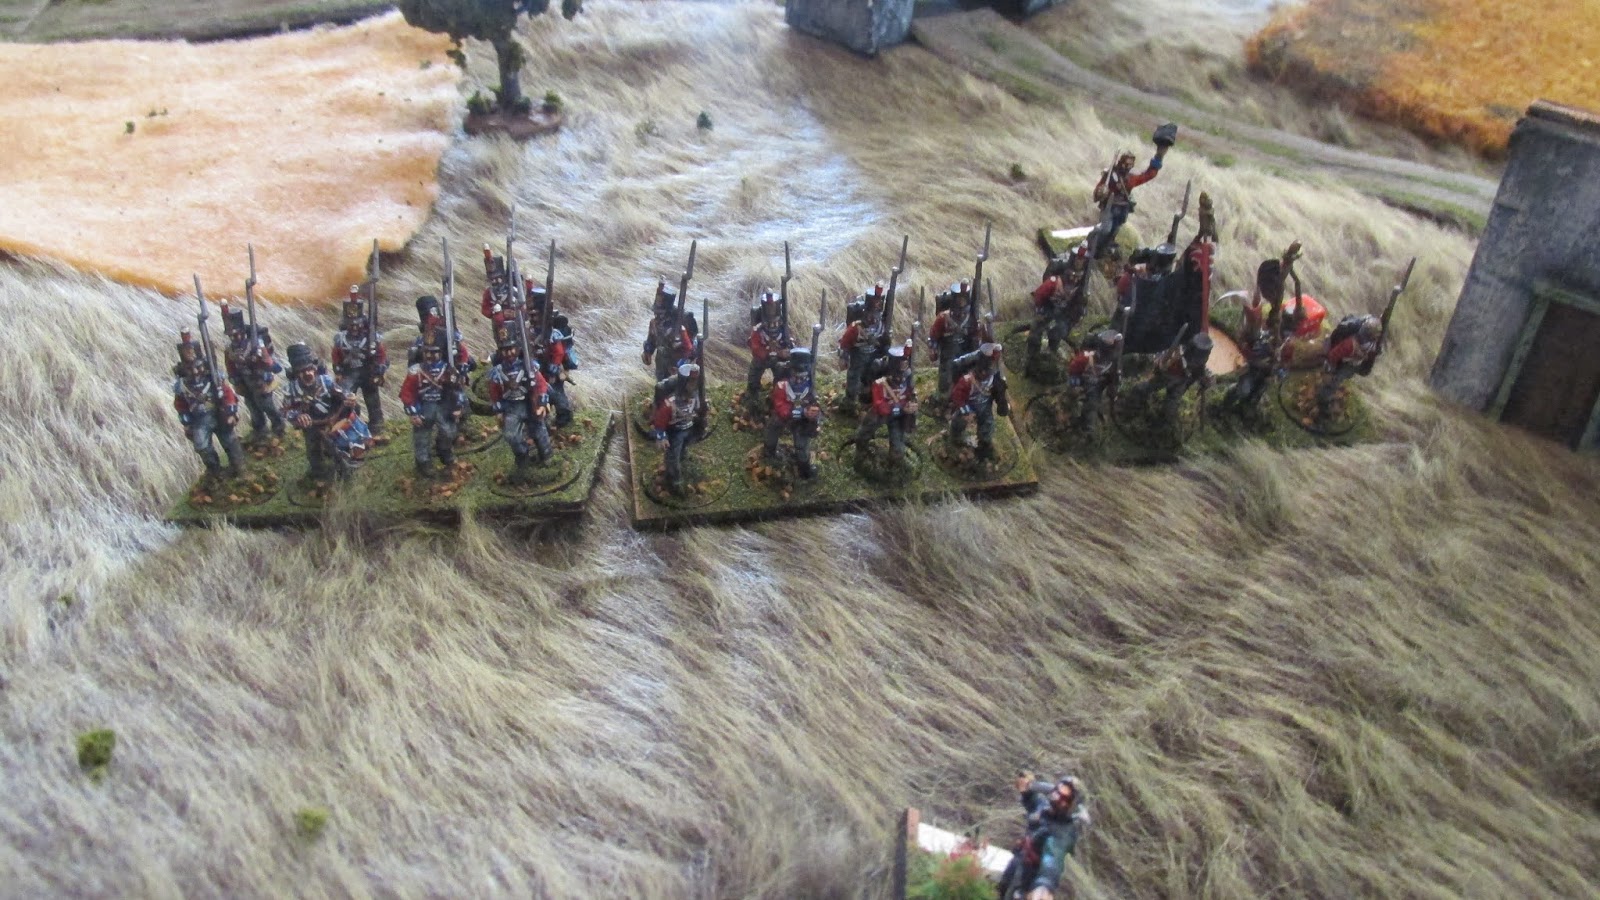
Two groups of Brits are outgunned.

The main British group loses two officers, reducing its effectiveness dramatically.

A shot from behind the action.

Lost of shooting

The main French group delivers the death blow by knocking out Sharp's squad of riflemen.

This unit of skirmishers proved to be quite a pain for the British right flank.

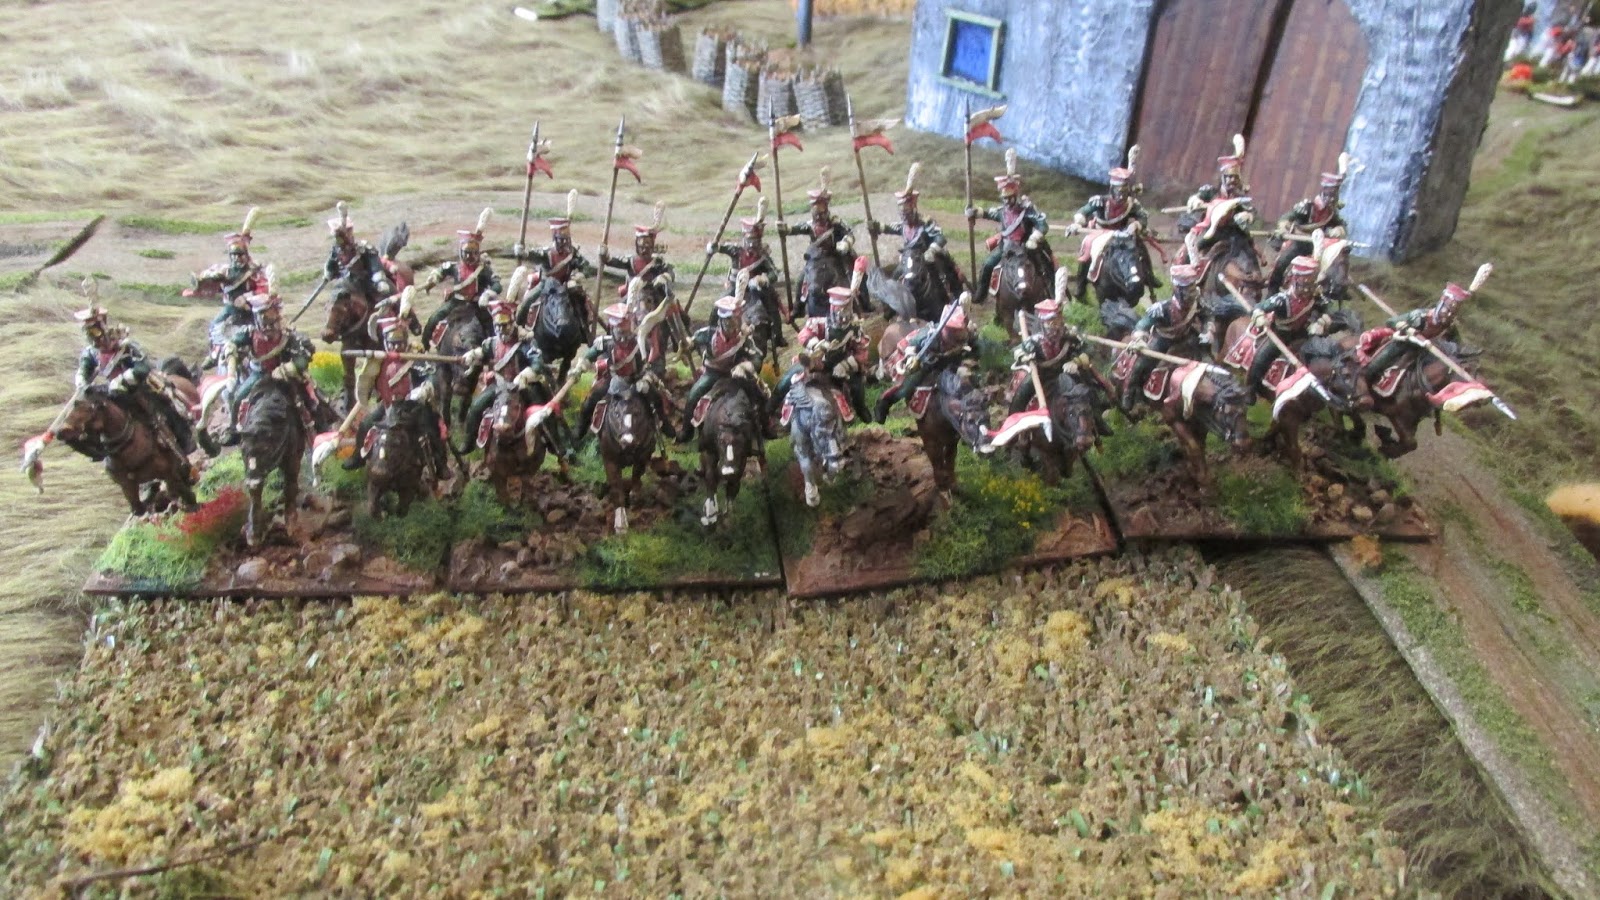
The dragoons started off well, but were ineffective as the game progressed.

The KGL were not up to the blistering fire they received from the French line.

Looking down the French line.

An overview of the game.

A decisive victory for the French.


Tuesday, July 28, 2020

More Sharp Practice Turns

I finished three more turns in my Sharp Practice game today. That takes me through turn seven. Things have heated up significantly. Both sides now have clearly defined lines and have engaged in controlled volleys of musketry. Casualties are mounting. The most important development in turns six and seven is that three British officers have been hit. This has lowered their moral points from eleven to seven and will dramatically impact their ability to control their units. On top of that, three fresh groups of French legere infantry are coming into the action and could prove to be the decisive factor.
Three groups of British infantry move into position on the left flank

French grenadiers take up position in the church yard.

The British line fires away.

French reinforcements approach

The dragoons dismount in a strategic position.

Sgt. Harper's men regroup

The KGL groups are taking a beating.

The British commander is hit and his effectiveness is reduced by 1.

This captain has also been hit.

As has the KGL noncommissioned officer.

The French middle groups have been reduced.

The French light infantry has been effective in tying down three groups of British line.

Action on the hill has been ferocious.

The French have solidified their position.
 
The French line.

The legere groups are in position to make a difference.

Berg Lancers

I purchased two boxes of the Victrix Polish Lancers. I chose to paint them up as the Berg regiment to add some cavalry to my French allies in the Peninsula.
They were a bit challenging to assemble; some of the parts were quite small and difficult to attach. However, the end result was well worth it. They paint up beautifully, lots of detail. I am very pleased with the final result.


Saturday, July 25, 2020

Sharp Practice Solo Game

I painted up several groups of British figures from Victrix to add to my Sharp Practice collection. I started a game with them and this is a brief recap of that encounter.

This is three groups of the new figures just entering the table.

Both sides are trying to capture this village. These are three groups of the French.

Two more groups of the new Victrix figures.

Three groups of KGL

A group of French skirmishers doing battle with Sharp's riflemen.

More French infantry.

French grenadiers breaking off from the main column and headed toward the church yard.

An overview of the game
I am trying to stage a rather large game, with 10 big man chips per side. Both sides had a rather large distance to go to get at each other, but moving on roads helped speed things up. The French got the initial edge as their skirmishers got off a solid volley on the three groups of KGL. A group of dragoons caught Sergeant Harper's section of riflemen in the rear, but miraculously, the men in green were able to survive despite losing two men. They managed to take out two of the horsemen and retire.

I look forward to finishing the game later in the week. Four more groups of French have yet to enter the battle, so things could change quickly!