I ws pleasantly surprised to get a text from one of my former students asking to have a game. He was in town to visit his parents and Friday morning would work for him and our two other regulars. I had already set up a solo game, so it was easy to say yes.
The scenario was a large Jacobite force was tasked with breaching a river line held by three brigades of infantry. Other units would come on during the course of the game. Neither side knew when or where their opponent's reinforcements would come on
The Jacobites started with two brigades of French regulars on the table. Two regiments of veteran cavalry would be coming on right behind them on turn two. I highland brigade would come on in turn three, and finally, two brigades of lowlanders would come on in turn four.
The British saw two regiments of dragoons come on in their center on turn three, and a final brigade of infantry came in on their left on turn four.
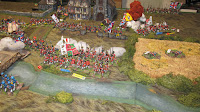
Initial set up


Turn 1-
Both Stapleton and the Comte du Pont advanced as quickly as possible to pin down the British. The red coat commander reacted by dividing his center brigade in two, placing two regiemtns and a battery under the command of the ADC. Mordaunt led his other three regiments off to the right to bolster Wolf.
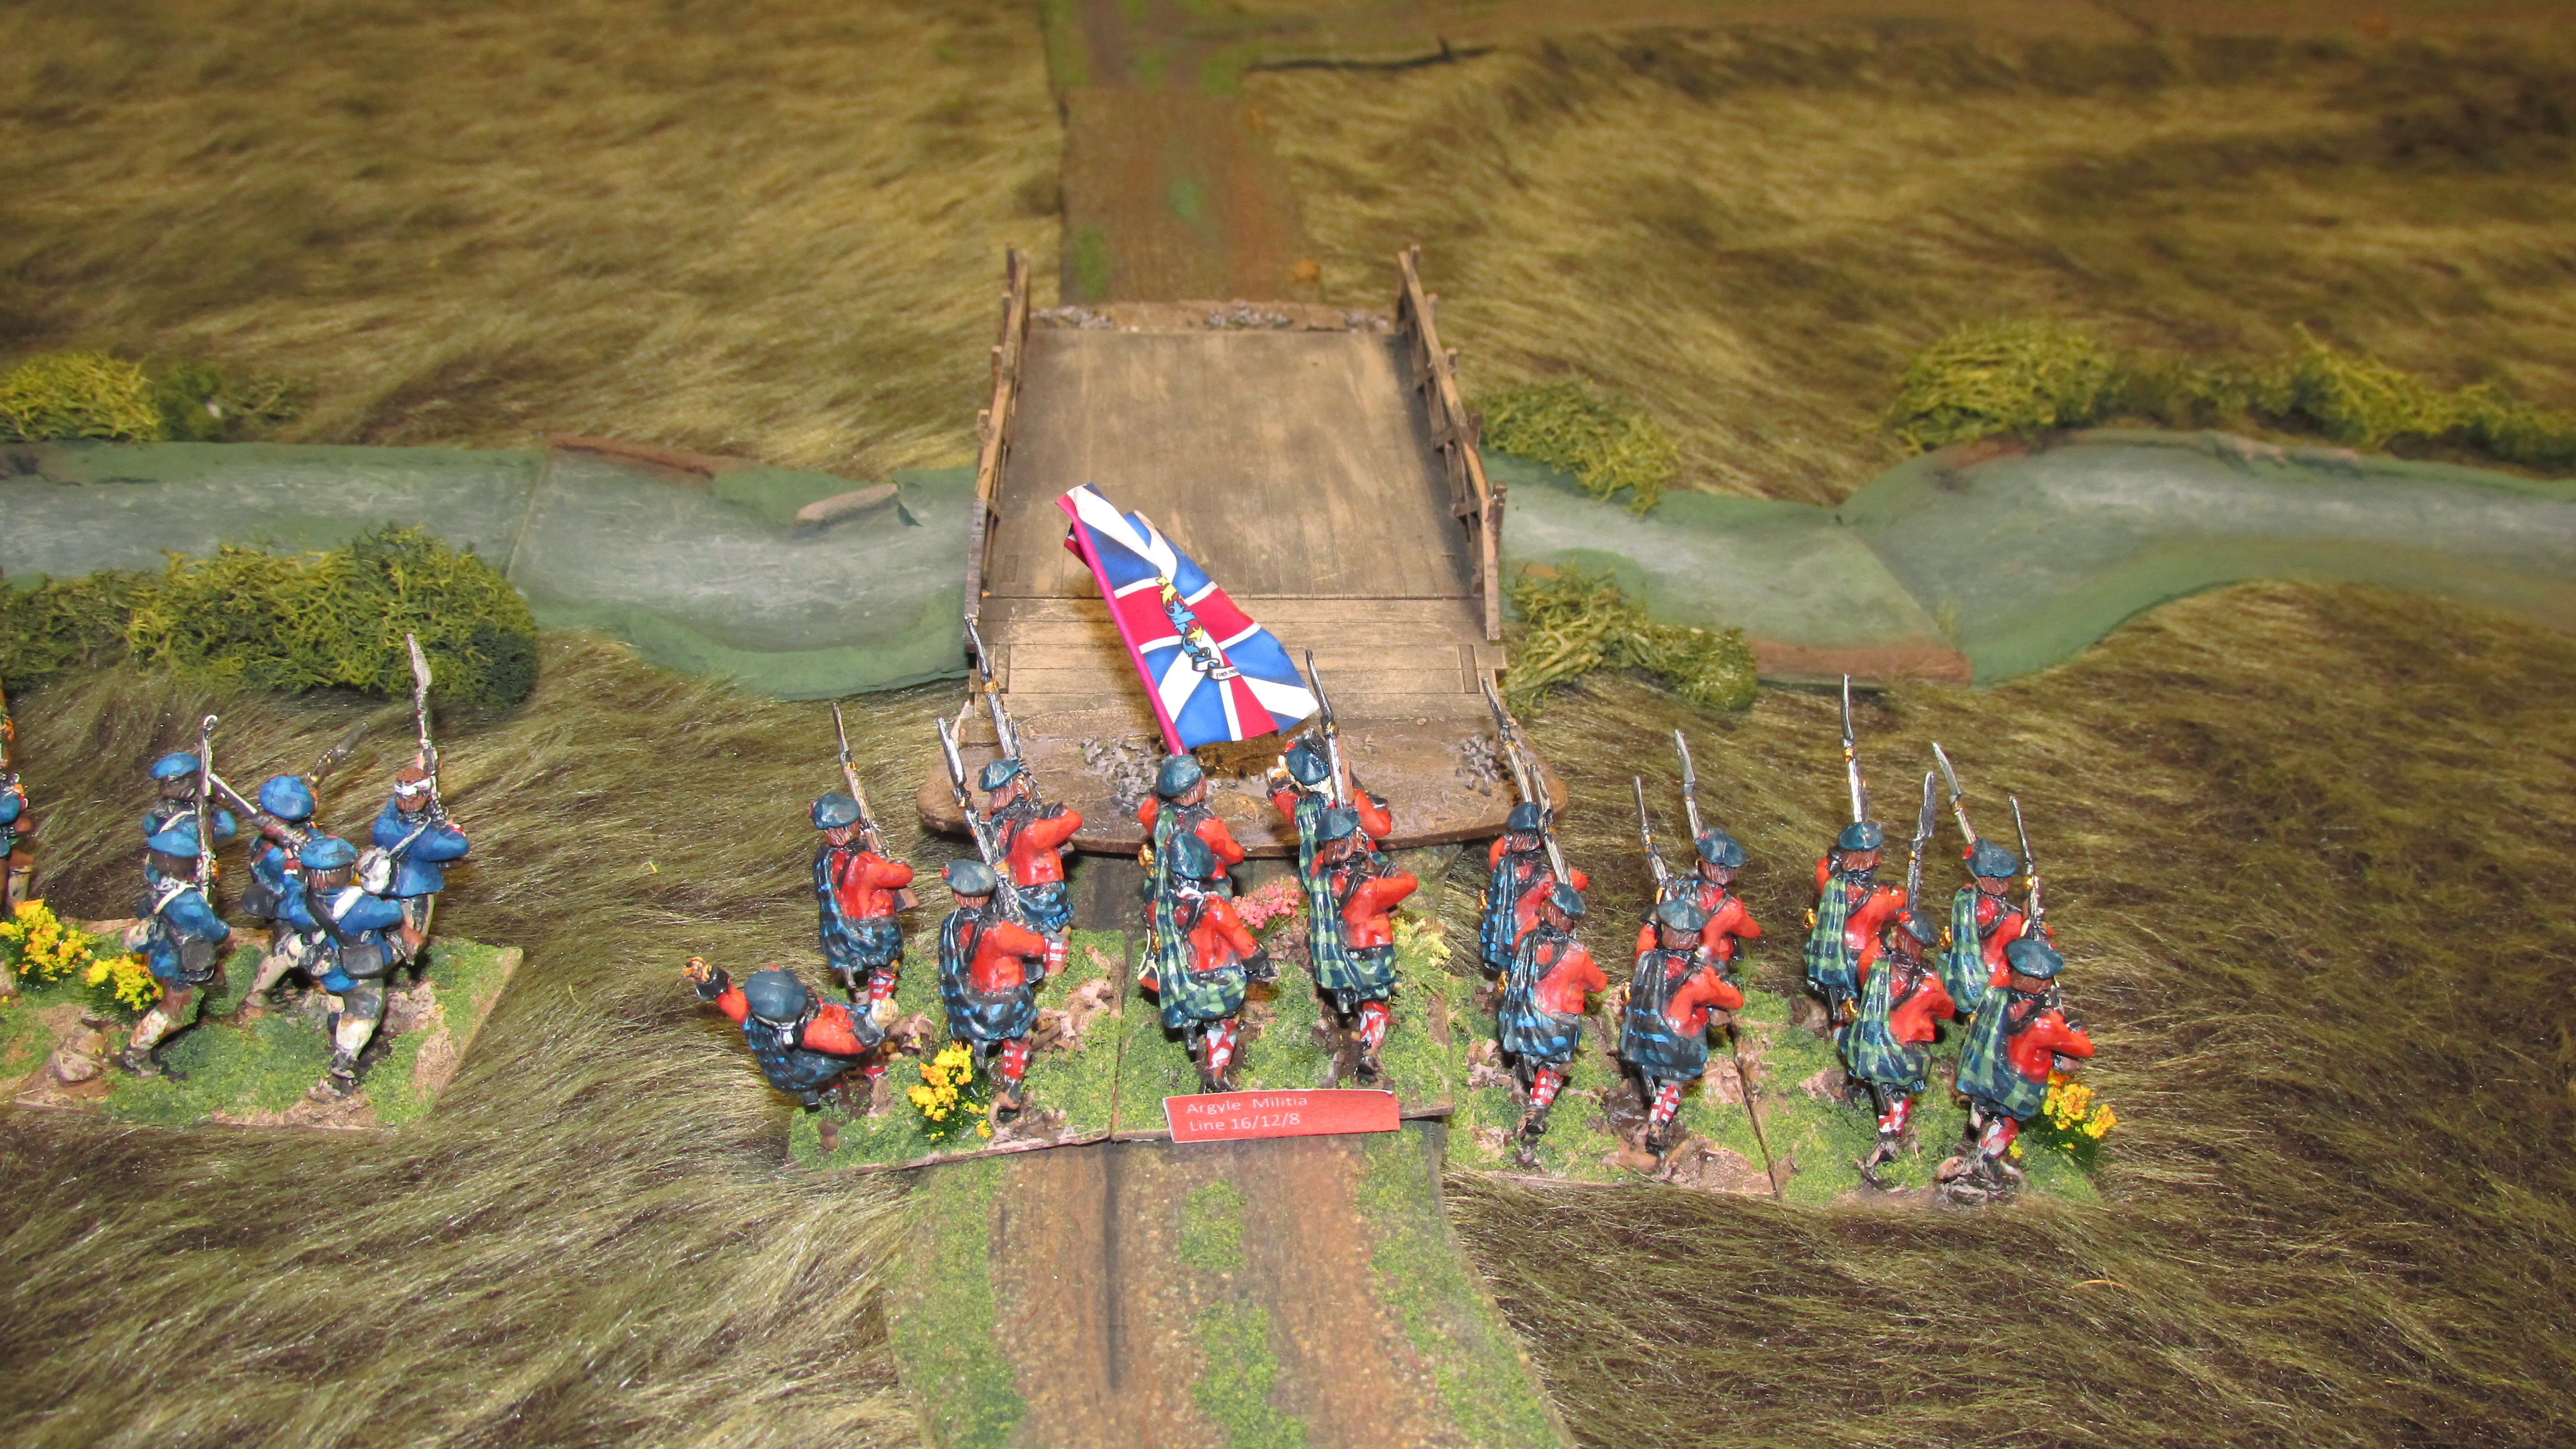
Turn 2- The French regulars continued to advance. Fitzjames's horse came up in support of du Pont. He was ordered to the center, but was slowed by a walled field. Du Pont's battery was caught limbered on the road in front of Wolf's artillery and suffered a loss. The Royal Ecossais deployed into line at the bridge and suffered a casualty from mortar fire which also disordered them. The Jacobite commander was not pleased with this slow progress.
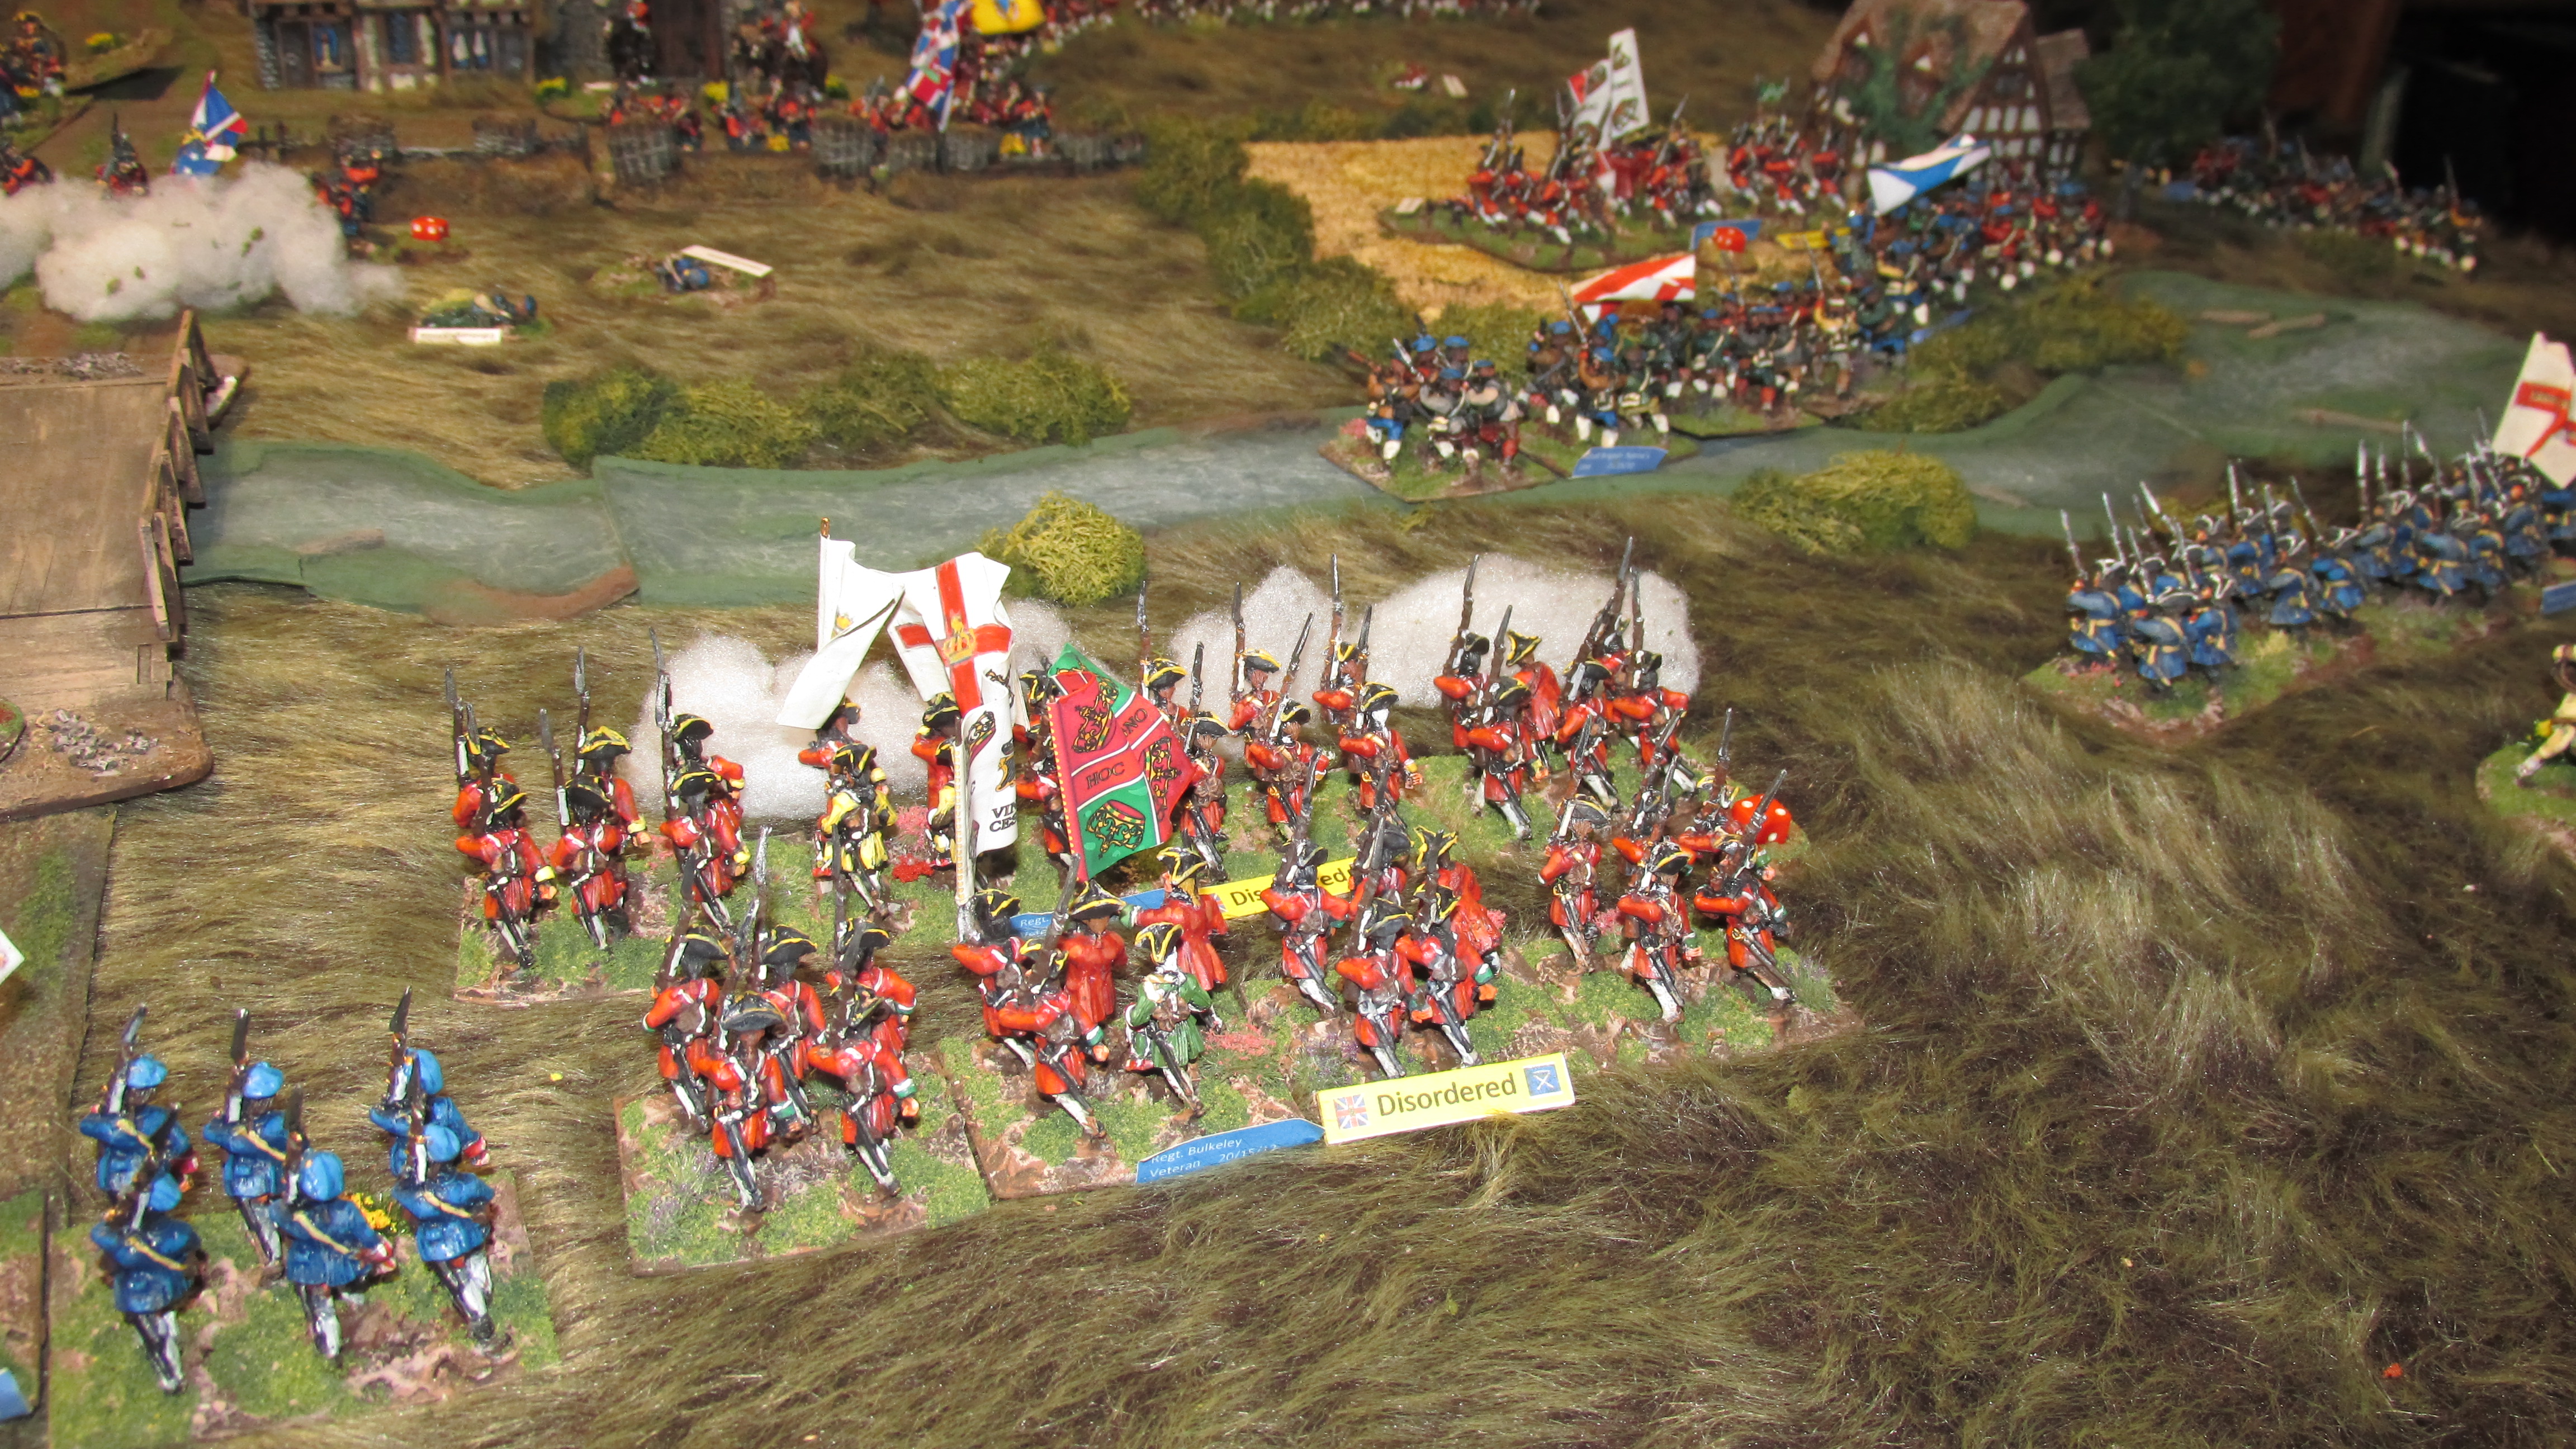
Turn 3- Volleys of musketry errupted along the line. The British commander could not seem to miss, adding to the frustration of the Jacobite general.
Legonier advanced his cavalry to bolster the thinned out center as Drummond's highlanders moved towards it from the Jacobite right.
Turn 4- Du Pont attempted to get into range of Wolf's men, but was taking losses. His battery suffered yet another his on the road. The Royal Ecossais were decimated at the bridge by massed fire.
Jacobite spirits were lifted however, as Drummond and Fitzjames came into charging range of the British center. Their numbers were bolstered by the arrival of Olgivly's men behind them. Stapleton was pleased to see the Duke of Perth's Atholl brigade come on to the table behind him.
The hard pressed government militia on the British left were equally encouraged to see Lascelle's redcoats coming to their assistance.
Turn 5- Legionier's card was drawn first. Du Pont's unsupported right flank was too tempteing to resist. He ordered one of his regiments to charge. Woefully, the horsement only received one activation. This forced them to halt disordered across the river with their flank exposed.
Du Pont tried to take advantage of Wolf's men being unloaded and chraged across the river. Two white clad regiments splashed across the waterway with numbers on their side. Once again, the British commander rolled incredibly well and the attack failed.
Stapleton's veterans poured more musketry into the Government militia, thinning their ranks considerably. However, the Duke of Perth was proving to be a great disappointment in getting his men forward.
In the center, Drummond deployed his men into charge columns in preparation to launch a devestating highland charge. Fitzjames also go his cavalry ready to attack Legonier's isolated regiment before him. Much was riding on how the cards would fall on the next turn.
Turn 6- Stapleton's card was drawn first. With time running out, he attached himself to two of his regiments and charged into the Derbyshire Blues. The militia men melted away. Stapleton took a risk to general test and passed. The French took advantage of a breakthrough movement and slammed into the flank of one of Lascelle's regiments, winning the mele but not by enough to destroy it. Stapleton had to take another modifed test. His luck failed and he was mortally wounded. His brigade would have to take a morale test at the end of the turn.
In the center, Olgilvy's lowlanders card was drawn. He ordered his namesake regiment into line and fired into Legonier's dragoons inflicting a casualty. This, however, would prove to be a hindrance to Fitzjames in his efforts to lock horns with the British cavlary. Drummond was able to drive back two British regiments. Fitzjames was only to engage the isolated dragoons with one of his regiments. He attached himself to add three more dice. The charge shattered the British horse but it cost Fitzjames his life. His brigade would also have to take a test at the end of the turn.
Du Pont tried yet again to drive back the British right and met with the same disappointing result.
At the end of the turn the brigade moral tests were taken. Both Stapleton's and Fitzjames's brigades failed and had to pull back.
Turn 7- This would be our last turn as the British commander had to leave to catch a flight back to Chicago. With Stapleton's units forced to retire the British left won a reprieve.
It would be up to Drummond and du Pont to make the breakthrough. Du Pont attached himself to one of his regiments and ordered an assault all along his front. His exhausted and decimated battalions were once again repelled. Du Pont was lightly wounded. The British right had held.
All eyes were now drawn to the center. Olgivly pressed his men forward to put fire into the line before him with meager results.
It would all come down to Drummond's highlanders. They surged forward. The frightend British infantry were not able to get off a volley in an effort to slow down the jugernaut. Desperate hand to hand fighting raged along the banks of the river. The highlanders drove back the British line, inflicting scores of casualties. Two regiments fled the field, disordering their supports, but the highlanders were spent, the breakthrough not achieved.
As the umpire, I declared it a British victory. Had the game been able to continue for two or three more turns, the Jacobite numbers could have proved to be telling. However, they had lost two brigade commanders which would have made coordinating further attacks extremely difficult.
It was a great morning of gaming.


Looks like a good game.
ReplyDelete