Turn 13:Cumberland commits the bulk of his strength in a full on attack of the Jacobite center. To this end, Cholmondoley charges two of his regiments across the river and drives back Murray's depleted regiments. Murray's battery, however, is able to stem the tide with a blast of cannister.
At the ford, Macdonald's cavalry finish off Legonier's two regiments. The British will have to take a brigade morale test at the end of the turn.
One of Mordant's regiments, under the command of Hawley's aide de camp, are able to drive back Barksdale's stubborn clansmen, while Wolf is able to push back the Ecossais, inflicting heavy casualties on them.
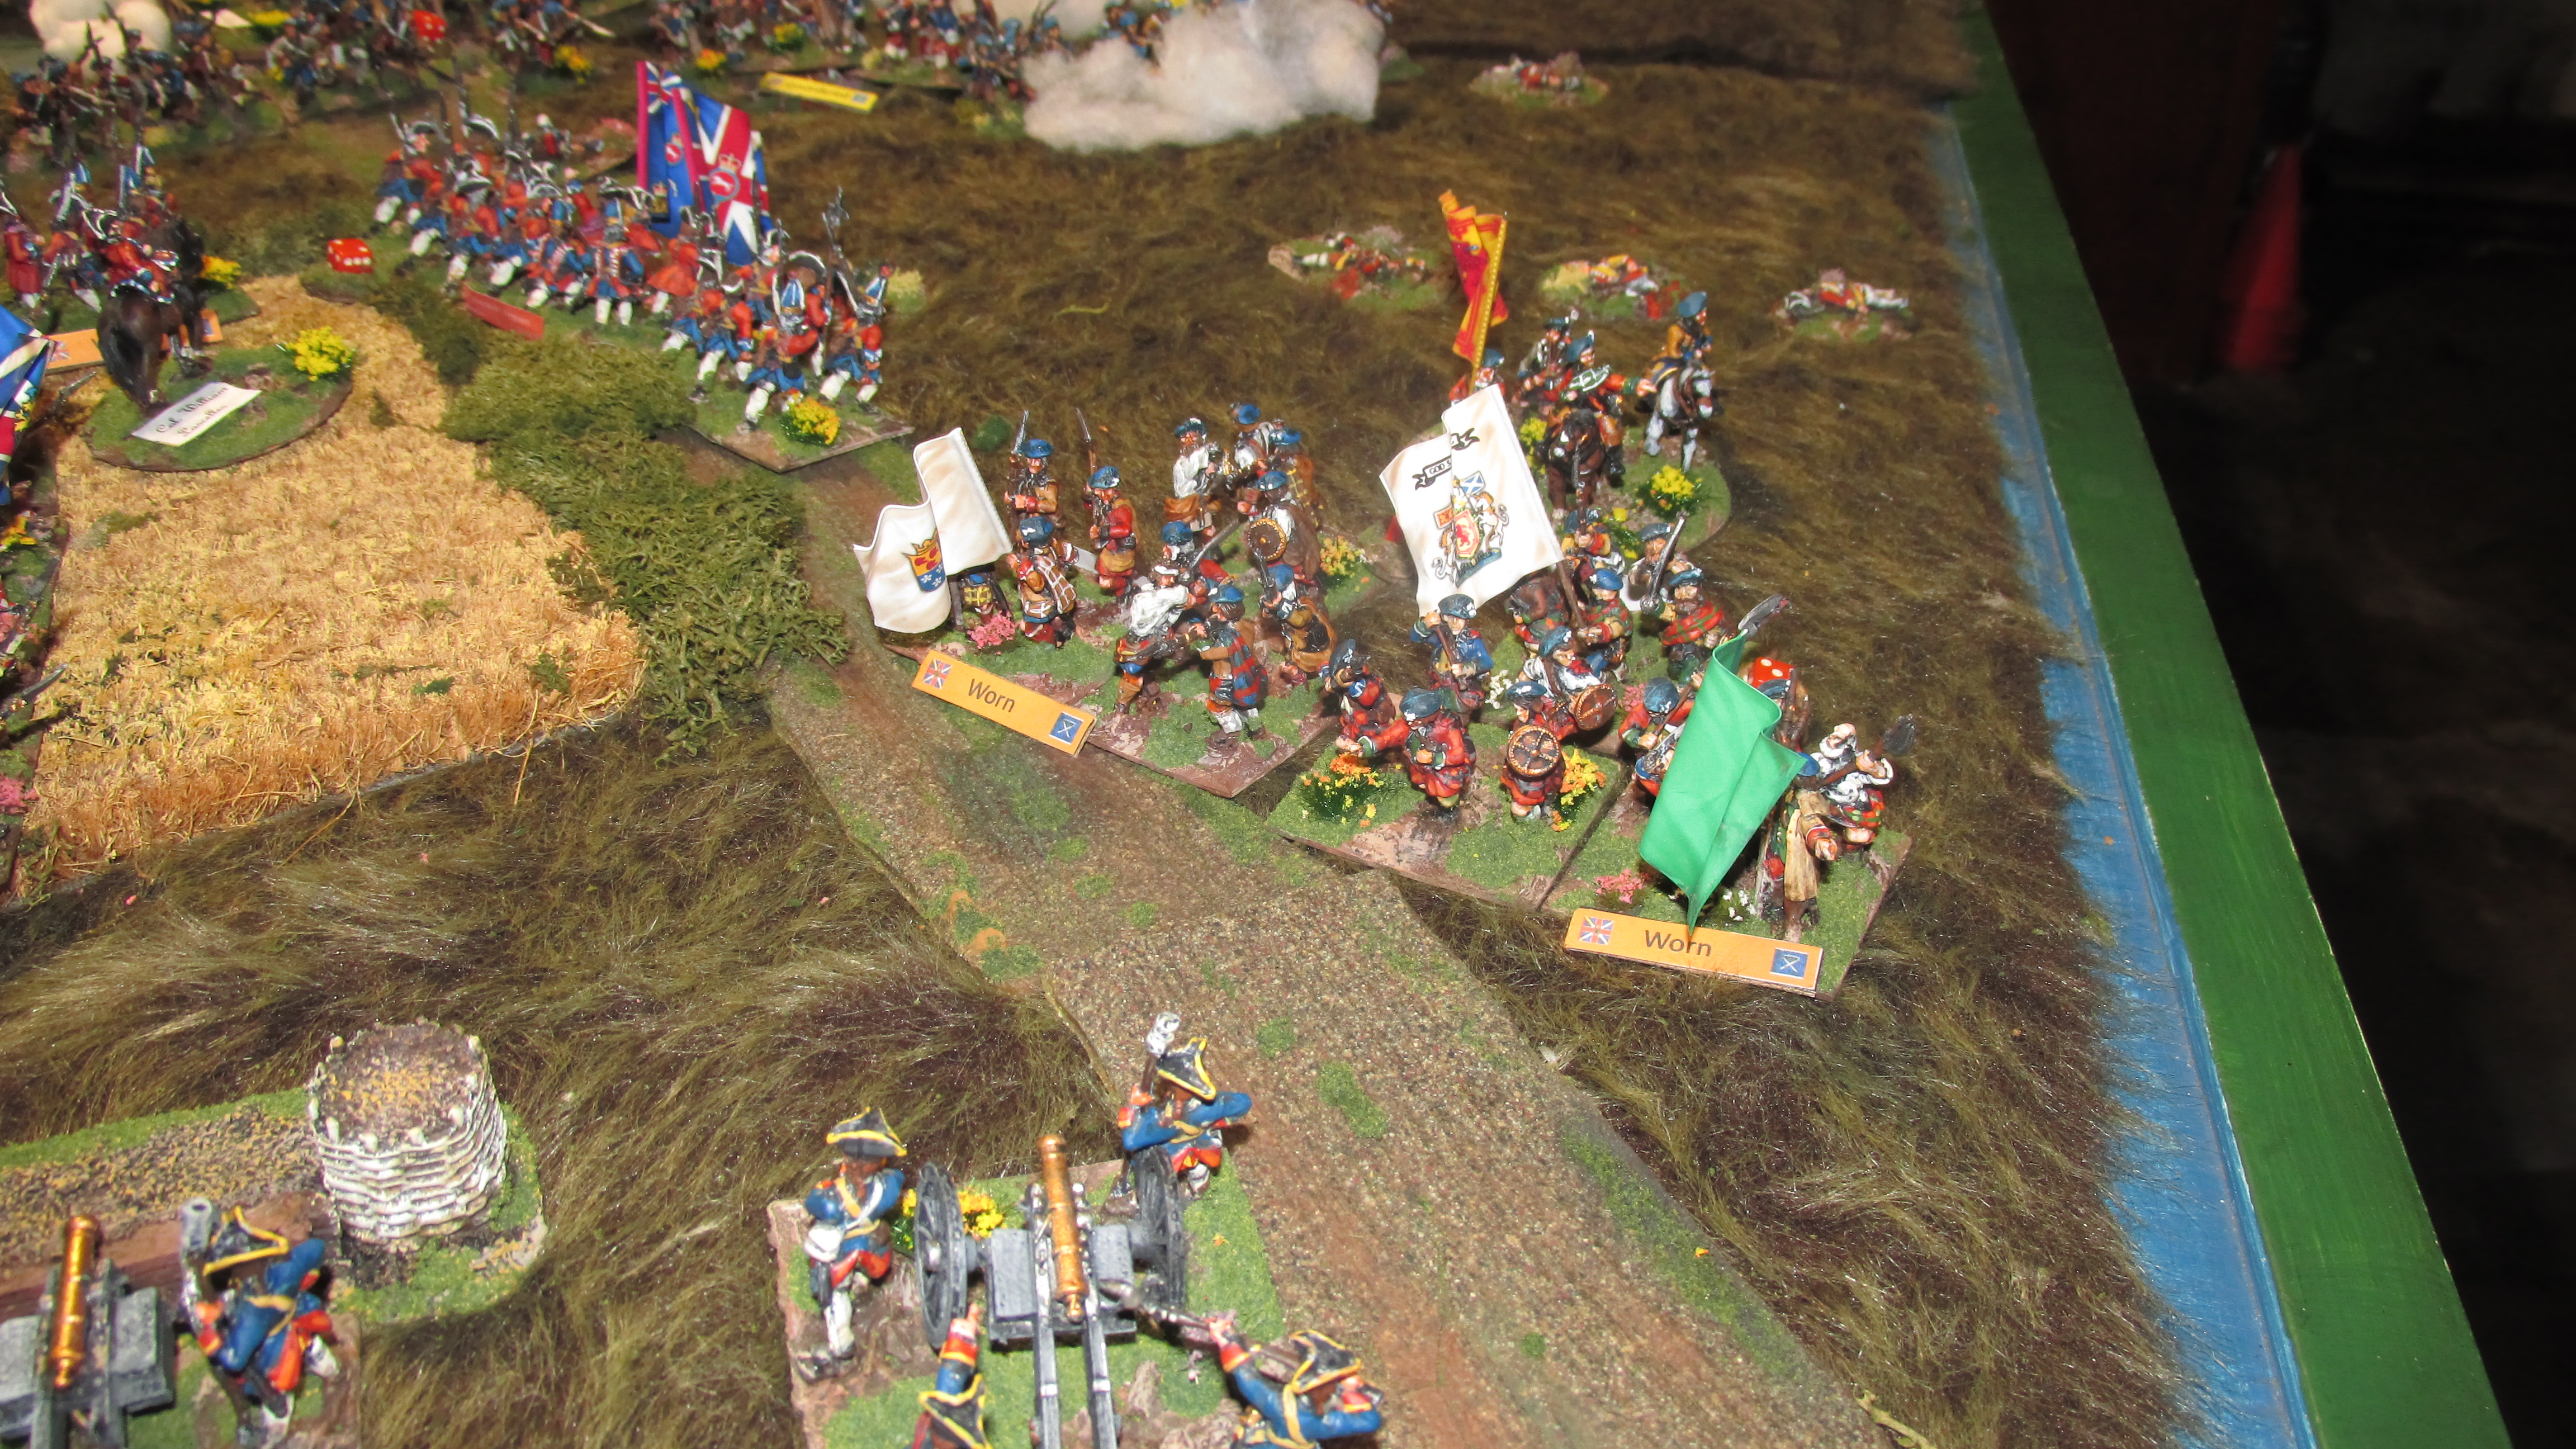
At the bridge, the Prince presses his advantage. He personally takes command of Roy Stewart's brigade and reorders them. Olgilvey maneuvers his men onto the flank of Lascelles' and Cholmondoley's men, forcing Lascelles to bend back his line.
The result of Legonier's morale test is that his whole brigade has to pull back and try to reform. He will have to test again next turn to see if he can rejoin the battle.
Turn 14: The situation on the British left is deteriorating rapidly. Mordaunt is not able to get his men to do anything (failed activation roll) and his one regiment under the aide de camp sustains heavy losses from cannister fire and is now worn. To make matters worse, at the end of the turn, Legonier fails his brigade morale test and his men exit the field.
In the center, the Royal Ecossais heroically hold against Wolf's column and Cholmondoley's attack on Murray is shattered by cannister and flanking fire from the bridge. Cumberland also decides to shuffle Campbell's brigade to the right to be in better position to support Lascelles.
On the Britishh right, the Royal Scots are able to drive back an attack by two of Olgilvey's regiments, but Lascelle's other regiment is reduced to worn status as a result of the
Edinburgh Militia's persistent musketry and fall back. The Prince, intent of forcing the issue, tries to make his way through the chaos of the battlefield to personally lead Roy Stewart's men in an all or nothing charge, but he fails his leadership roll.
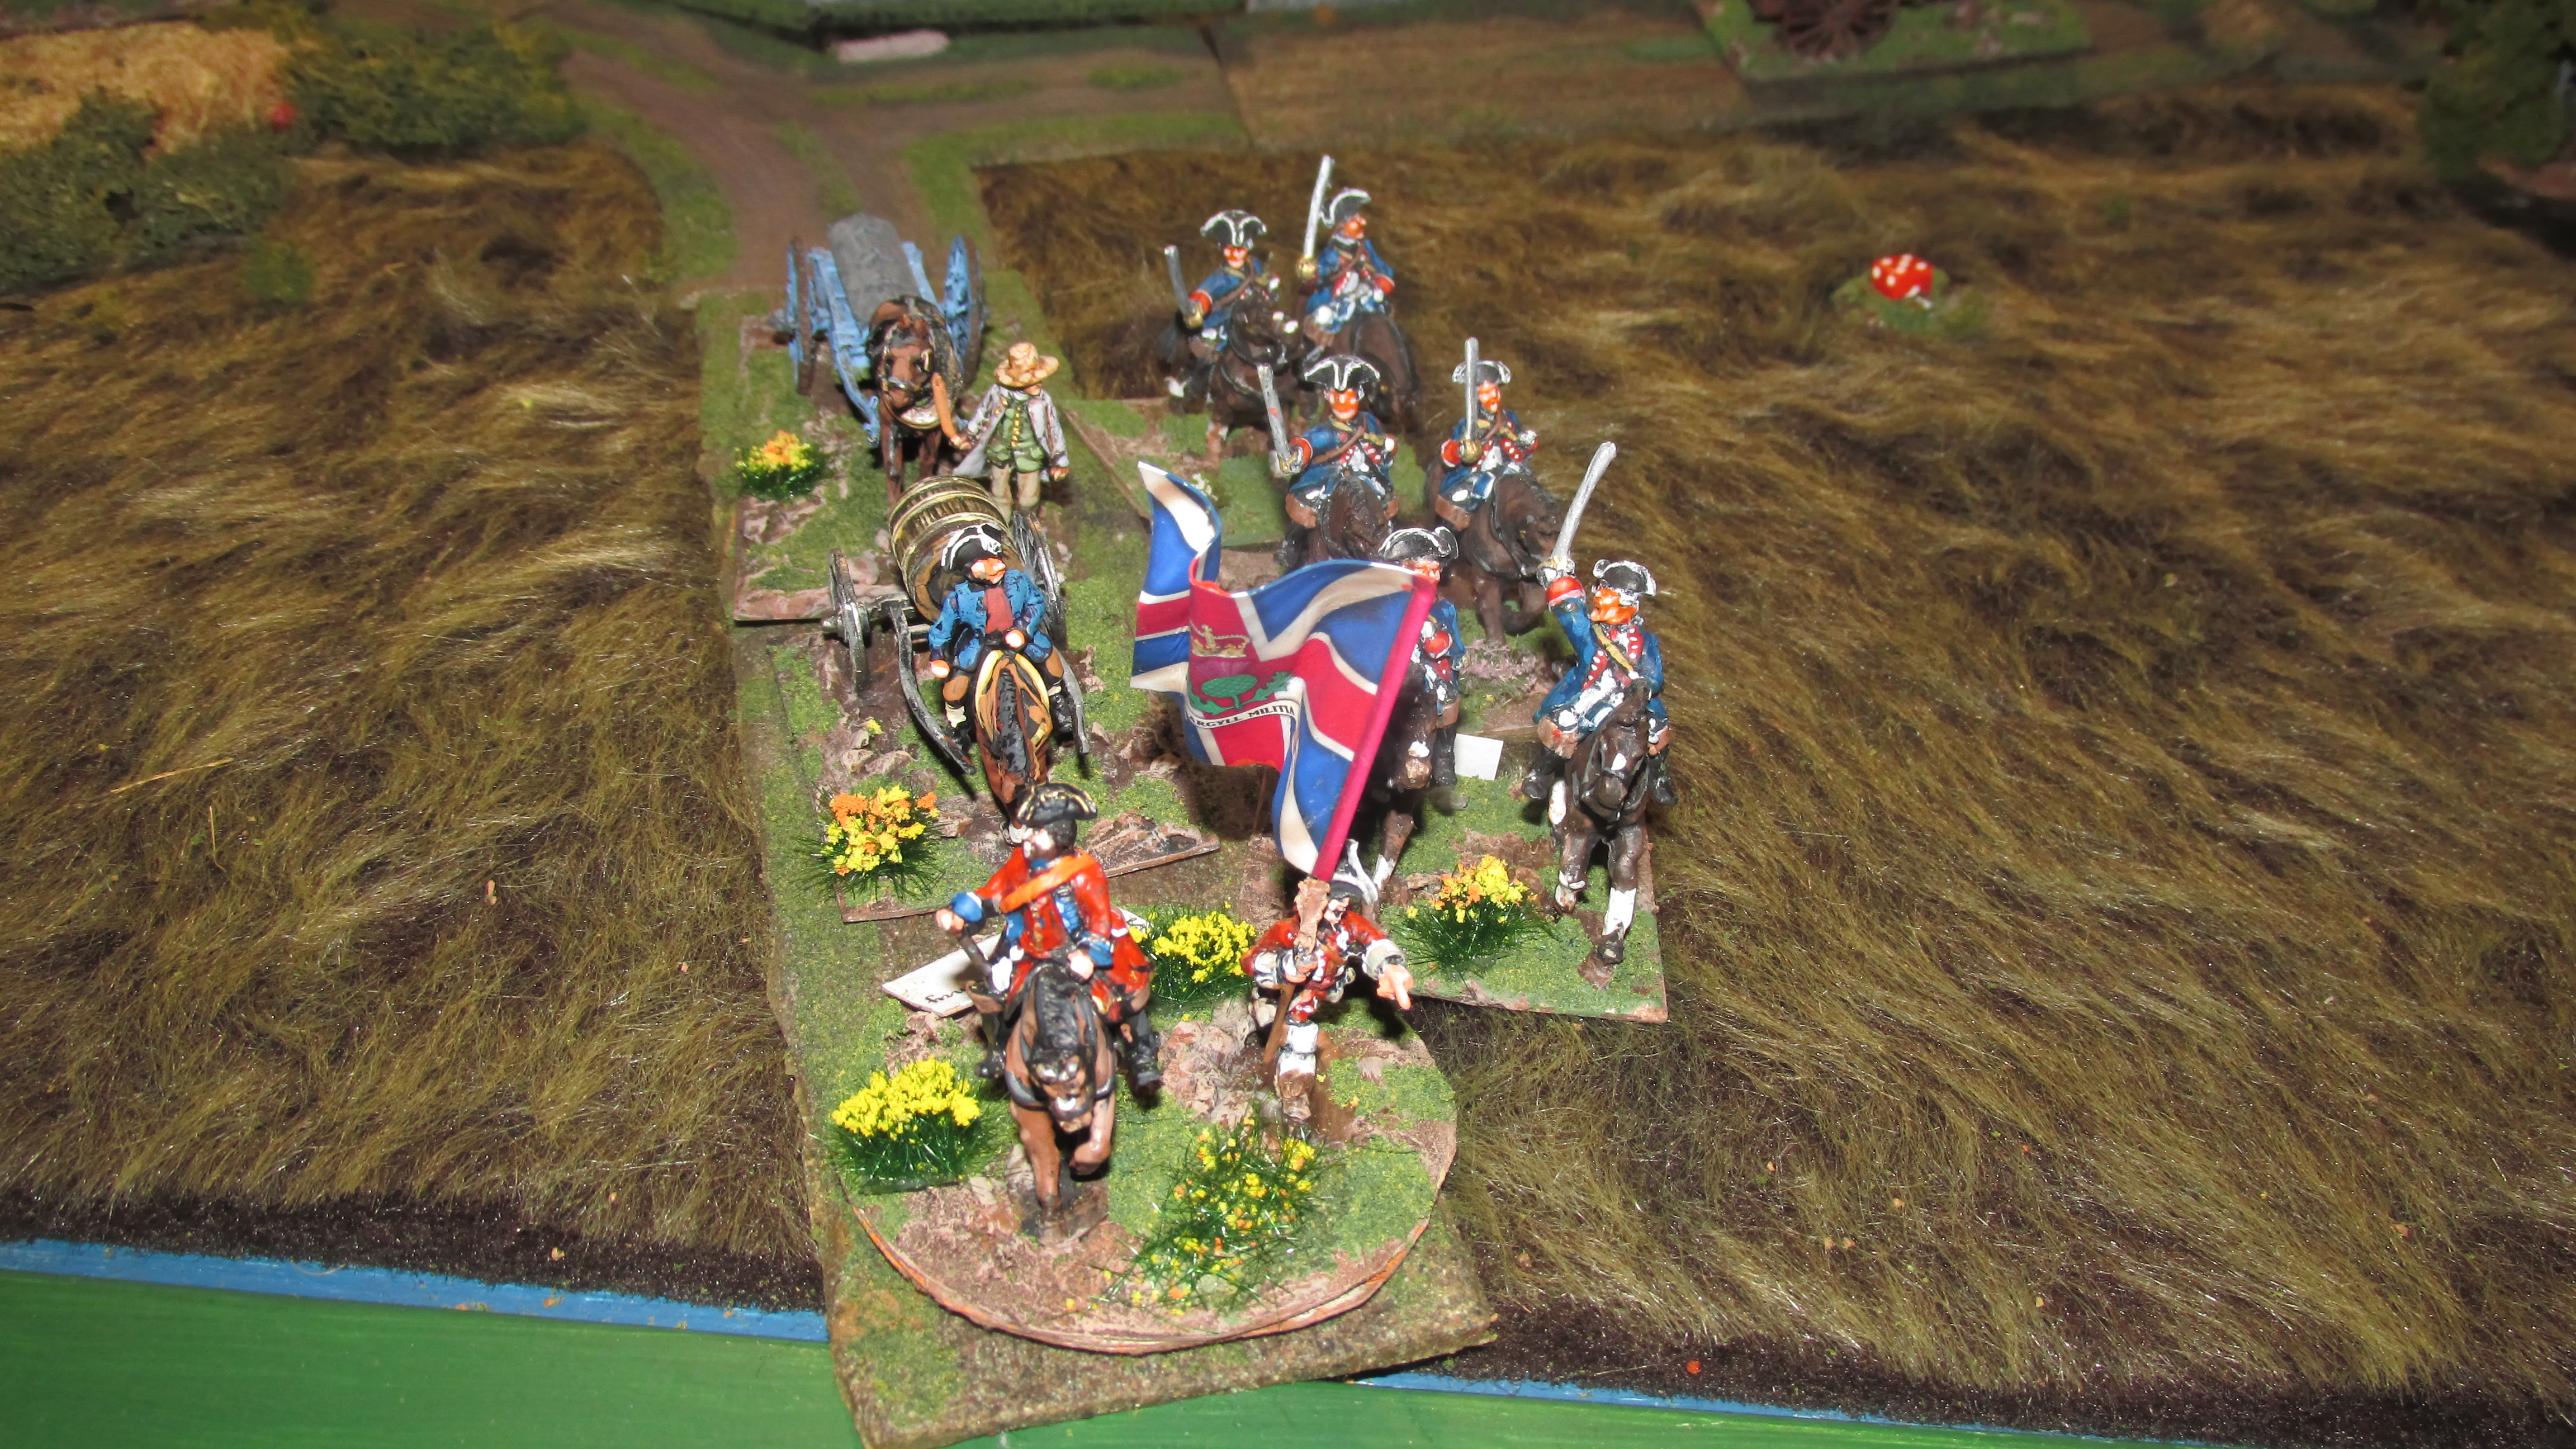
Turn 15: The Jacobites try to press their advantage at the ford. Macdonald sends the elite Life Guards across the river to wreck havoc in the Government rear. Drummond, though, dets distracted (poor activation roll) and does little with his brigade.
Wolf, sensing that the battle is being lost, once again pushes his brigade forward and once again the Ecossais manfully hold back the thrust, but only barely. To Wolf's right, Cholmondloey's brigade has suffered terrific casualties, fails its brigade moral test, and has to pull back 10". This exposes Wolf's right flank.

It is on the Government right, though, that things take a dramatic turn. The Bonnie Prince, with total disregard to his own life, gallops to the front of Roy Stewart's brigade and leads them in a last ditch charge on Cholmondoley's lone remaining regiment. The fighting is hand to hand and desperate. The highlanders overwhelm the redcoats, inflicting five casualties while suffering none. The British regiment is picked up and Stewart's men take a 9" breakthrough, putting them on the flank of Cumberland's last line of defense, two batteries of artillery. Two of Campbell's regiments come up and form line to try to protect the flank, but the Prince's charge has compromised even this last ditch attempt at saving the line.
Turn 16: The Government left completely gave way. Mordaunt's brigade failed its brigade morale test and had to withdraw. General Hawley used two moves to try to escape off the table with the supply train only to be scooped up by the Life Guards.
General Wolf, tossing caution to the wind, pressed on in the center. The Royal Ecossais finally is forced off the table with over 50% casualties. Their heroism, however, bought the necessary time for Drummond, Perth and Murray to creat a second defensive line that will be more than sufficient to contain and even destroy the impetuous Wolf.
On the Government right, Campbell is able to stablize the endangered flank, but it is a temporary measure at best. While Roy Stewart's briade is forced to retire with heavy losses, Olgilvey's brigade is relatively unscathed and is now poised to push hard on the exhausted remnants of Lascelles' brigade. Cholmondoley's survivors have sought refuge in the field works at the church where Cumberland has been stationed throughout the battle.


The Jacobites had won a decisive victory, but the cost had been disasterous for both armies. The way south was now open, but it would take some time for Prince Charlie's men to regroup and reequip. Their lack of cavalry would prevent them from harassing Cumberland's battered force sufficiently to keep them from finding new ground to defend.
Concluding thoughts: As this was a solo game, I counted on the rules to create suspense. Using cards to deterrmine the order of events and then having to roll to see how active a brigade could be proviced this in spades. The mechanics for determing the results of firefights and meles worked well, too. There were surprises, but these were rare. Results seemed to be quite realistic. I also thought the ability to use aides de camp to take on special tasks added a nice element to the game. I will make sure to add some text to my rules to clarify the use of aides de camp.
I invested in a large number of casualty figures, over 60. I am glad I did. Placing these where units lost stands gave a clear indication of where the fighting had been the hardest. The visual effect of all of the figures on the table was very satisfying. This is one of the best wargaming experiences I have every had. I look forward to taking my game to a local convention so I can share it with others and continue the process of refining the rules.
Thanks for following along. Please leave a comment and let me know what, if anything, you enjoyed about the report.


A splendid looking game. Your figures are excellent.
ReplyDeleteA superb game with wonderful figures and terrain coupled with a vivid commentary. It was a joy to follow. Well done!
ReplyDelete