My homemade rules for the Jacobite Rebellion,The Rising of the Clans, are coming along well. In fact, I believe they are just about finished. With that in mind, I thought I would put together a brief tutorial so that others might get a better feel for the mechanics and offer input.
Risning of the Clans is card driven. Each brigade, plus army commanders and aides de camp, have a card that is placed into the deck. When a brigade commander's card is drawn he may try to activate units under him. If all he wants to do is move, he may issue one move order to his brigade and just roll once. Otherwise, he must roll for each individual unit. Army COs may attach to a brigade which will improve the brigade's chances of activating units. The army CO may also re-roll one failed order per turn. If a unit rolls an unmodified 11 or 12 the order not only fails, but the brigade's turn is over, unless, of course, the army commander is attached and a re-roll is possible.
These are the cards that will be in the deck for this game:
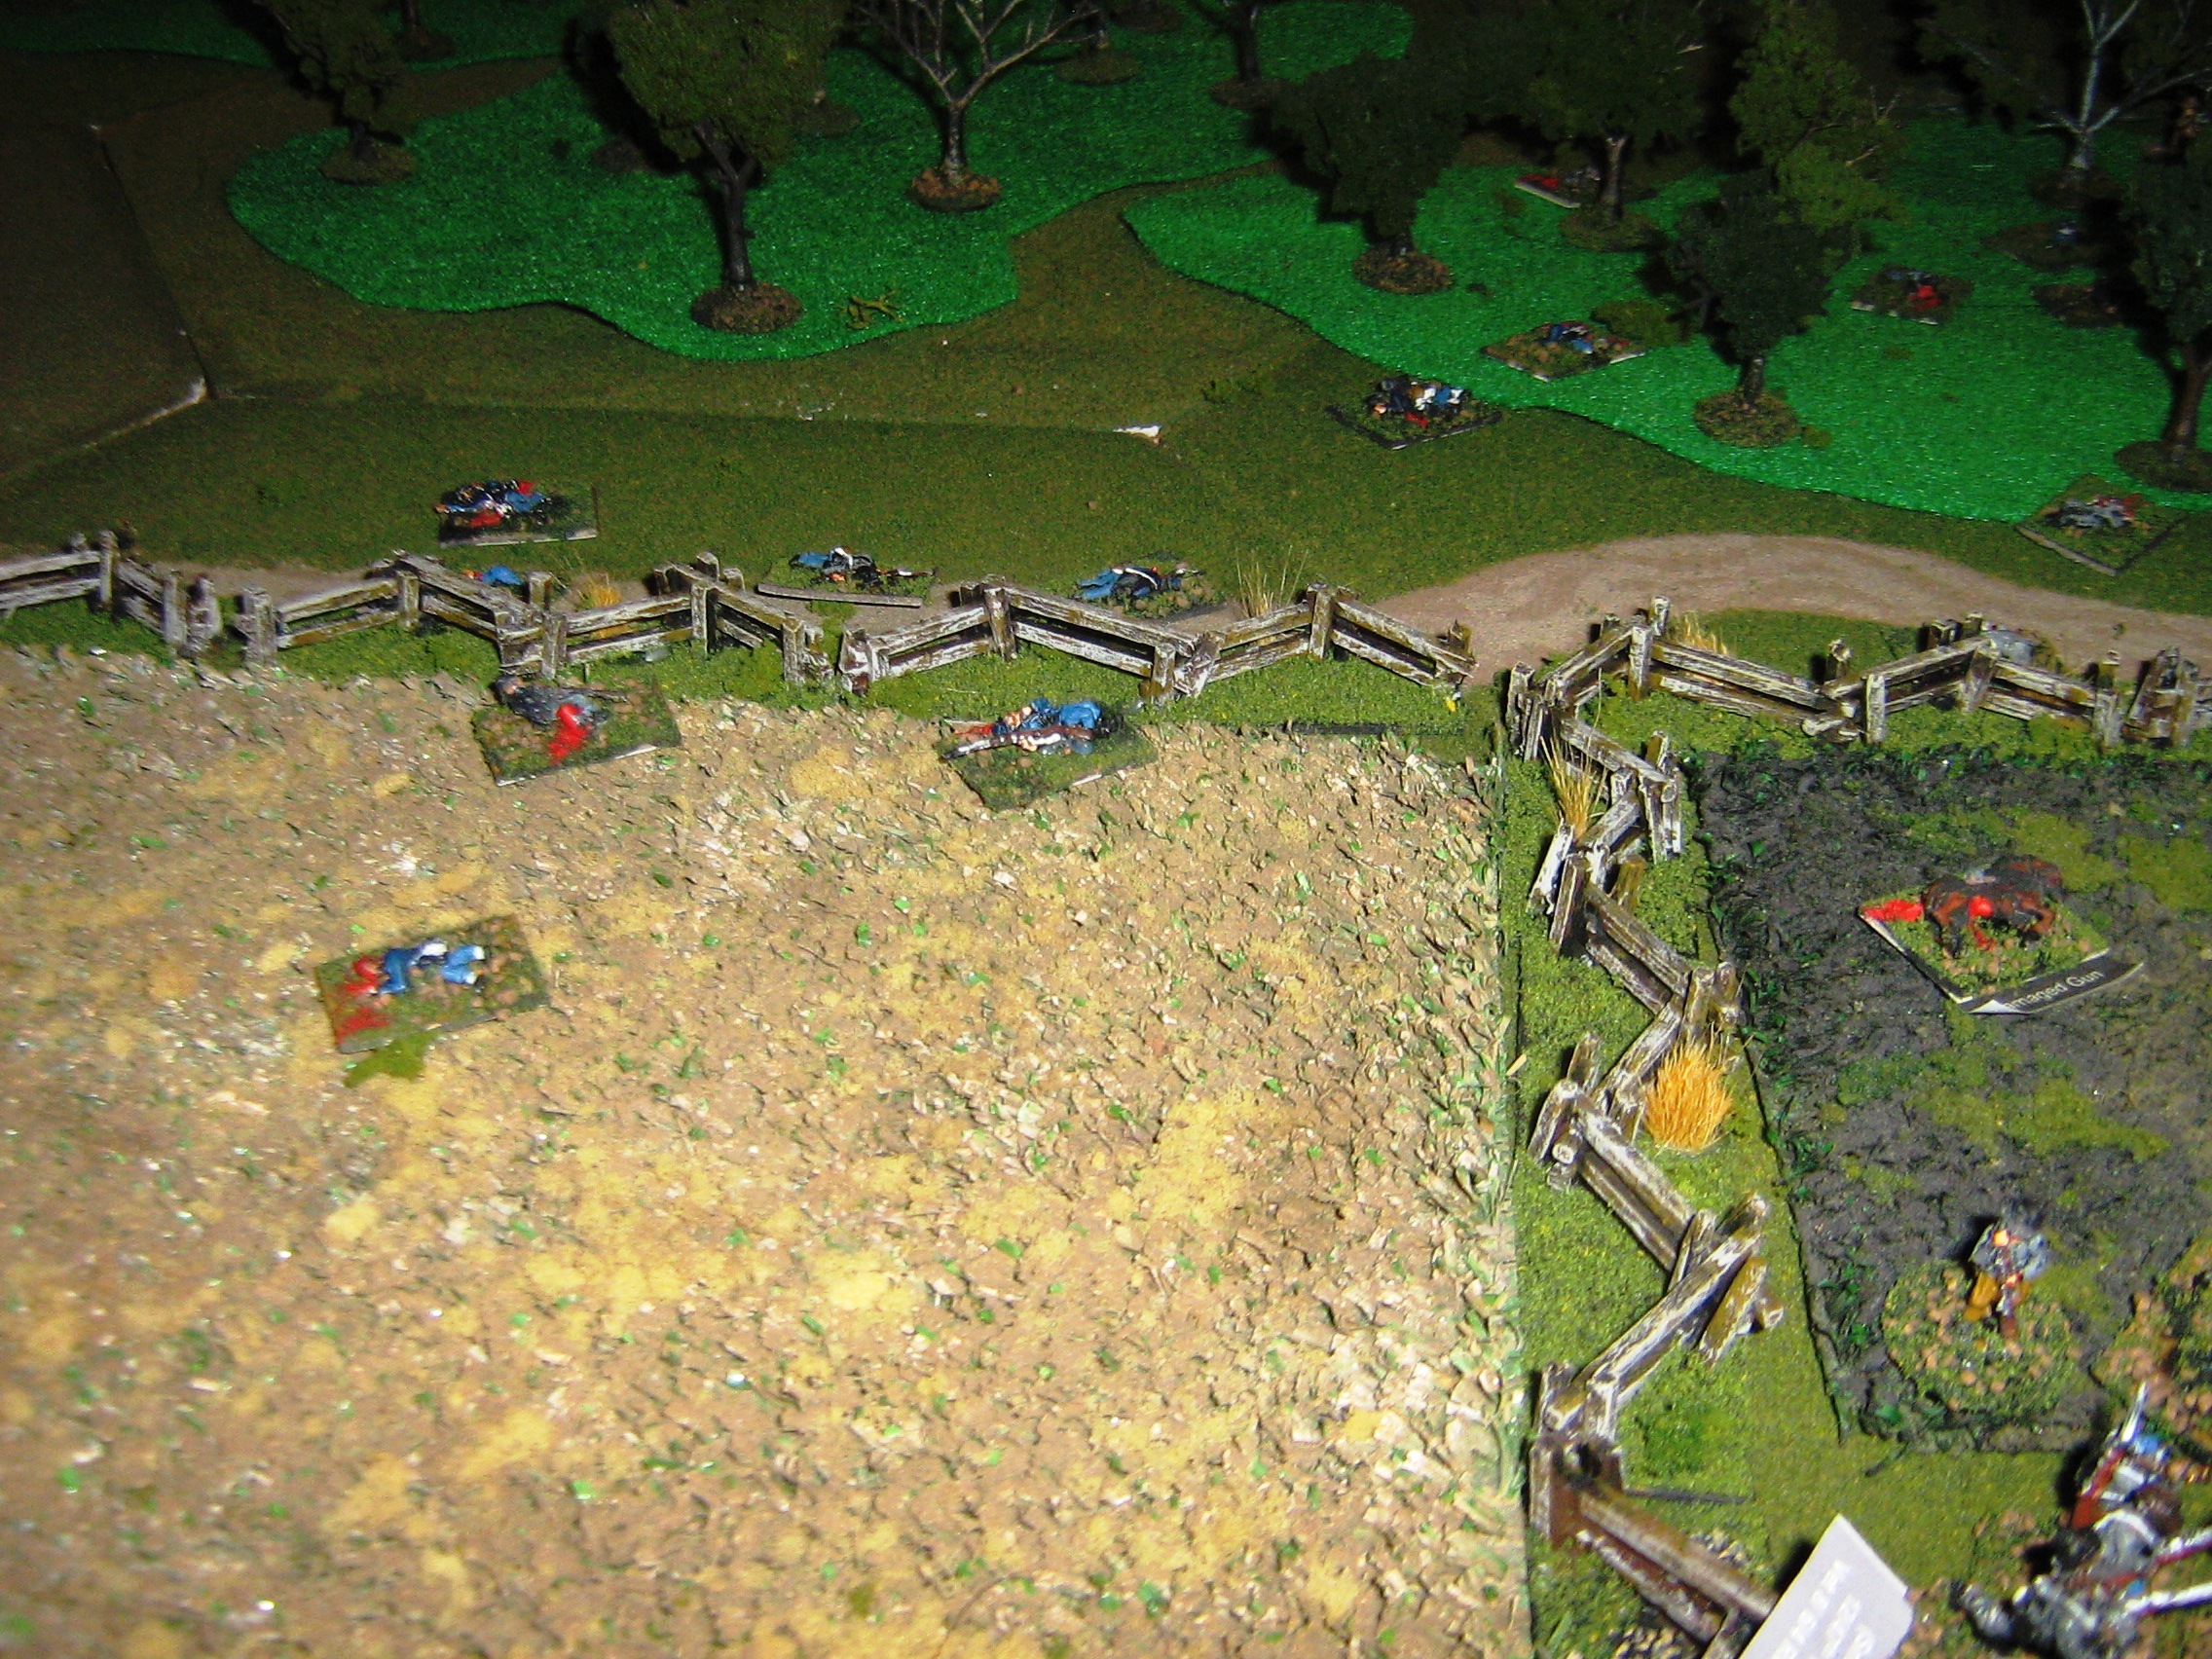
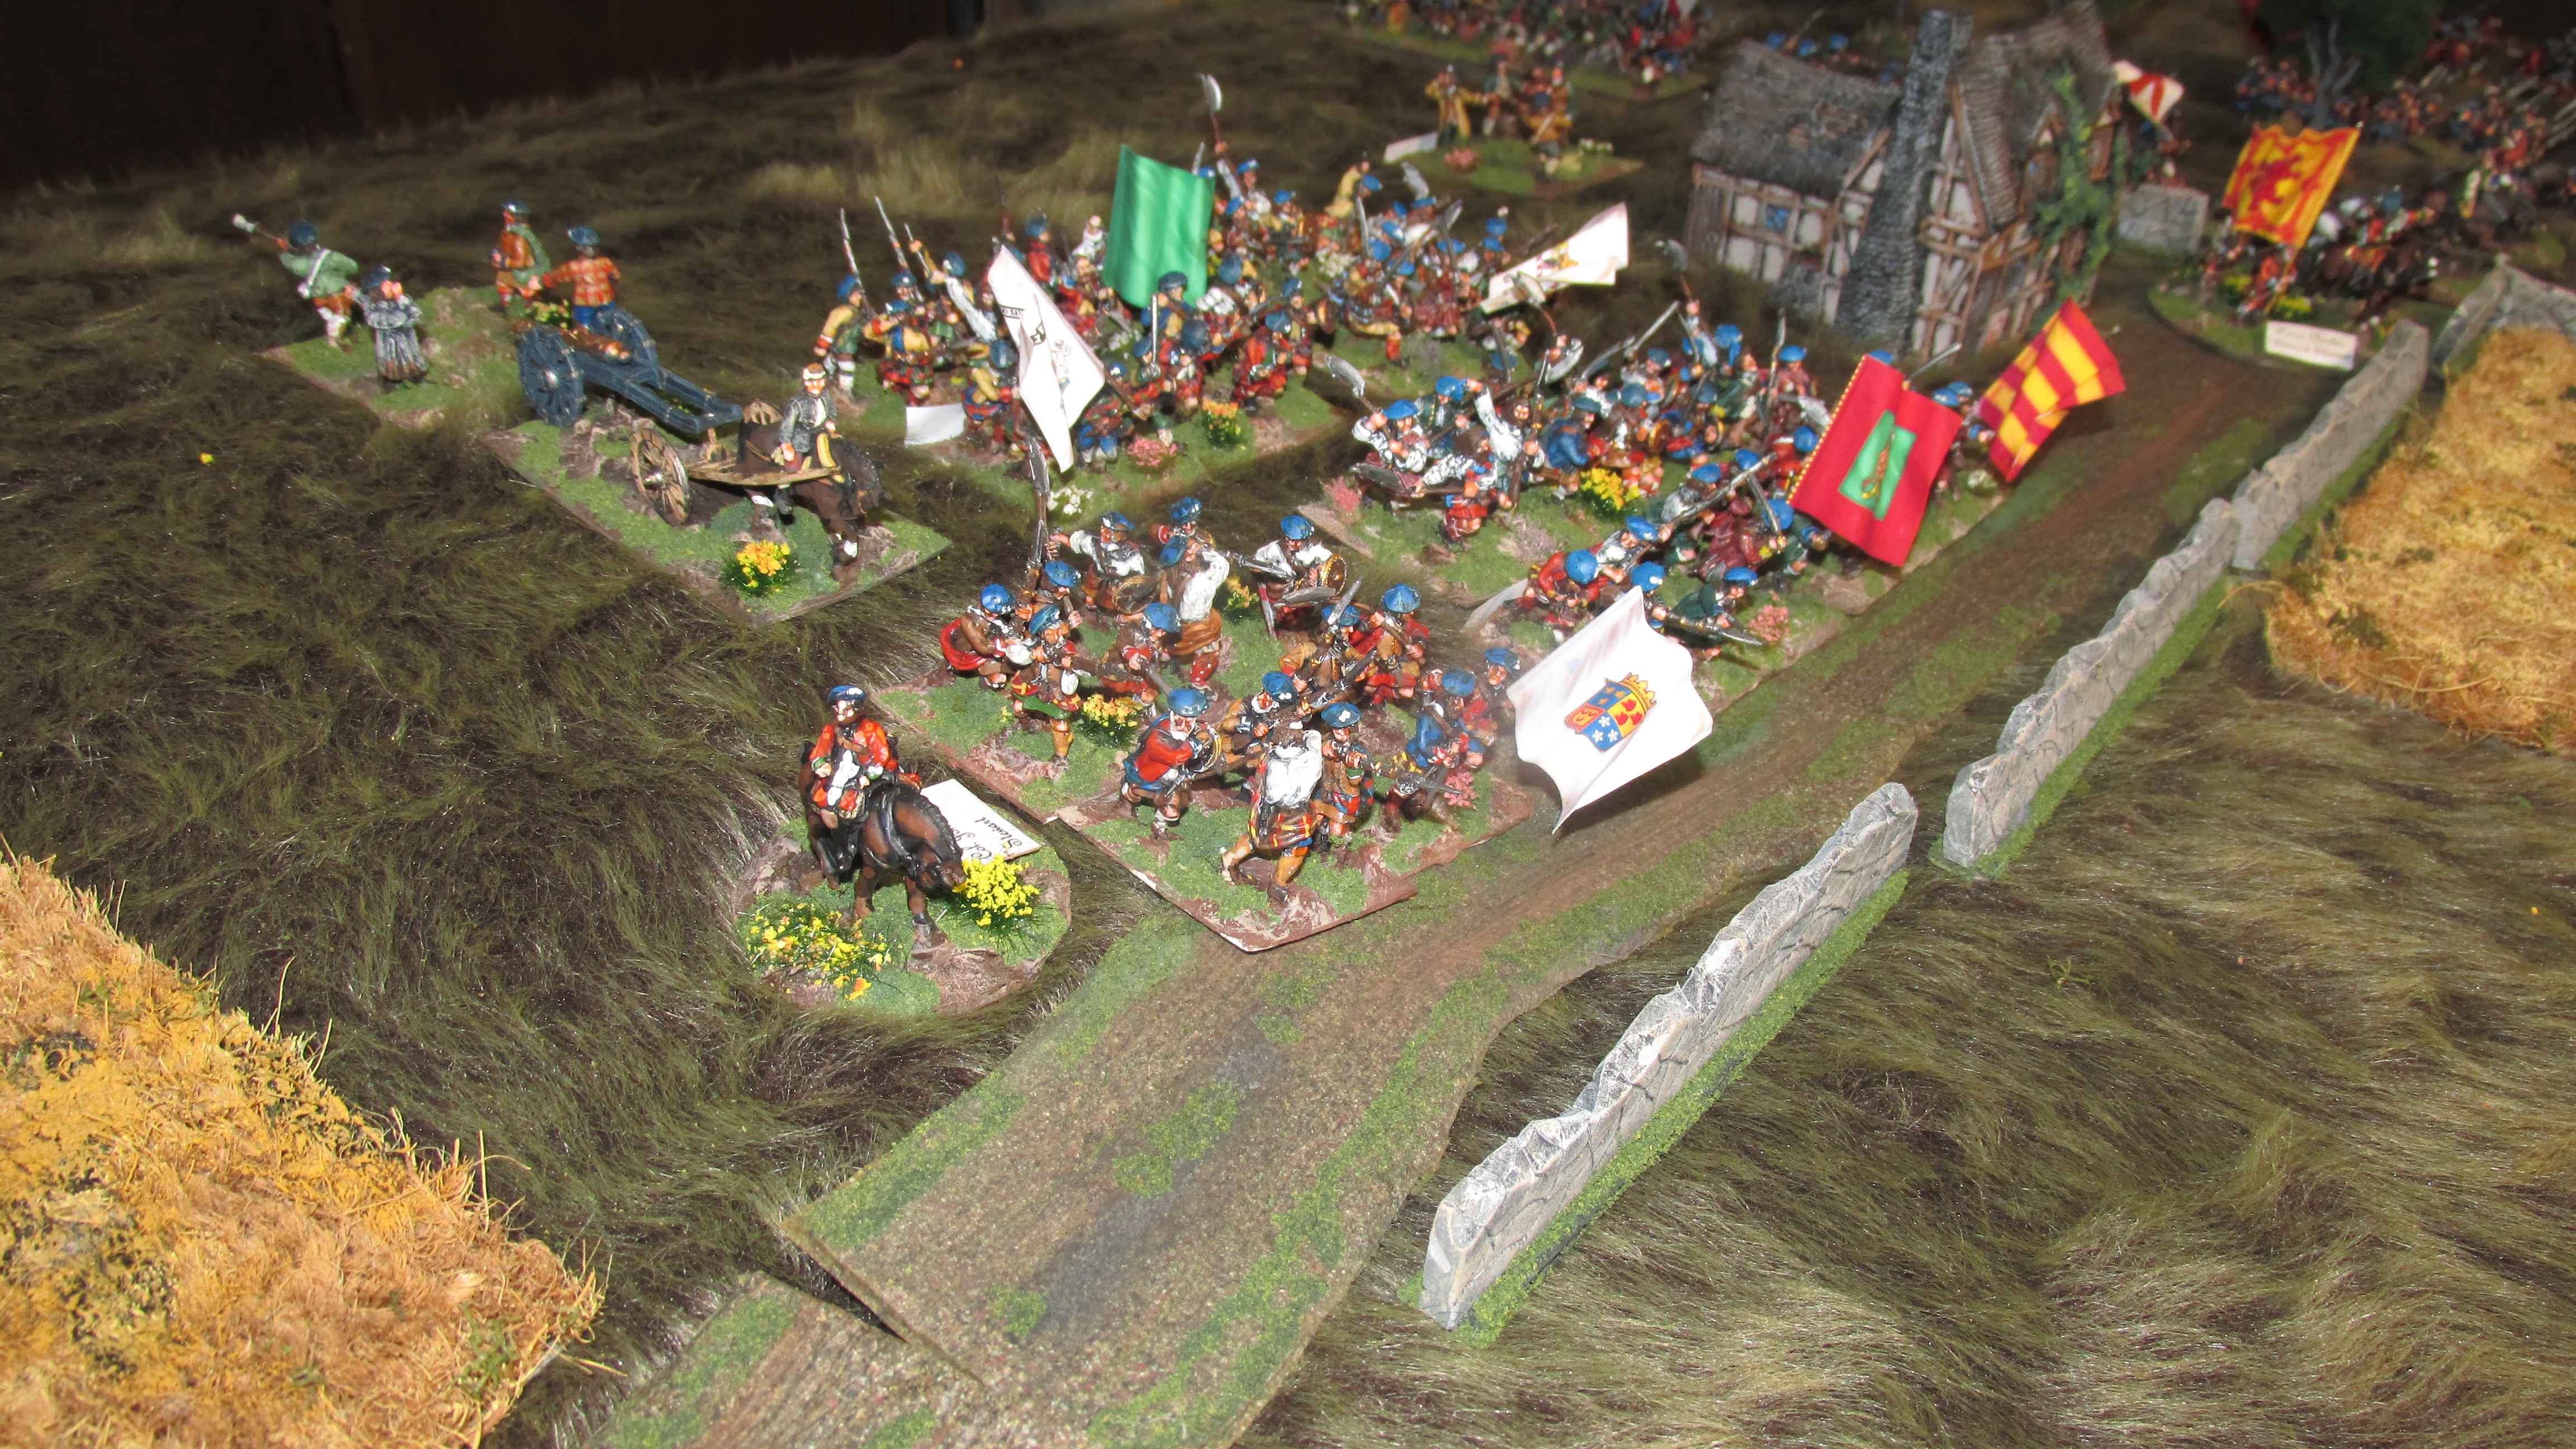
The Government forces are defending a camp that has been established around a church. The Duke of Cumberland commands two brigades; one under BG James Cholmondeley and the other under BG John Mourdaunt. The Duke is assisted by an ADC.

Prince Charles Stewart has three brigades to attack with; two of highlanders under Roy Stewart and John Drummond, and one of Lowlanders under the Duke of Perth.
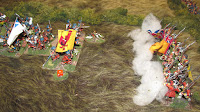
Here is what the table looks like as the game begins.
Turn 1
There are eight cards in our playing deck. They are shuffled and the first card is drawn.
It is Col. John Roy Stewart. He wants to move forward this turn so he rolls once for his entire brigade. At this point, Charles Stewart has not attached himself to any brigade in order to await developments.
Unfortunately, Roy Stewart rolls an "11". This means he is not able to do anything and the next card is drawn.
The next cards drawn are for Cumberland, Cholmondeley, and Mordaunt who are content to wait for the Scots to get into range.
Drummond's card is next and he rolls a "3". This allows his units to move three times. (units may perform up to three functions, depending on their activation roll: move, fire, reload, remove disorder, rally back losses). Drummond's men are in attack columns (only highlanders are allowed to use this formation). This allows them to move 3 X 8 inches.
To clarify, on a modified roll of 8, 9 or 10, one action may be performed. On a roll of 6 or 7, two actions. On a five or less, 3 actions.
Lastly, the Duke of Perth's card is drawn. He also wants to just move, so he rolls once for his entire brigade. The result is a 10, allowing one action for his line units. His conscript unit from Manchester, however, must add a "1" which now equals an 11, so they will not move this turn.
Turn 2
The cards are shuffled and the new turn begins. Drummond's card comes up first. He is about 15 inces away from Mordaunt's first line of defense, within charge range if he is fortunate enough to roll a seven or less. His clans are all veteran, so they will be able to deduct "1" from their indidvidual rolls. Drummond select his mortars first. They roll a "7", but being rated as conscripts, the mortors are only allowed one action. So they move up 8 inches.
Next,he selects the 1st battalion of Clan Macdonald of Glengarry to charge Mordaunt's line. He must advance regardless of the die roll. Fortune favors the men from Glengarry and they are able to close with the 37th Foot.
The 2nd battalion from Glengarry is also selected to charge, but they are only able to get one activation, so will fall short of the 2nd Foot.
Drummond now tries to support the charges by activating his other two units. Macdonald of Clarnanald will support 1st Glenagarry.
It is now time to resolve the charge. The 37th Foot is behind cover and has not yet fired. They are allowed to roll a die to see if they can get off a volley before the highlanders crash into them. They roll a "5". Being a line unit, this is more than enough to pass the test.
Here is the chart that covers firing:
The 37th is rated line, so they get one die for every 5 men in the unit. They now have 24 which gives them 5 dice. They are firing at close range which means they hit on 5s and 6s. It is thier first fire, so they add one. They are regulars, so they add another, and they are firing at a column, so they add still one more. This means they will be hitting on anything but a one.(There are now saving rolls in my rules. A hit is a hit.)
This is a pretty dismal roll. Even so, Clan Macdonald of Glengarry receive three casualties before the make contact with the 37th Foot. Now the mele must be resolved.
The 37th again gets one die for every five men, so they get five dice hitting on fives and sixes. The Glengarry men get one for every for men since they are veterans. They are down to 21 men, however, so they will get five dice. They get a plus two for being highlanders charging in an attack column, but minus one because the 37th are behind cover, so they are now hitting on 4s, 5s and 6s. The supporting unit adds half their dice in this case 2 dice) without the charding bonus and minus one for for the defender being behind cover. They hit on 6s. The 37th inflict 3 more casualties on the Glengarry men but suffer four in the process. They lose by one. The result is the 37th is driven back 3 inches disordered and the Glengarry men take the position but are also disordered.


Cholmondeley's card comes up, but the Scots are not yet in range so he opts to do nothing. Prince Charles uses his card coming up to attach himself to Roy Stewart's command in order to give him a better chance to support Drummond's attack. Roy Stewart's card comes up. He rolls a six, but with Charles's bonus it bcomes a 5. This allows his men three moves. After deducting three inches for having to cross over a low wall, they advance 21 inches.
The Duke of Perth uses his turn to continue his advance down the road. He rolls an 8 which only gives his men one action.
The last card drawn is Mordaunt's. He is unable to do anything with the 37th since they have already been involved in a charge this turn. He selects the 2nd Foot to fire a volley into the second battalion of Macdonald of Glengarry who were not able to make contact. He rolls a nine. Even with the bonus for being veterans, though, it is an 8 which allows only one action. The 2nd has 20 men and is rated veteran so they get to fire with five dice (one for every four men). They will also hit on anything but a one. They roll two sixes with three ones! Only two casualties are inflicted the 2nd is now unloaded.(The smoke in front of a unit signals that it is unloaded.)


Turn 3
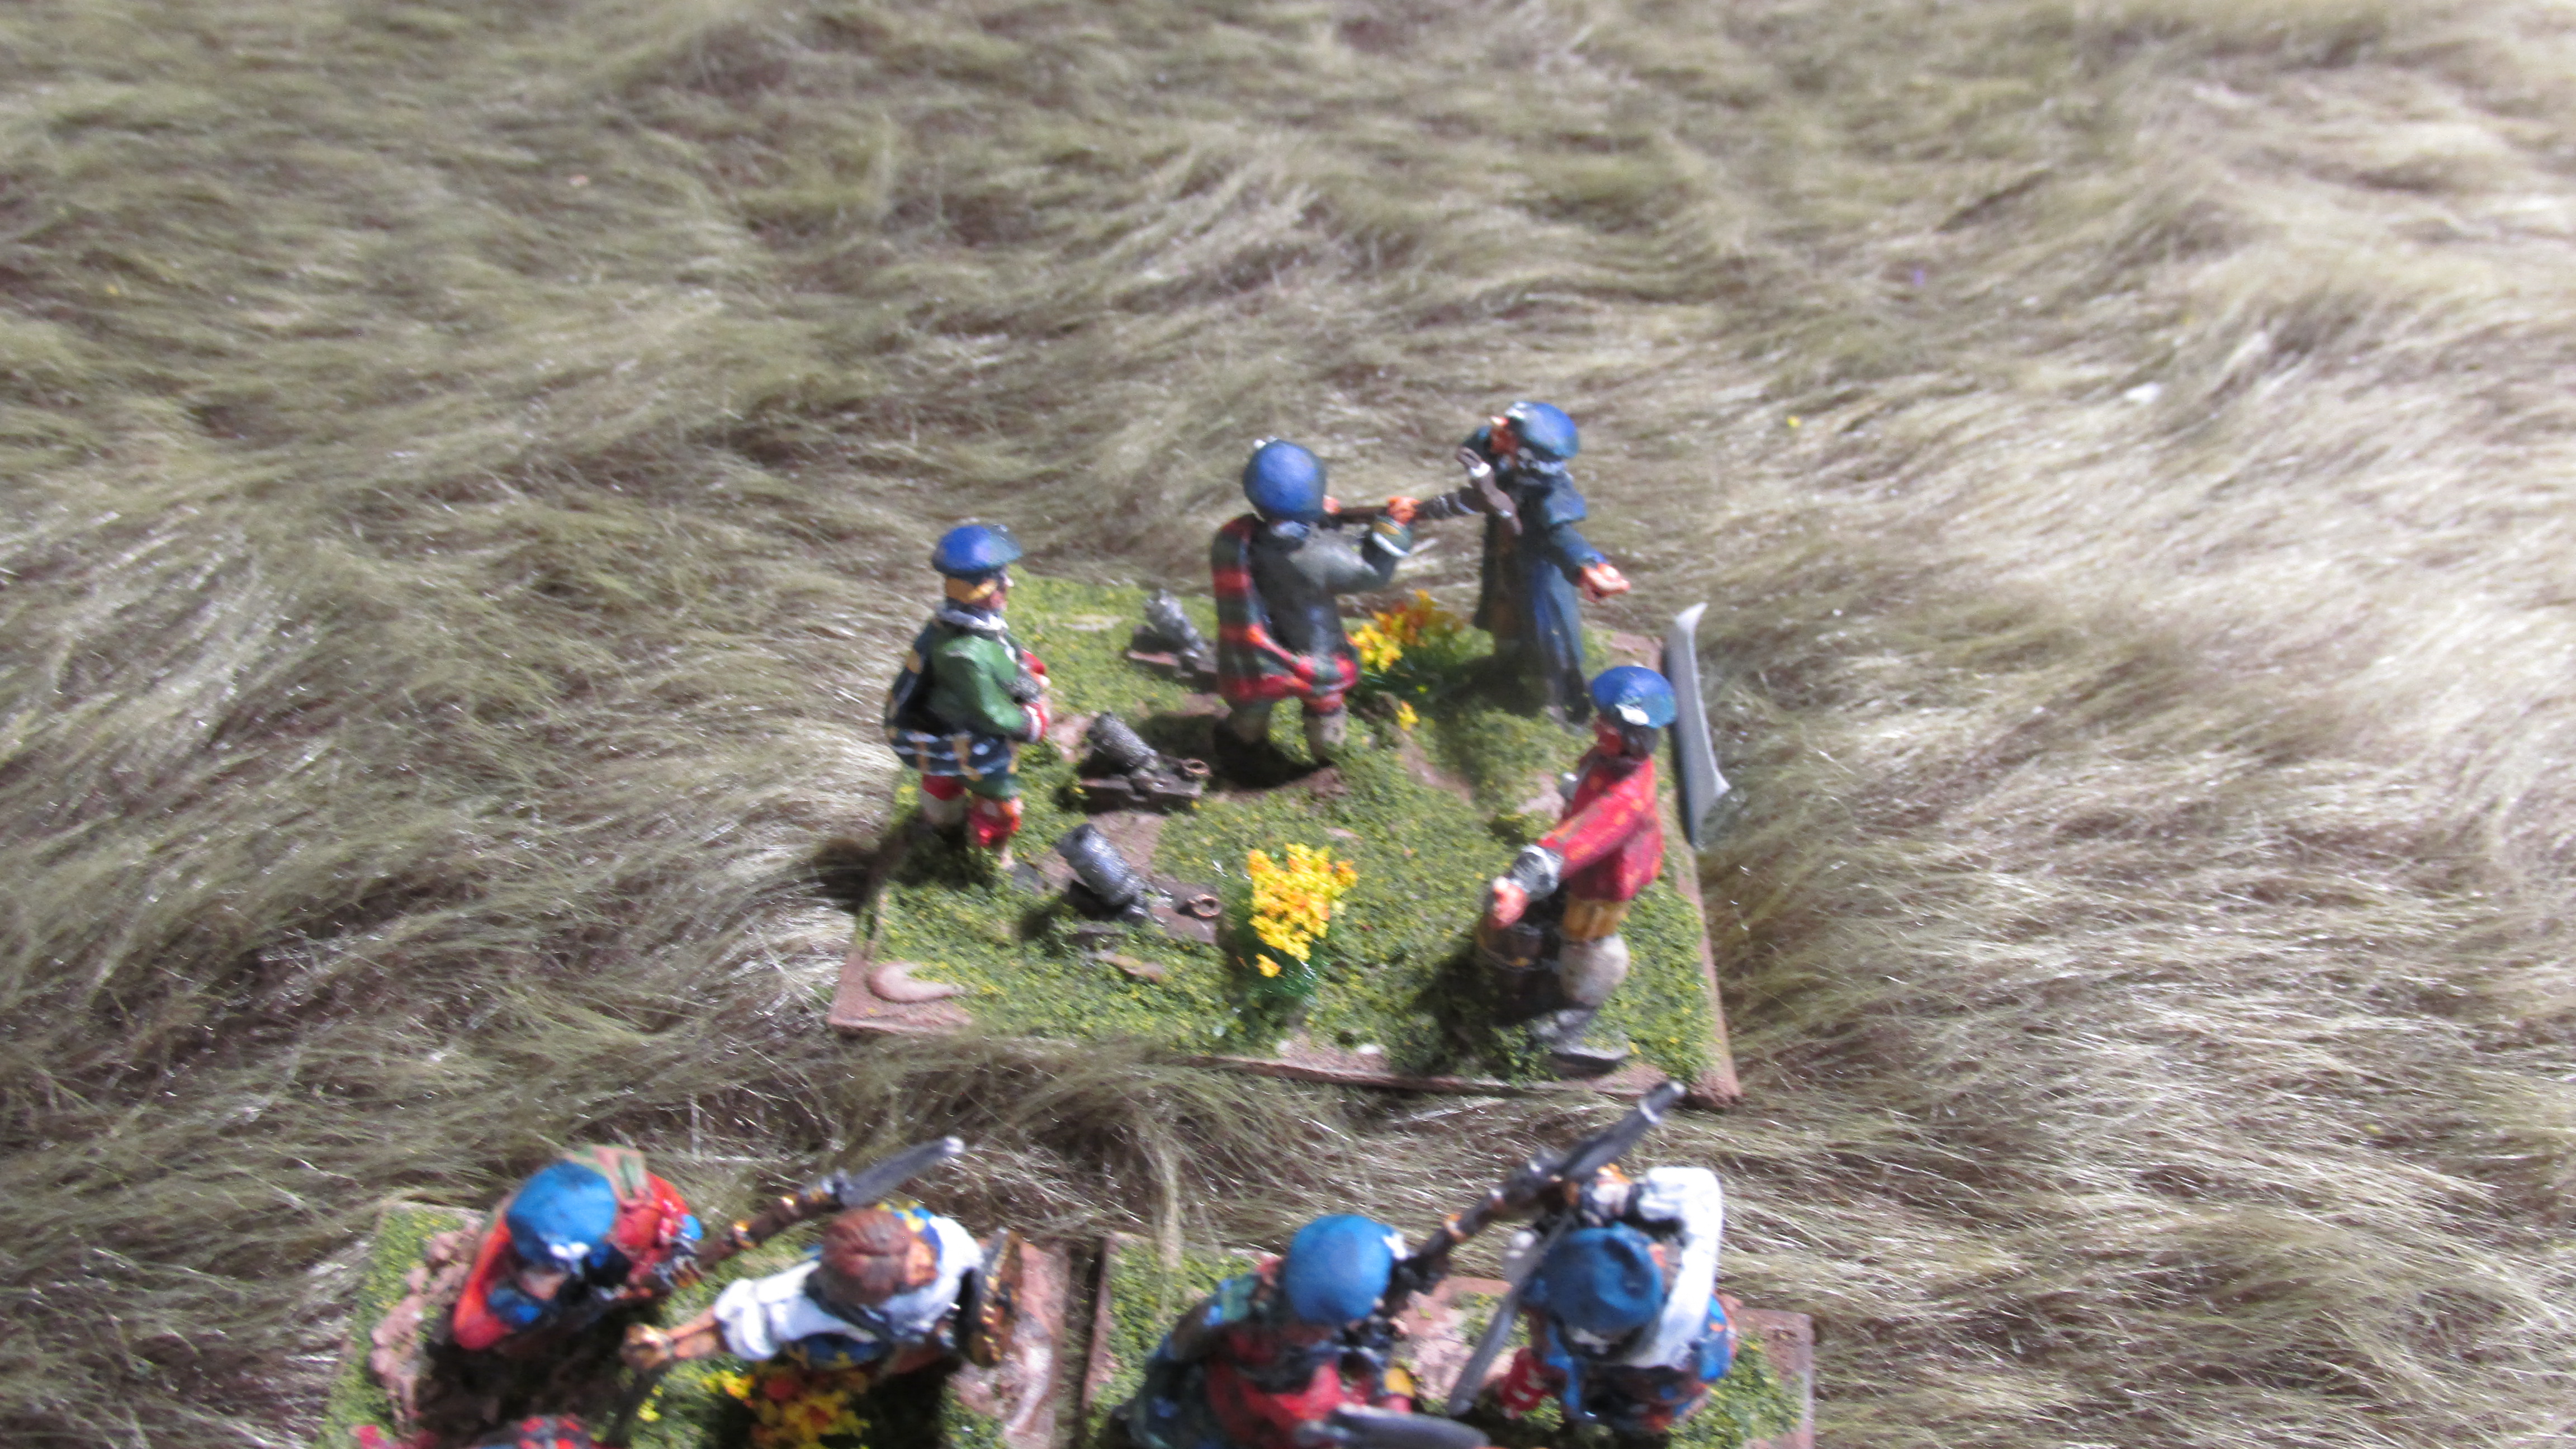
Again, the deck is shuffled and a new turn begins with the Duke of Perth. He selects his cannon first and rolls a six. The cannon being rated as conscripts must add one to that, but a seven still allows two actions.
The gun is unlimbered and will fire at Cholmondely's line. It is a light gun firing at long range hitting on sixes. The cover is light so doesn't count against the gun. It is the gun's first time firing, so it gets a plus one to hit. It will hit on fives and sixes. He tolls two fours and a three. No hits.
The Duke uses the rest of his activations to reform his men into line in preparation to engage. (Lowlanders fight as regular infantry and are not able to charge in attack columns.)
Next up is John Roy Stewart who continues to advance on Drummond's left flank.
On a very lucky note, Drummond's card is next. This will allow him to charge Mordaunt's men before they can reload, thus avoiding having to take a volley before closing. He issues orders to his mortars to fire. They get two dice hitting on fives and sixes. They roll a four and a three; no hits.


He then tabs the 1st battalion of Macdonald of Glengarry to continue their charge. He rolls a six. They are disordered which adds a plus one but they are also veteran which is minus one. The column gets two actions. They use the first to shake off the disorder and then the other to charge the 37th Foot which is now unloaded and unable to fire in defense. Clan Clanranald passes its activation and will support the charge. The second battalion of Madonald of Glengarry also passes its activation and will charge the unloaded 2nd Foot with the support of Macdonald of Barksdale.
The weary men of Glengarry's first battalion are able to drive back the 37th Foot six inches, winning by two. The second battalion of Glengarry destroys the 2nd Foot by scoring six hits while taking only one, a difference of five. The 2nd Foot is routed from the field!


Mordaunt finally is able to respond to the crisis. He is able to get the 27th Foot to advance to stem the tide of the 2nd Glengarry battalion. He has the 43rd Black Watch battalion move up into a supporting position of his threatened flank. His cannon fires without success on John Roy's rapidly advancing columns.
Turn 4
This turn sees Mordaunt's card drawn first. He first tries to stablize the disordered 37th Foot. He rolls a 12! Thankfully, with Cumberland attached, he gets to re-roll with better results. the 37th is able to reform and reload. He is then able to give the 27th Foot two actions. They advance and pour a volley into the Glengarry men. Five shots result in five hits. Not only does Clan Glengarry lose a stand, they are now down to 16 men out of 24 and are worn.
Cholmondeley is next up. He orders his cannon to fire. No hits.
Cumberland, realizing the danger to his left flank, orders his aide de camp to attach himself to the 14th Foot of Cholmondeley's brigade and move it to support Mordaunt.
Roy Stewart's card comes up and he issues orders to continue to advance. He also fails a roll, but Prince Charles's presence allows him to re-roll with better results this time. His units move to within striking distances of Mordaunt's right flank line of defense.
The next card drawn is the Duke of Perth's. He continues to shake is units into line. His battery is able to fire once again, this time succeeding in getting a hit which disorders the 14th Foot.
Finally, Drummond is able to try to reorganize his battered brigade for a second push. In these rules, clans attack with ferocity but usually pay a high price due to the fire power of the disciplined Government regiments. That was certainly the case here. Drummond successfully pulls back the two battalions of Macdonald of Glengarry that have suffered over 25% casualties in their successful charges. It will be up to the supporing elements to follow up their hard won gains.
However, when he attempts to order in a second charge with the supports, he rolls a "12" and his turn is over.
I will wrap this up at this point. I will work through three or four more turns that will hopefully bring up brigade moral tests and leader casualties.
If you have questions or comments please leave them. I'd love to get some input.