I am not sure when, but in the distant past I began to acquire casualty figures to add another dimension to my wargaming. The first collection to get the addition was my 15mm ACW armies. It started out as just a few, but over the years scores more were added. The kids in my wargaming class really enjoyed the effect. At game's end we could see where the fighting had been the fiercest.
These are some shots from a refight of Brock's Field at Chicamauga.


In my latest project, building up forces for the Jacobite Rebellion, one of the reasons I chose Old Glory for the figures was because of the excellent set of casualty figures they offered. As before, I started out small. As the project has proceeded, though, I have added more and more. Right now, I have two stands, all labeled, for each regiment/clan in my growing collection. All of my infantry are organized in four stands of either four, five, six figures. My largest unit, the Camerons of Locheil, have eight men per base, so their casualty stands will feature two figures instead of the usual one. As a unit loses a stand I remove it from play and replace it with a casualty stand. In the pictures below, Clan Macdonald of Barksdale goes from full strength to 3/4 strength to 1/2 strength


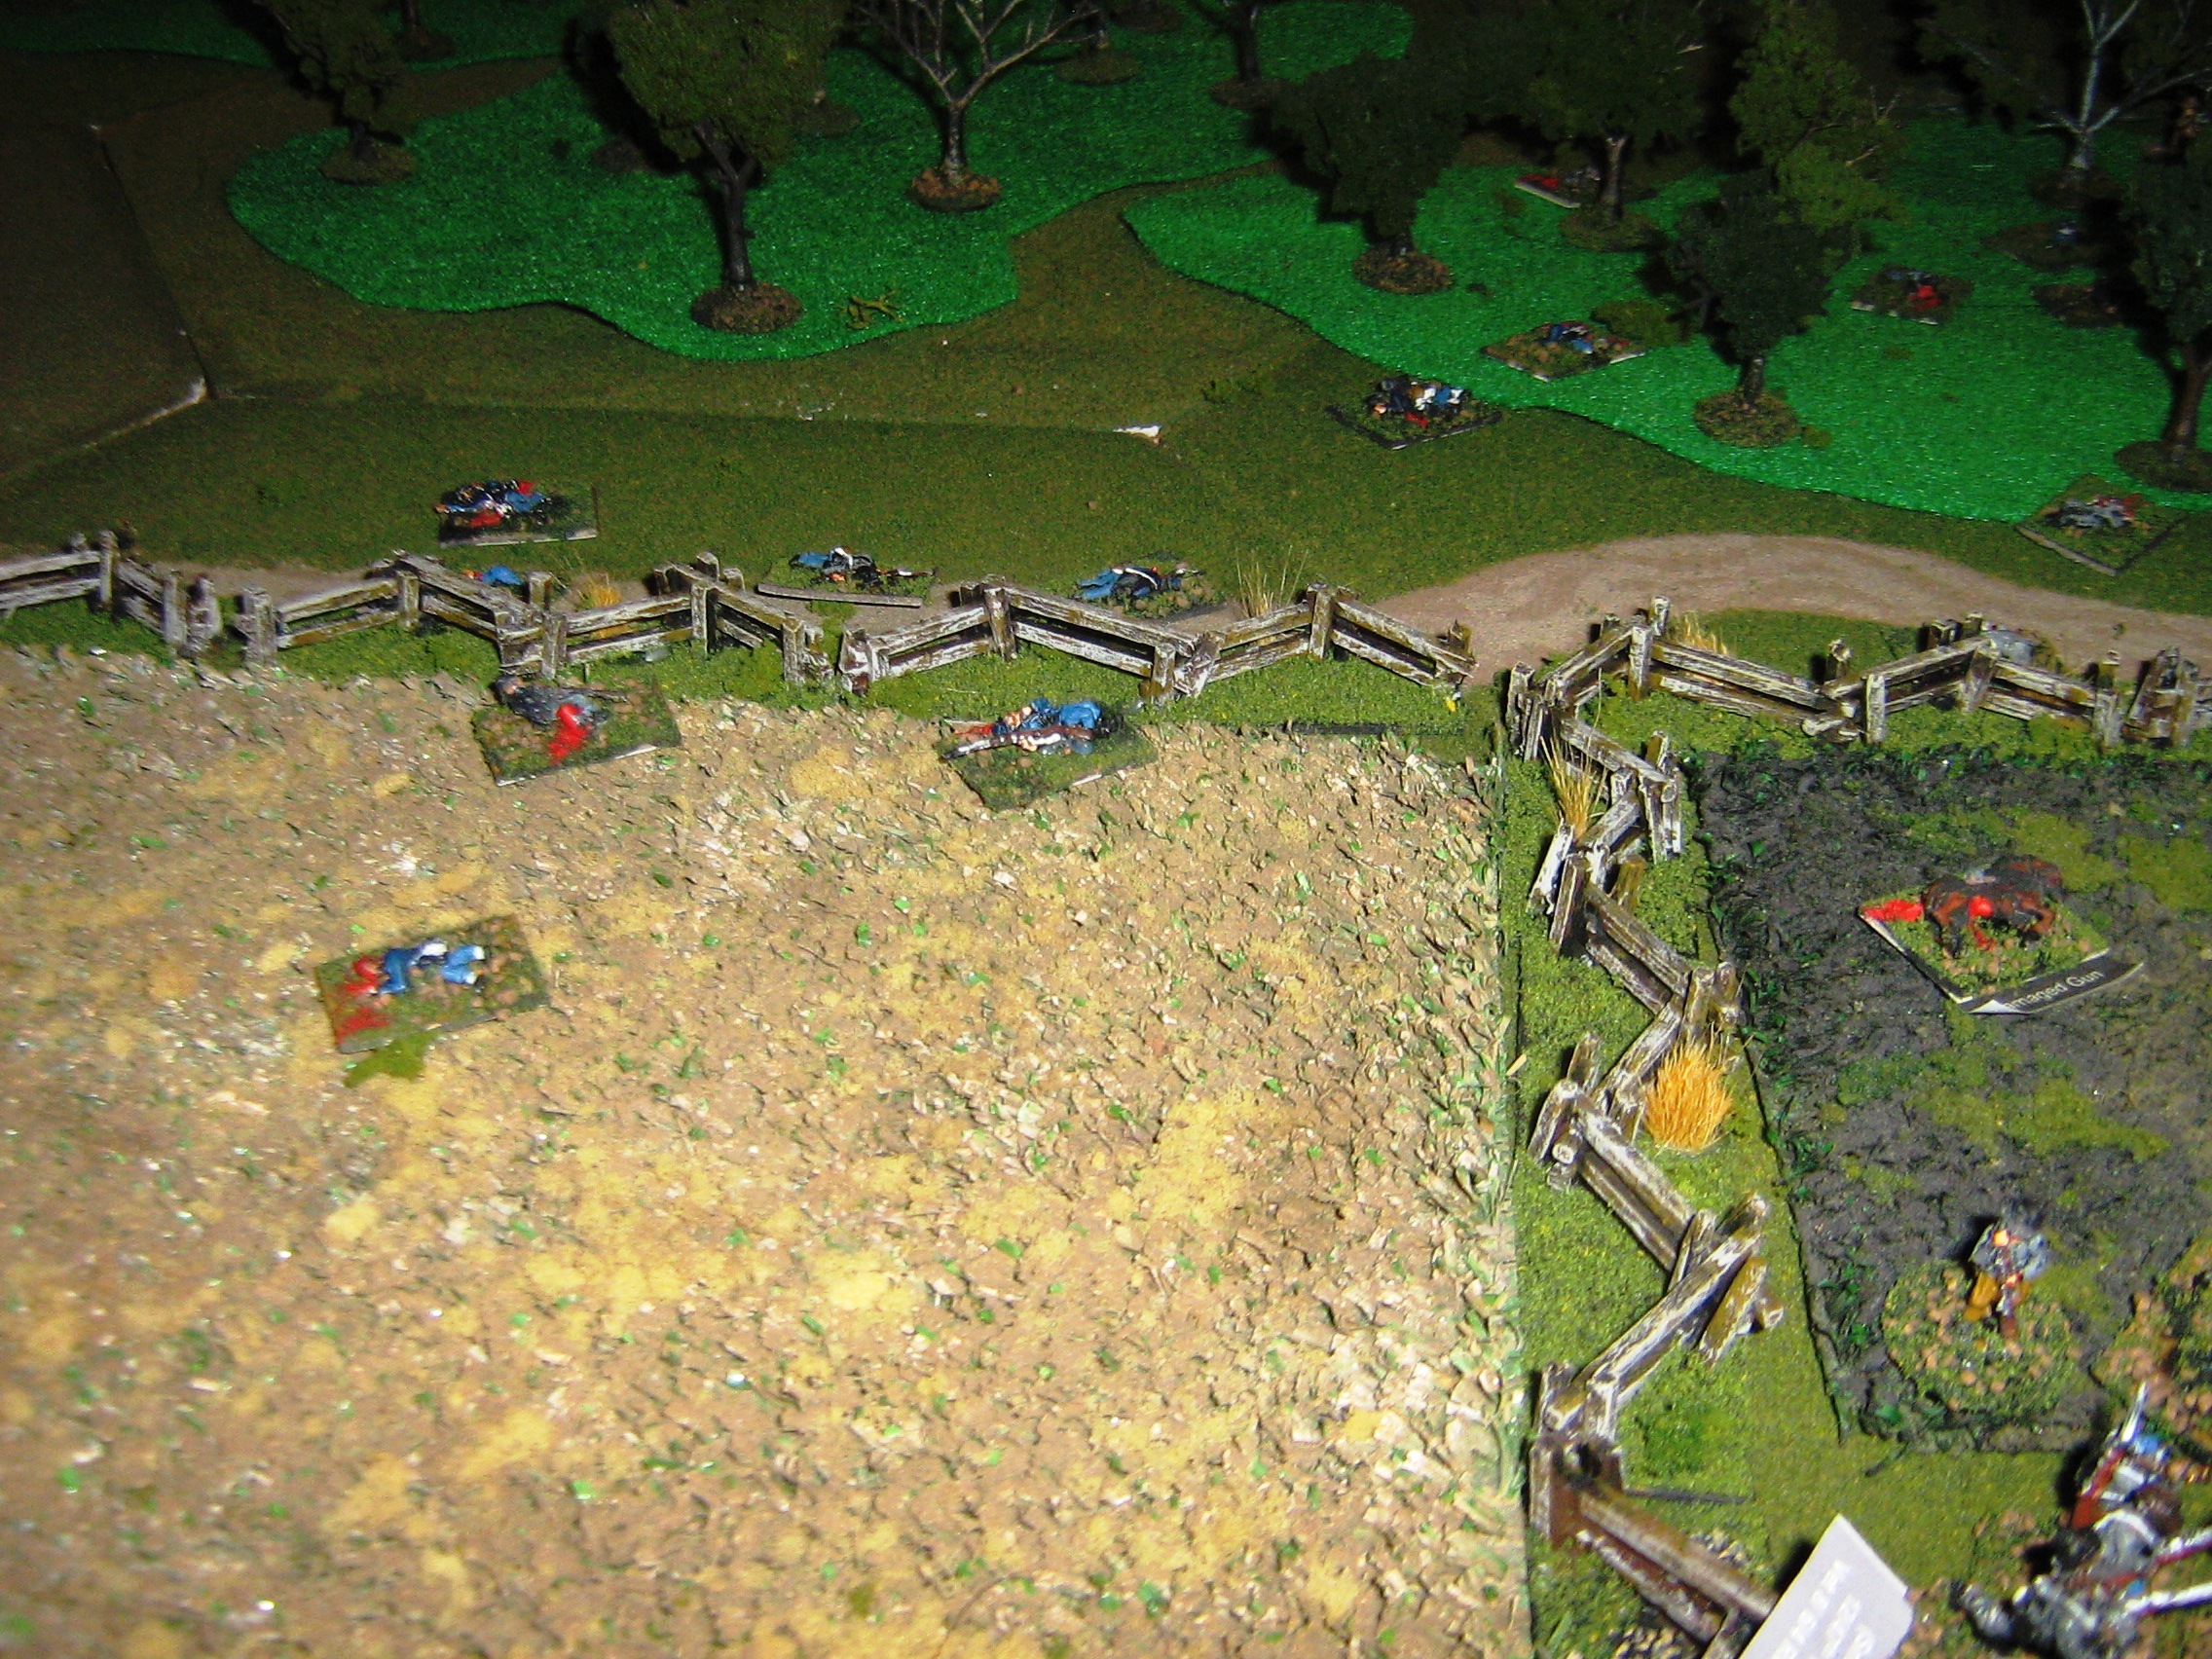
In my most recent solo game, John Drummond's highlanders charged Mordaunt's brigade of redcoats that were defending a hedged-in field. A stand was lost in the initial advance. The 2nd Foot was completely overwhelmed at the hedge line. The two casualty stands testify to the costly defense. Beyond the hedge, additional casualty markers show that Mordaunt's men gave ground stubornly, slowing the highland advance. Another stand was made at the opposite end of the field, and yet another regiment of foot was overwhelmed and driven back.
To the left of Drummond, Lord Murray's division provided support and was able to orrun a field gun.
The rules also provide the chance that general officers may become casualties. In this battle, BG Cholmondeley was killed trying to hold the Government right flank against the Duke of Perth's Lowland division.
For this project, the bases are rather irregular. I like the look of them; they appear to be more natural. I may rebase my 28mm Napoleonic casualty stands in the same manner.
For me, the visual effect of seeing the battle come to life is as much of a thrill, if not more so, than the actual playing of the game. Using casualty markers adds a lot to that overall effect. Let me know if you use casualty markers in your games. If so, how?


No comments:
Post a Comment