My two former students, James and Chris, arrived right on time for a second game of Rising of the Clans. I was looking forward to see what they thought of the tweaks I had made to the rules since the last game we had.
We rolled to decide who what command what. Chris found himself leading the Scots and James the government forces.
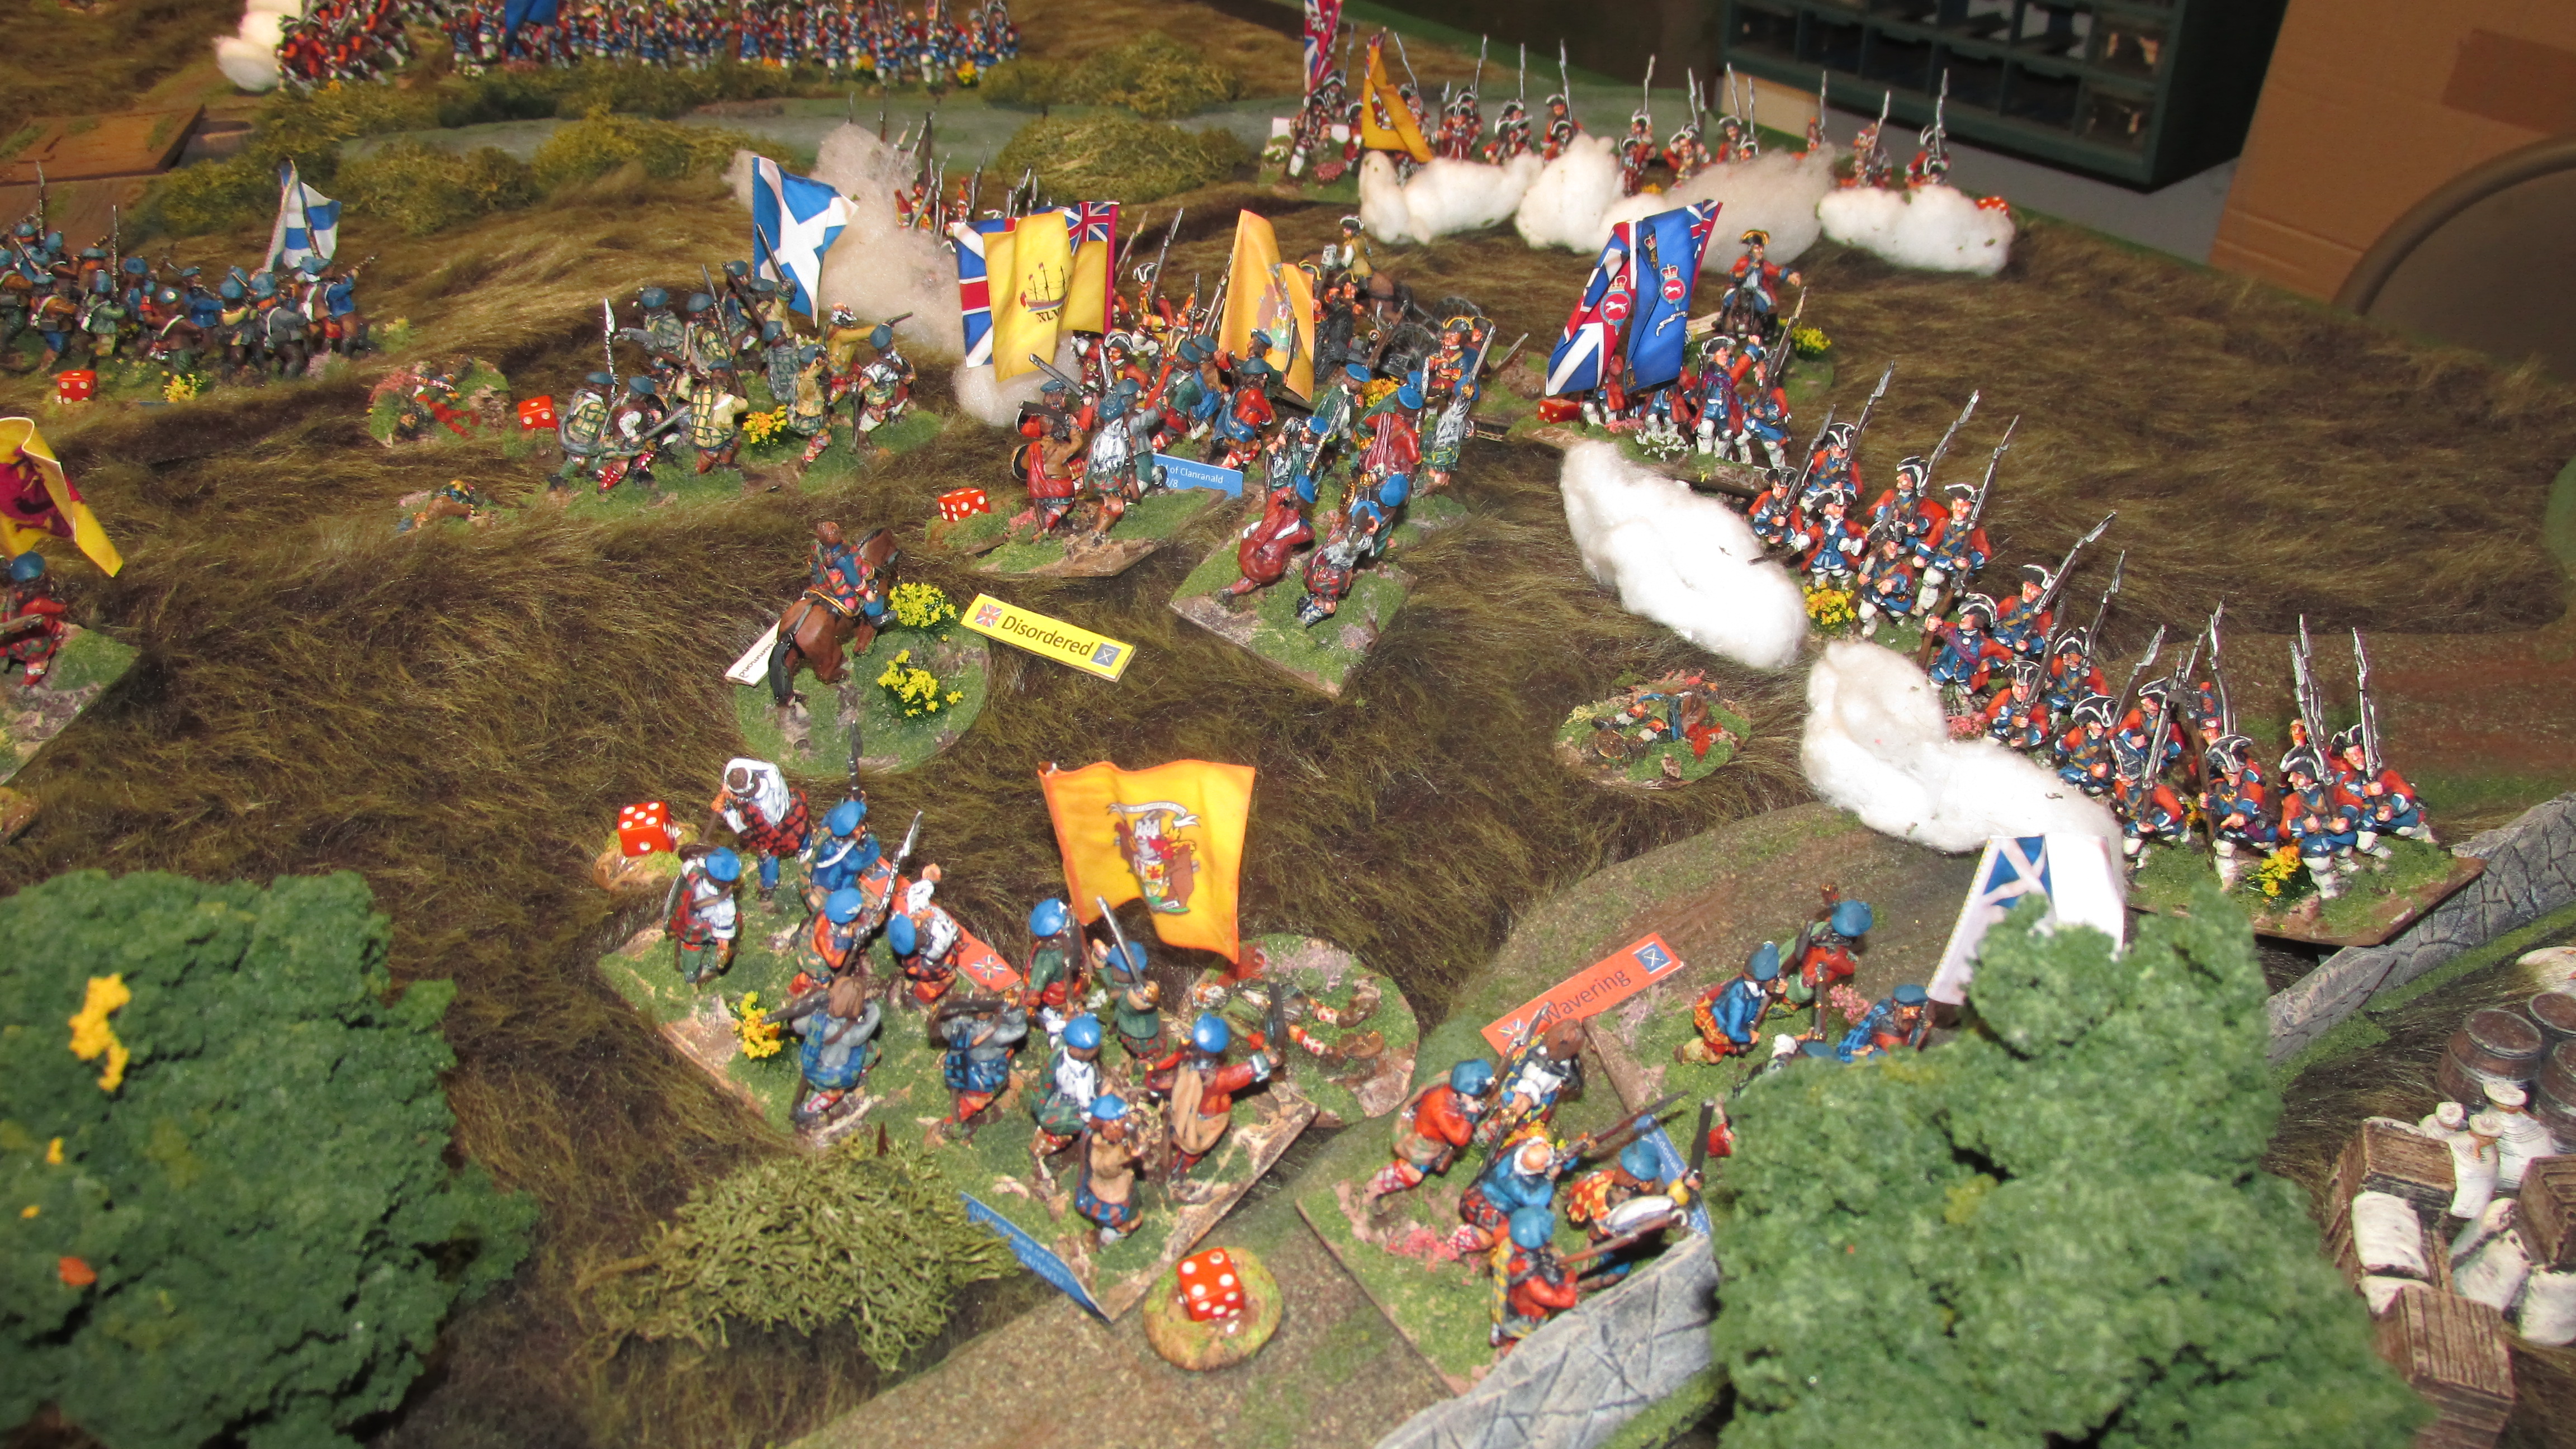
Turn one- Chris aggressively sent both of his infantry brigades, one of highlander and the other of lowlanders, straight ahead to attack the red lines in front of him. He fired off his artillery, inflicting the first casualties of the game. Due to a poor command roll, Chris's cavalry failed to advance on the left flank. James, seeing that his right flank was vulnerable, attached commanding general Hawley to Campbell's brigade of militia to hurry them off in that direction. Other than that, he chose to leave his other three brigades in place to await the inevitable rush of the Scots.

Turn two- Chris received two more brigades coming up behind his center. He sent Drummond's highlanders over to his right to cross the river into Bedford. He had Murray's highlanders push forward to support Roy Stewart's attack on Lascelle's forward line of redcoats. In a stunning development, Stewart's clansmen ferociously charged into Lascelle's line. The weight of numbers saw two of Lascelle's regiments routed from the field. This forced his brigade to take a break test as it had lost half of its strength. James rolled a "1" resulting in the other two regiments fleeing the battle as well. This was a very disappointing beginning to the game for James. Fortunately for him, on turn three Wolfe's brigade arrived to reinforce his center.
Drummond's men move into Bedford.
The aftermath of Stewart's successful attack.
One of Lascelle's surviving regiments gets off a volley into Olgilvy's men before it flees the field.

Chris's cavalry finally started to move forward to engage the government right.
Turns three and four- To the horror of Prince Charlie, Stewart's men, intoxicated with victory, continue to rush headlong into the volleys of James's second line and are decimated. James moves two of his cavalry regiments into the void left by Lascelle's departure and sends the other two across the river to attemp to hold that flank. Drummond continues to advance through the town of Bedford. The Scottish cavalry put pressue on the government right. Fitzjames's horse drive back Mordaunt's artillery while the rest of the brigade prepares to crash into Campbell's arriving militia regiments. Roy Stewart's largest regiment, the Camerons of Locheil, are virtually destroyed in their breakthrough. His brigade must now take a break test which results in them having to pull back 20". Murray's men will now have to attempt to exploit Stewart's initial success.
Turns three and four also see the arrival of the rest of both armies arrive on the table. Perth's lowlanders come in on the Jacobite right and are directed toward the center. Stapleton's elite brigade of French regulars comes on in the center. Hawley's forces is suppliemtned by Cholmondelely's brigade which comes in on his left in marching column. The order in which cards are drawn in the next turn will be critical for both sides.

Drummond's men continue to advance on the Jacobite right.
Stewart's men are mowed down by the disciplind volleys of the British regulars and forced from the field.
It will now be up to Murray's men to continue the attack.
Turn five- On the Jacobite right, Drummond's card comes up first. He charges one unit up the road and catchs two of Cholmondeley's regiments in march column, destroying them. Another of Drummond's clans is able to catch two dragoon units in the flank. They, too, are destroyed and removed from play. Perth's men are rather disorganized trying to get into position along the river to support the Jacobite center. James's two remaining dragoon regiments demonstrate great courage in charging headlong into Ollgilvy's men with some success. This enables Wolfe's men to deploy into a solid line behind them.
The Jacobite cavalry throws itself against Campbell's militia. It is initially successful, but its lack of numbers ultimately see it driven off.
Ominously, Stapleton's elite soldiers lumber forward to attempt to break through Mordaunt's brigade stationed behind a stone wall along the road.
Perth and Olgilvy struggle to make an impact in the center.
The Scottish horse gallantly assault Campbell's men, but are ultimately broken by the attempt.
Turn six- This roller coaster of a battle continues to unfold with yet another turn of fortune. This time, Cholmondeley's card comes up first. He is lucky on his command rolls and is able to get off two volleys into Drummond's crowded columns. Olgilvy is able to drive off the rest of Hawley's cavalry. Stapleton's highly disciplined troops calmy form into line and blast away at Mordaunt's line. Drummond is able to push forward his reserves to continue to bring pressure on Cholmondoley's line, driving back one regiment only to be brought to a hault by the stout resistance of a battery.
Drummond's meet the same fate of other victorious clans, being torn to pieces by murderous volleys of musketry.
Stapleton's men attempt to break through the government center.
Turn seven-Stapleton rolls well on his commands and in three separate action is able to fire a volley and then charge into the British line, winning two of these critical mele's. Elsewhere, however, lossess continue to mount among the highland brigades of Murray and Drummond. This forces both to have to take break tests which they both fail and the flee the field. It is up to the lowlander brigades to hold on in the center to buy time for Stapleton's attack to succeed.
The casualty stands bear testimony to the horrific casualties suffered by the highlanders in the center.
The last gasps of Drummond's brigade before he is killed leading a desperate charge trying to retrieve the situation.
Stapleton continues to hammer away at Mordaunt's line.
The lowlander brigades trying to hold on in the center.
Turn eight- It would be up to the French regulars to pull victory out of the grip of defeat. Two units broke through Mordaunt's line only to be confronted by Wolfe's relatively fresh regiments. Dice were rolled, modifiers added, and Wolfe was able to withstand the final attack of the French.

It was declared that the government forces had narrowly won the day. Four of the seven Jacobite brigades had been broken and driven from the field. Hawley had seen two of his brigades flee off the table. Prince Charles' bid to invade England and regain his crown had been thwarted, but at great cost.
In this second game, both of my players thought the changes made to the rules were effective. They enjoyed the uncertainty that the use of cards and the rolling for number of actions brought to the game. They also liked how units lost potency as their strenght wore down as a result of casualties. Initially, it seemed that the highland charge was too powerful, but later events showed that British musketry was even more devestating in the longrun, which gave the game a realistic feel.


No comments:
Post a Comment