I painted up a couple of more units for my Jacobite Rebellions collection, the 20th Foot and the Yorkshire Blues. I put together this little battle to give them a chance test their mettle.
using my random system of selecting units and when are where they arrive, the following scenarion developed. At the start of the game, the Jacobites had two divisions on the table. Drummond's highlanders held the left flank and Olgilvy's lowlanders held the right. They would be joined in the center by Roy Stewart's highland brigade accompanied by Prince Charlie himself on turn five. For the Government, General Hawley led Montrose's militia onto the table opposite Drummond. On turn two, Lascelle's regulars came on to assault Ogilvy, followed by Mordaunt's regulars on turn three.
Lascelle's was rather sluggish in getting his redcoats into line. Montrose, however, proved much more capable in pushing his milita men forward. Despite their lower rating, these civilians in uniform quickly got into position to contest any incursions across the river by Drummond.
If Lascelles was slow, Mordaunt was to prove to be even more sluggish. Lascelle's field piece was able to inflict damage on Olgilvy's medium piece, but was in turn battered by counter battery fire. Lascelles' men shook into line and began to pour fire into Olgilvy's smaller units. For the first three turns the musketry was fairly ineffective, but casualties did mount on both sides. Mordaunt finally was able to bring his guns to bear on Olgivly's right. Pressure was mounting significantly against the lowlander's thin line.
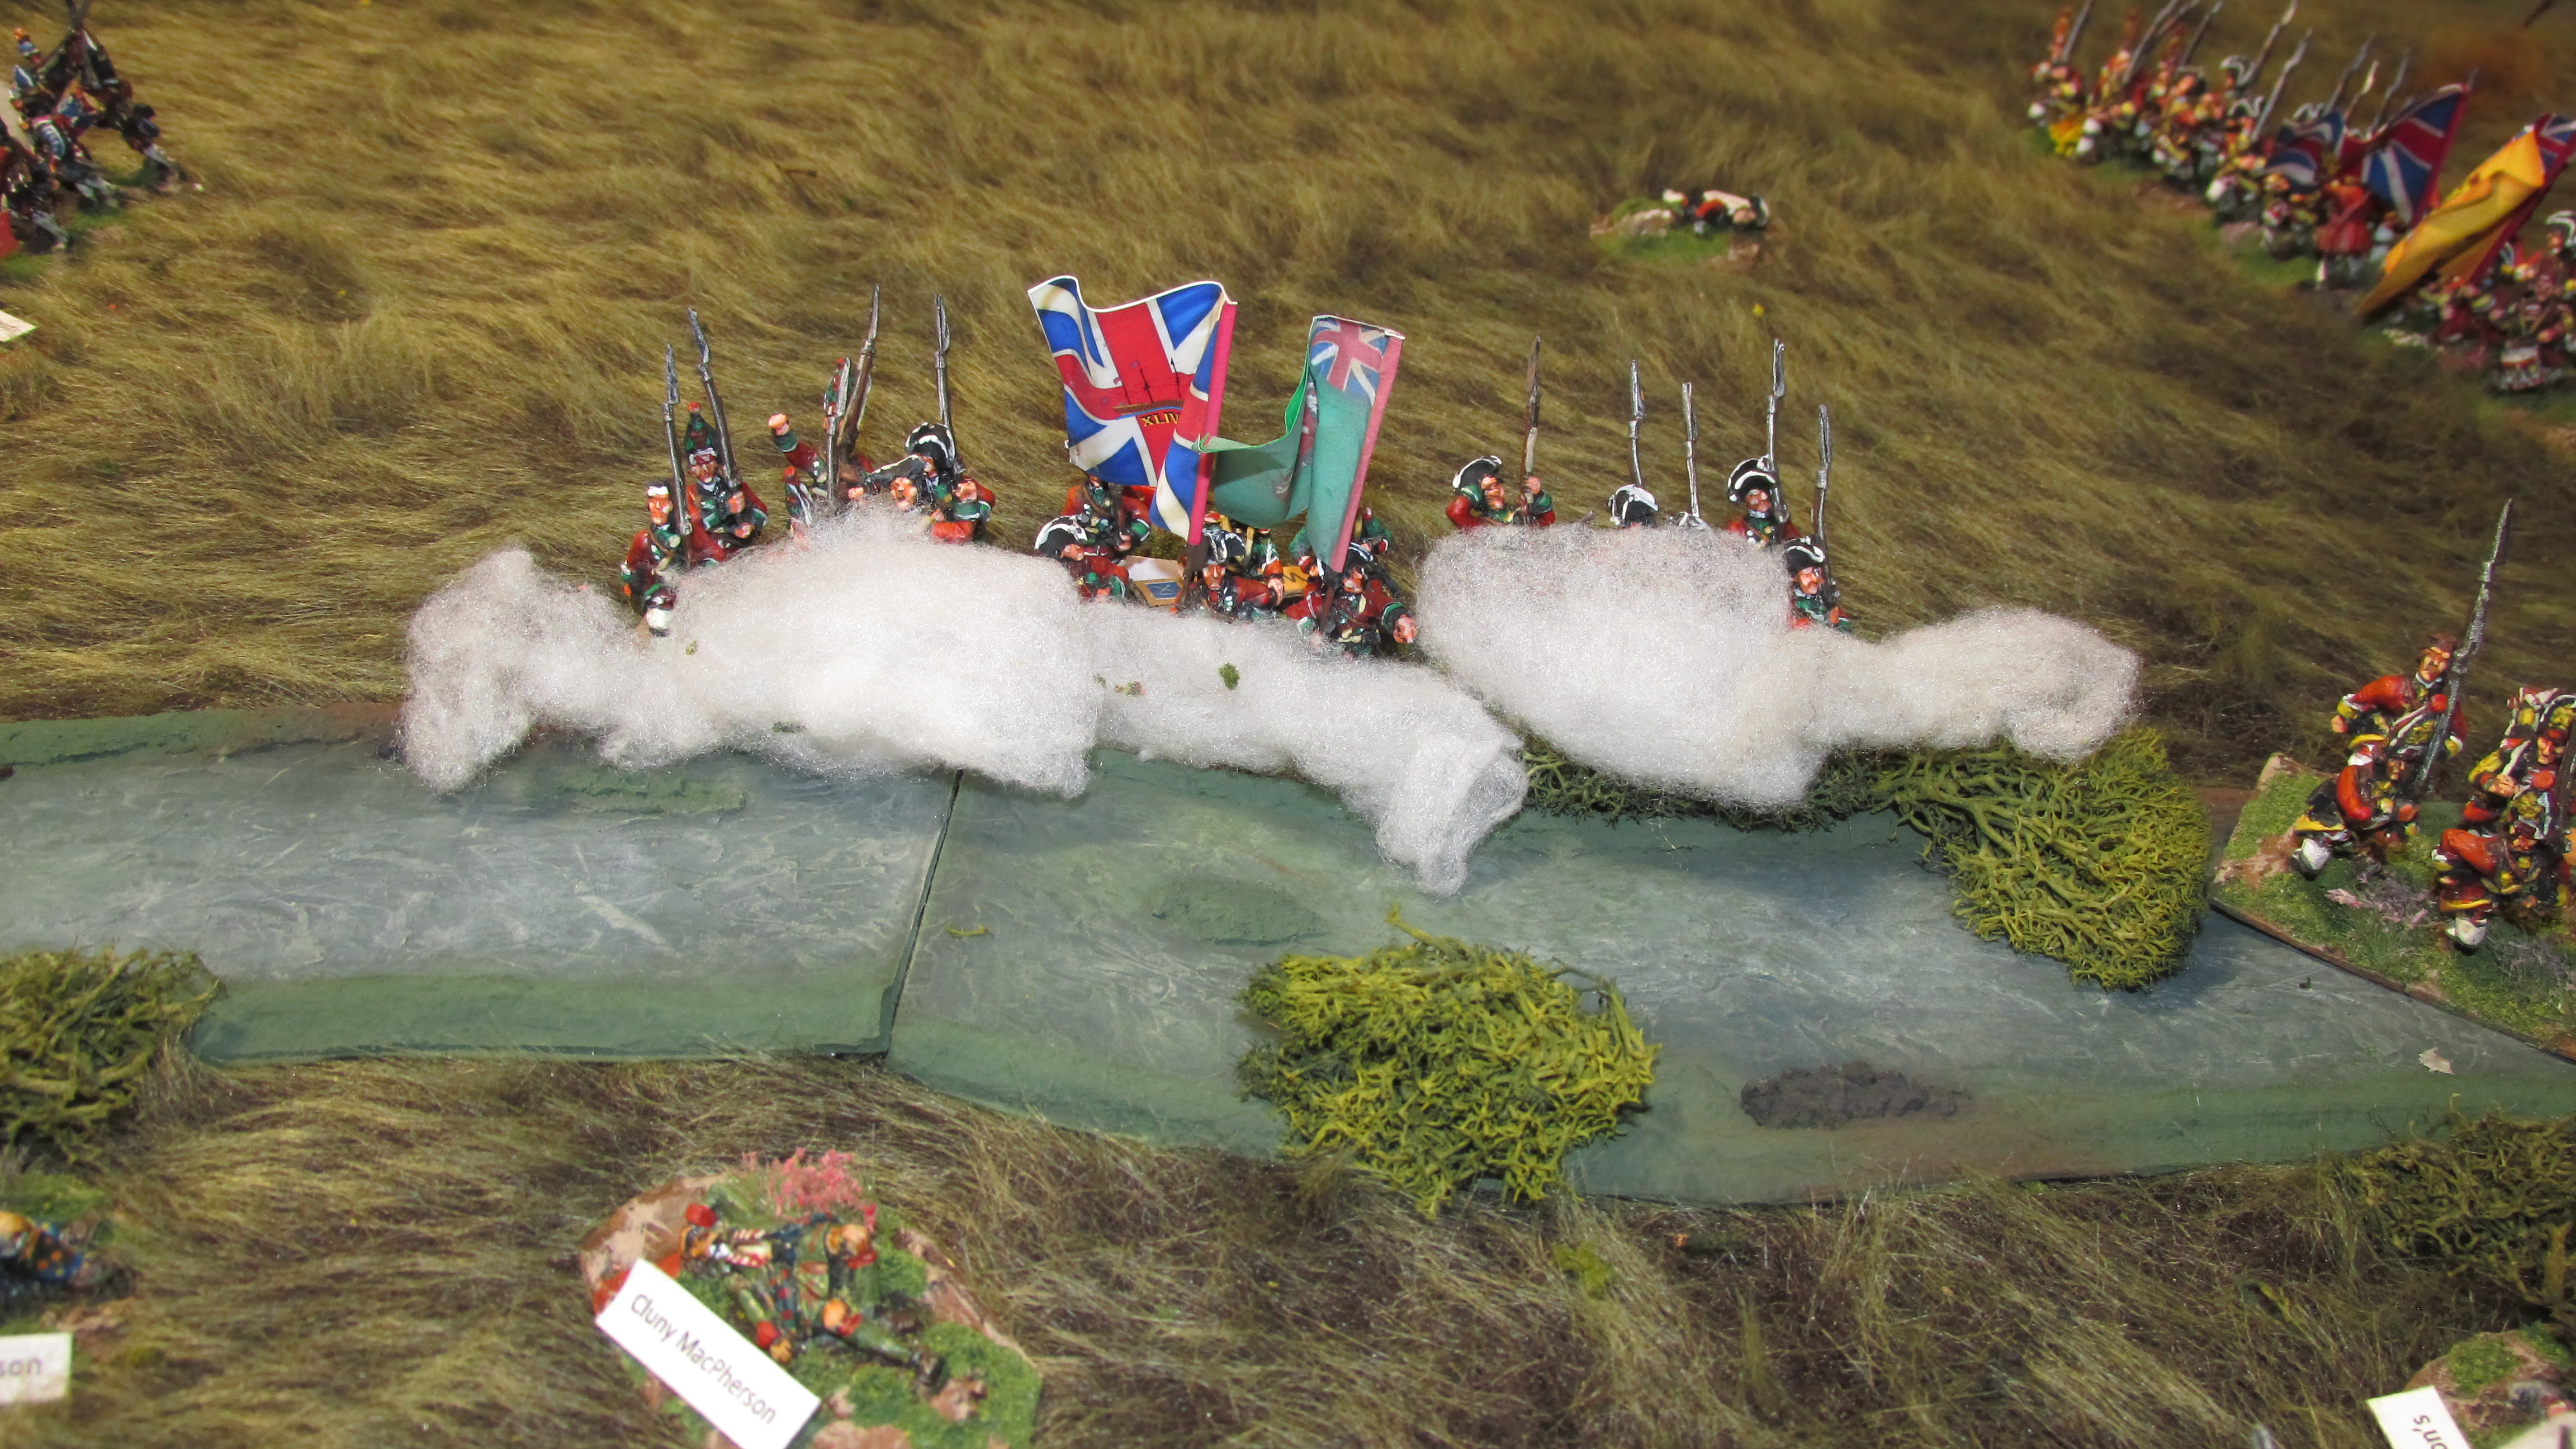
On the opposite side of the battlefield, Drummond attached himself to lead one of his regiments in a charge across the bridge. The Edinburgh militia was able to get off a defensive volley that stunned the clansmen. The tight confines of the bridge forced the highlanders to charge in a march column. The combat was sharp and desperate. Drummond was severely wounded in the mele and had to leave the field. The Edinburgh militia was pushed back but had stopped the charge. Drummond's men were now leaderless. No ADCs were available to take over, so for the time being Drummond's soldiers were left to their own devices.
On turn five, Prince Charlie finally made his entrance along with Roy Stewart's kilted infantry. He immediately galloped over to take command of Drummond's men. Roy Stewart sent two of his regiments to Olgilvy's aid. The other three he led forward to attack the Government center. The fighting intensified all along the line.
Both Mordaunt and Lascelles were hampered by poor command rolls. Finally, on turn nine, both divisions were able to come to grips with the depleted Jacobite right, driving them back but not routing them. Prince Charlie pushed three MacDonald regiments over the river and into Montrose's solid line. Incredibly, the militia men were able to hold for two turns before they were driven back to the table's edge. The Macdonalds were too exhausted to follow up thier success.
Roy Stewart's Clan Chisolm, the largest unit on the table by far, was a jugurnaut, caving in the Government center but at the cost of over a third of its men. The rest of Stewart's units were whittled down by the disciplined volleys of Lascelles' steady line of infantry.
After turn ten the game had been fought to a conclusion. Both sides had suffered significant casualties. The Jacobites, however, were clearly a spent force while Mordaunt's division was still pretty much intact. Based on this, the battle was declared a marginal Government victory.