Tuesday, October 27, 2020

Latest Project

 I purchased a box of Perry elite company figures. I used 13 of them to build a couple of skirmisher groups for my Sharp Practice collection, and 24 to make up a battalion of Italian guard grenadiers.

I like the figures. The only down side for me was the one figure that you have to glue the leg to. It is in a running pose that doesn't really fit in with the rest of the available figures, at least in my opinion.


Sunday, October 25, 2020

Take the Blockhous2 Fina; Turns

 I was able to finish up my solo game of Sharp Practice this afternoon, getting through three turns.

Turn 8

Colonel Slaughter's regulars unleashed a controlled volley on the blockhouse. One of Smither's group's was forced to withdraw. The other was dangerously close to breaking.

major Thompson's continentals fired another volley at the loyalist regiment. The results were rather poor. However, afterwords, three straight flags came out and his bluecoats advanced 2d6 towards the enemy.

Colonel Slaughter's unscathed formation.

Sgt. Hopkins' medium gun fired a round of cannister at the blockhouse. This was the final straw for Smithers' last group which broke and retreated nine inches. The American morale was reduced by two.

Turn nine.
Major von Hassleberg's Hessians continued to pound Lt. Jacobs' state line troops.

The American position, with mounting shock.

Sgt. Rocker's light infantry take losses from Sgt. Reese's gun.

Captain Bittllesworth's infantry finally get into formation to confront the Hessians.

Turn 10
Volleys are exchanged on the American right.

Black Feather's warriors attack Captain Harnsworth's militia.

The group led by Black Feather is victorious, driving back two groups of the militia and wounding Captain Harnsworth. The American morale drops two more points.

Sgt. Hoffman's jagers occupy the abandoned blockhouse.

The American position at the end of the game.

Colonel Slaughter's men have secured the blockhouse and the victory. 

I really enjoyed this game. I learned a lot about unit characteristics and the fisticuffs mechanics. I look forward to the next encounter.


Friday, October 23, 2020

Take The Blockhouse Turns Six and Seven

 Things have heated up considerably. Musketry has erupted all along the table and losses are mounting. The valiant garrison of the blockhouse has lost 33% of its number. The loyalist regiment has lost 25%, having been subjected to a blast of cannister while in the open. Black Feather's Indians, facing ever increasing opposition, has pulled back deeper into the woods to regroup.

Turn 6, Hessians move into position

Turn 6, Continentals get closer

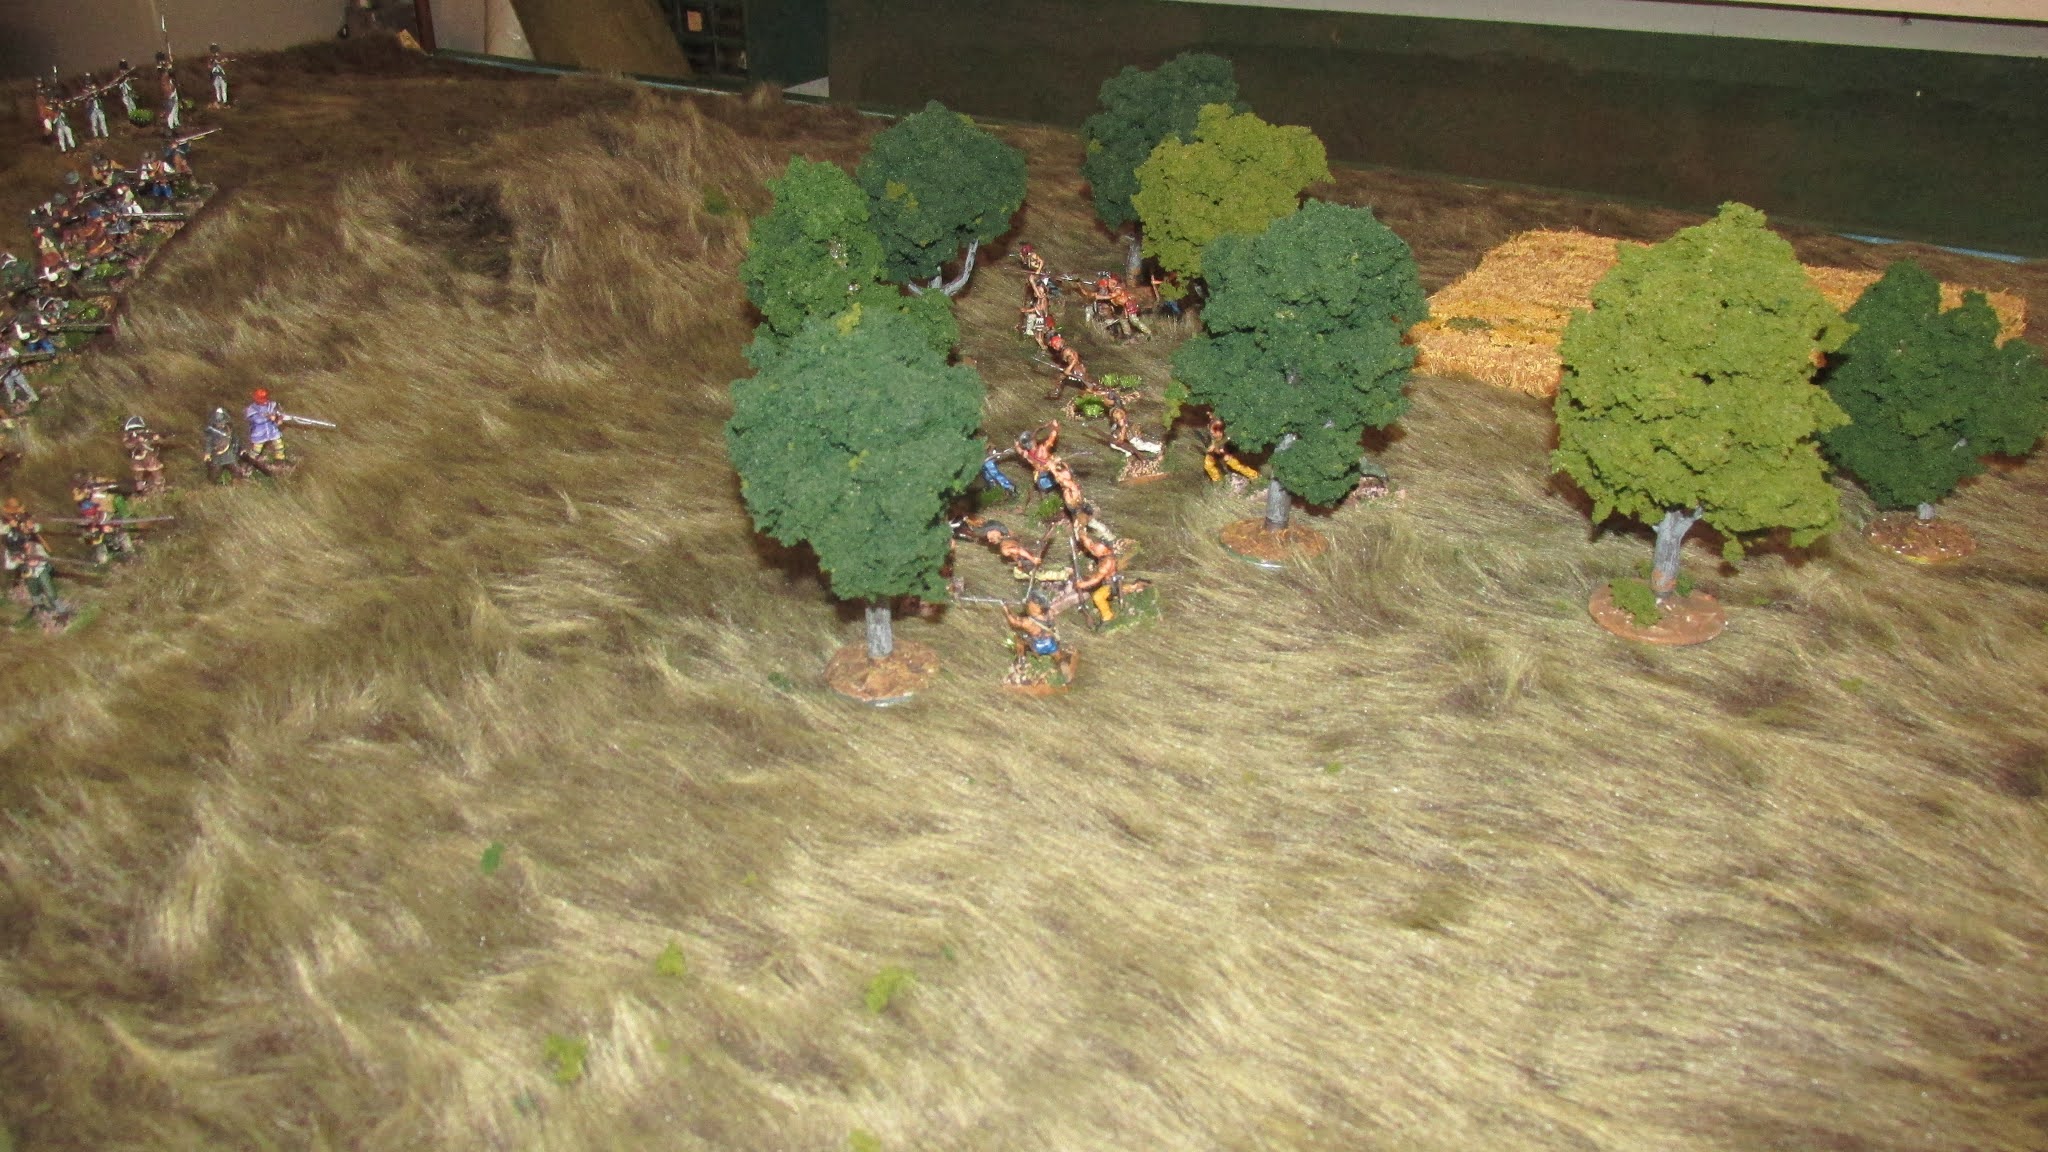
Turn 6, Indians feeling the heat

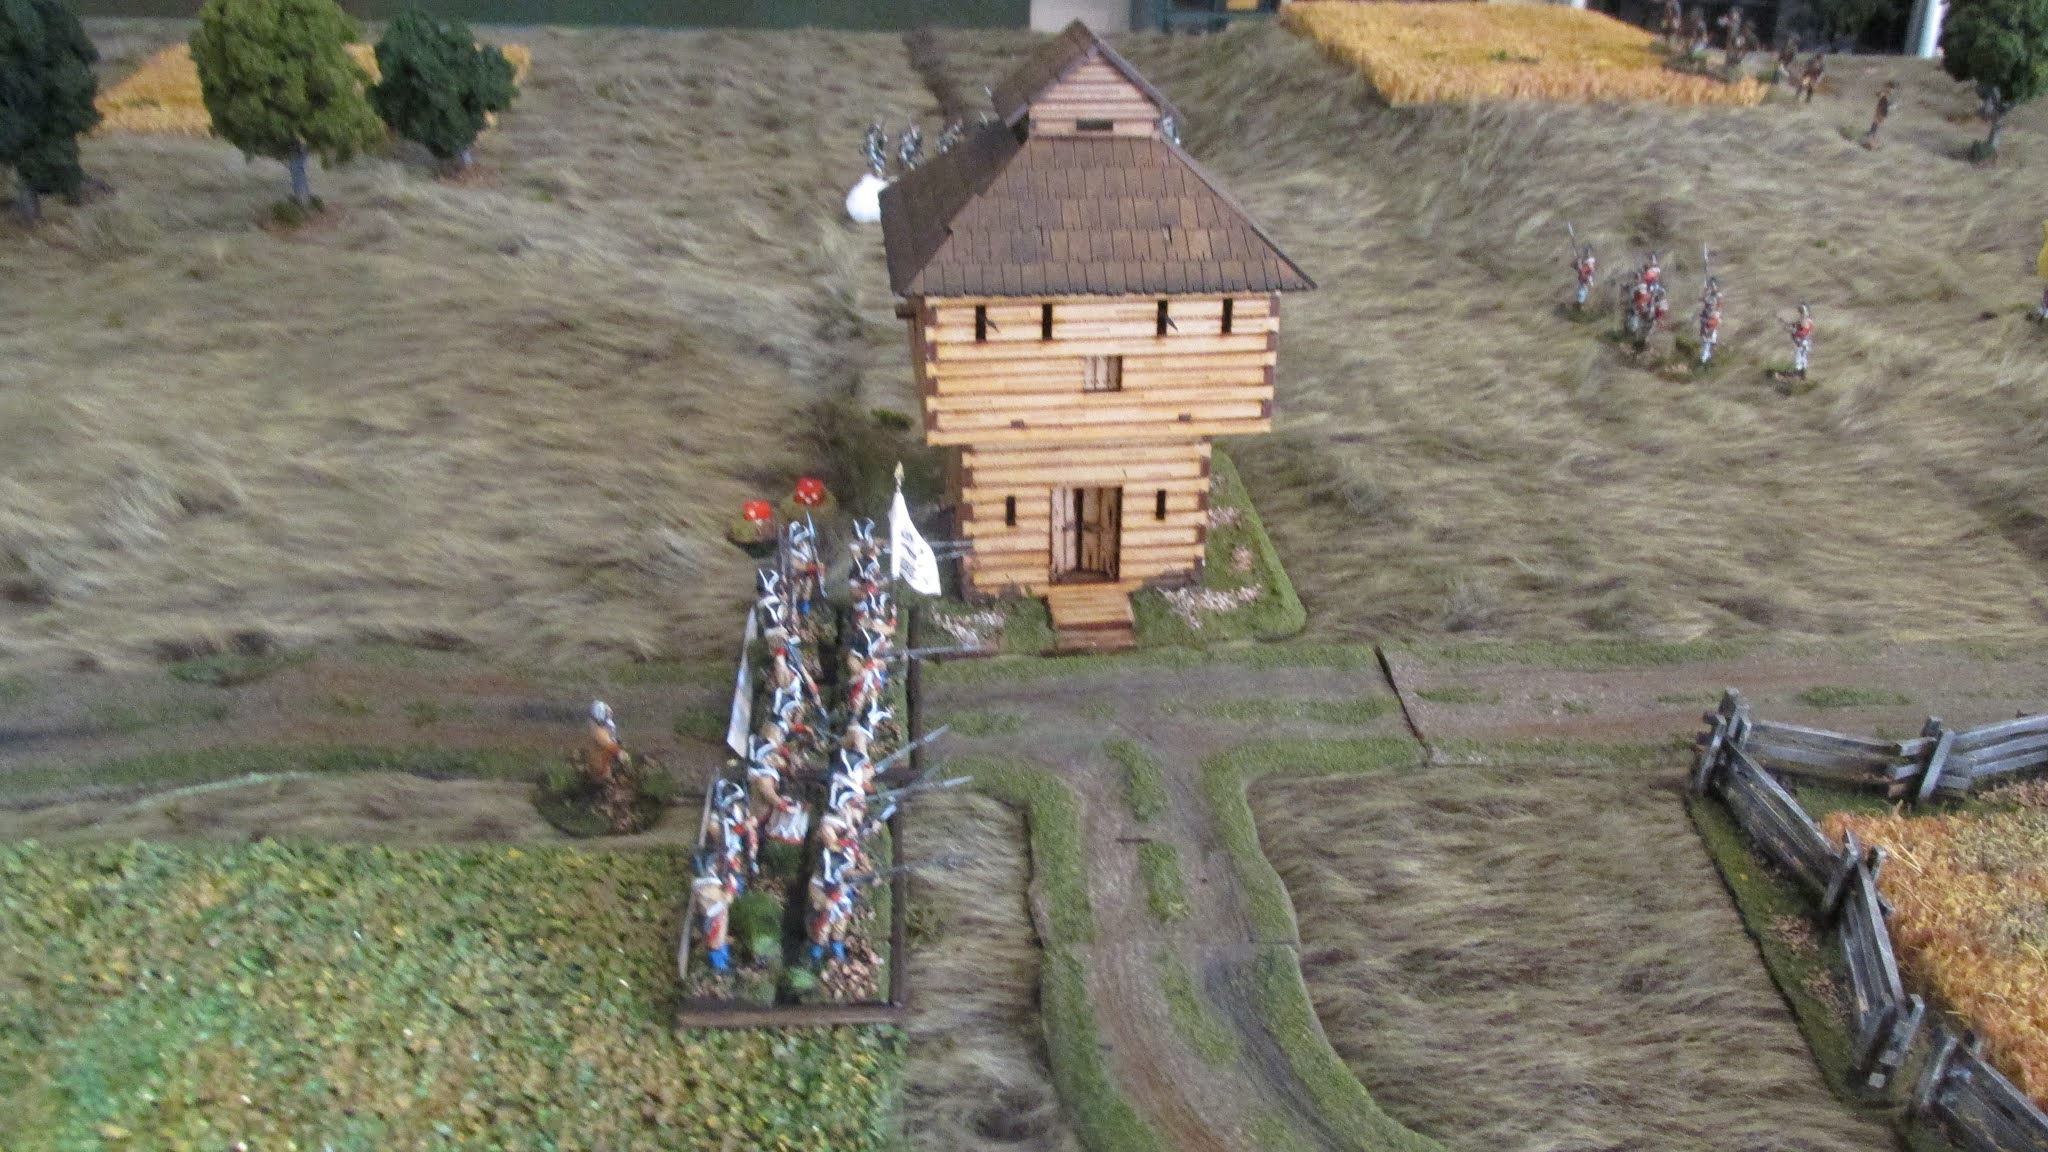
Turn 6, Col. Slaughter's infantry form into line.

On turn seven, the Hessians were able to form into line, and then using four flags, fired a fierce volley into the state line.


The British grenadiers pulled back to regroup.

Turn 7, Slaughter's regulars advance into close range and present.

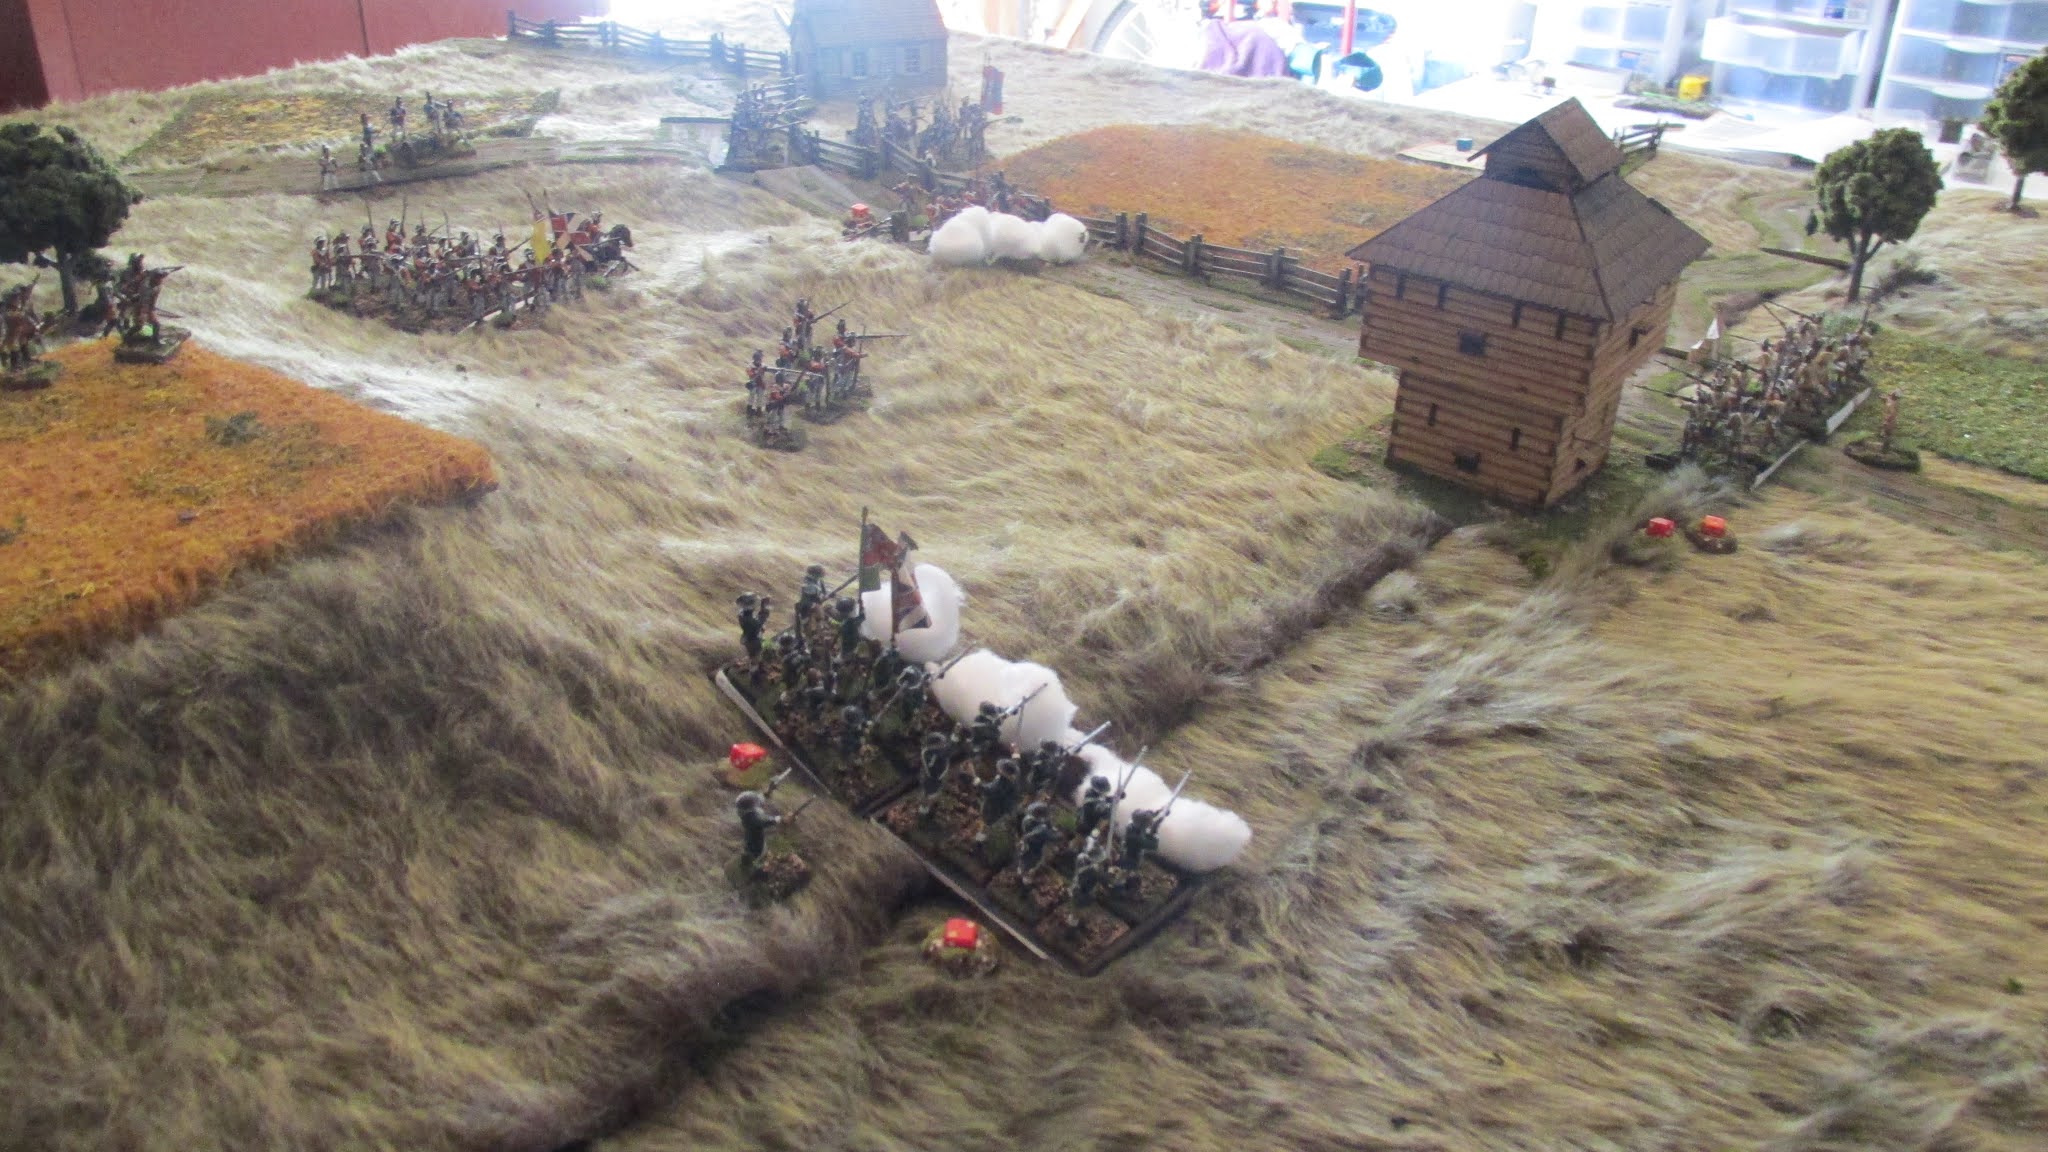
Turn 7, the American artillery fire cannister into the Royalist infantry

Turn 7, American militia and riflemen

Turn 7, Black Feather withdraws into the wood to regroup

The Royalist regiment is rocked by the rebel cannon.

Turn 7, the strengthening American line.
Along with getting in these two turns, I was able to sell my Austrian landwehr as well as finish up a commission of 288 15mm Old Glory Austrian militia. It has been a good week hobby wise.


Wednesday, October 21, 2020

Tuesday, October 20, 2020

Take the Blockhouse Turns 4 and 5

I was able to complete turns four and five of my Sharp Practice game. The action is really picking up. The British and their allies have been rolling quite well for their movement, so they are in a better position at this point. However, the Americans are rolling better on their volleys, so that has evened things out considerably.
The Americans continue to advance to support the blockhouse, but they are moving at a painfully slow rate.

The state line groups fired an effective volley at the British grenadiers, wounding Lieutenant Harvey.

The grenadiers have paid a price for being the first unit in range of the blockhouse.

The Hessians cross the fence into the field.

Colonel Slaughter's regulars are now in striking distance.

Allied light units.

The British gun is unlimbered and ready to fire upon the blockhouse.

The American left flank has deployed to take on Black Feather's Indian groups.

Black Feather and his warriors shelter in the wood.

The British provincials inflicted a casualty on the garrison of the blockhouse.

An overview of the action.


Tuesday, October 13, 2020

Take the Blockhouse Turns 2 and 3

 On turn two, all of the remaining units were able to enter the table. The British used three flags after the Tiffin token appeared to advance the Indians and loyalists cross country to secure a wood which would give them an ideal position to surprise the rebels.

Continentals in mass at the primary entry point.

Two groups of state line move as rapidly as possible down the road to reach the blockhouse.

The militia and two groups of light infantry advance cross country to secure the American left flank.

The main British force slowly edges forward from the primary entry point.

Indians and loyalists sneak past the blockhouse to set up an ambush in the wood beyond.

The British grenadiers boldly approach the blockhouse.

On turn three both sides rushed to get units into position. It would appear that the British are winning the race.

The British grenadiers are now within range of the blockhouse. Who will get off the first volley?

The main British force continues its inexorable advance.

Black Feather's Indians have reached the cover of the woods unnoticed.

The loyalists get into position behind the blockhouse.

The American advance is painfully slow.

Turn four will definitely see the first shots fired. The blockhouse provides heavy cover for its brave defenders, but they are few in number and will not be able to hold out by themselves for very long.