The lads came over and we got right into it. Early on, it was clear that some adjustments to the rules needed to be made, but that did not diminish our enjoyment of the game at all. Here is an account of the action beginning on turn 3
The Jacobite commander, Chris, aggresively advanced Stapleton's, Drummond'S and Olgilvy's brigades directly toward the government entry point on the west side of the river. Murray's brigade came onto the field through the town. Colonel Wolf's brigade of redcoats entered on the road to the left of the one Campbell and Legonier had entered on.


Turn 4- There were no reinforcements this turn, however, things got hot very quickly. Stapleton's French regulars formed into an attack column and charged into Wolf's men who were still in march column. Remarkably, the ensuing mele resulted in a draw! (this prompted two adjustments to the rules. First, ONLY highlanders would be allowed to use attack columns. Second, if a unit's modified rolls result in no chance of inflicting a casualty, the player may still roll. Any sixes need to be rerolled. On the second roll, any sixes will result in a casualty.)
Meanwhile, Perth and Murray's men make their way through the congested streets of the town. Drummond and Olgilvy's men rush forward in march columns to support Stapleton. Both Campbell and Legonier make little progress in there drive towards the village.
Turn 5- On the Government right, Colonel Mourdurant arrives with his brigade of veterans. To his left, Cholmendedley also enters the fray and tries to use the ford support Wolf on the other side of the river.
Legonier's dragoons charge Perth's MacDonald clans. Two of his regiments succeed in driving back one column, but Clan Barksdale drives back Legonier's 3rd regiment at no loss to itself.
On the other side of the field, Wolf's two lead regiments are able to push back the Wild Geese. Drummond and Olgilvy clog the center of the field with their columns of men. There is not much room to maneuver for either side. This will prove to be problematic for the next several turns.
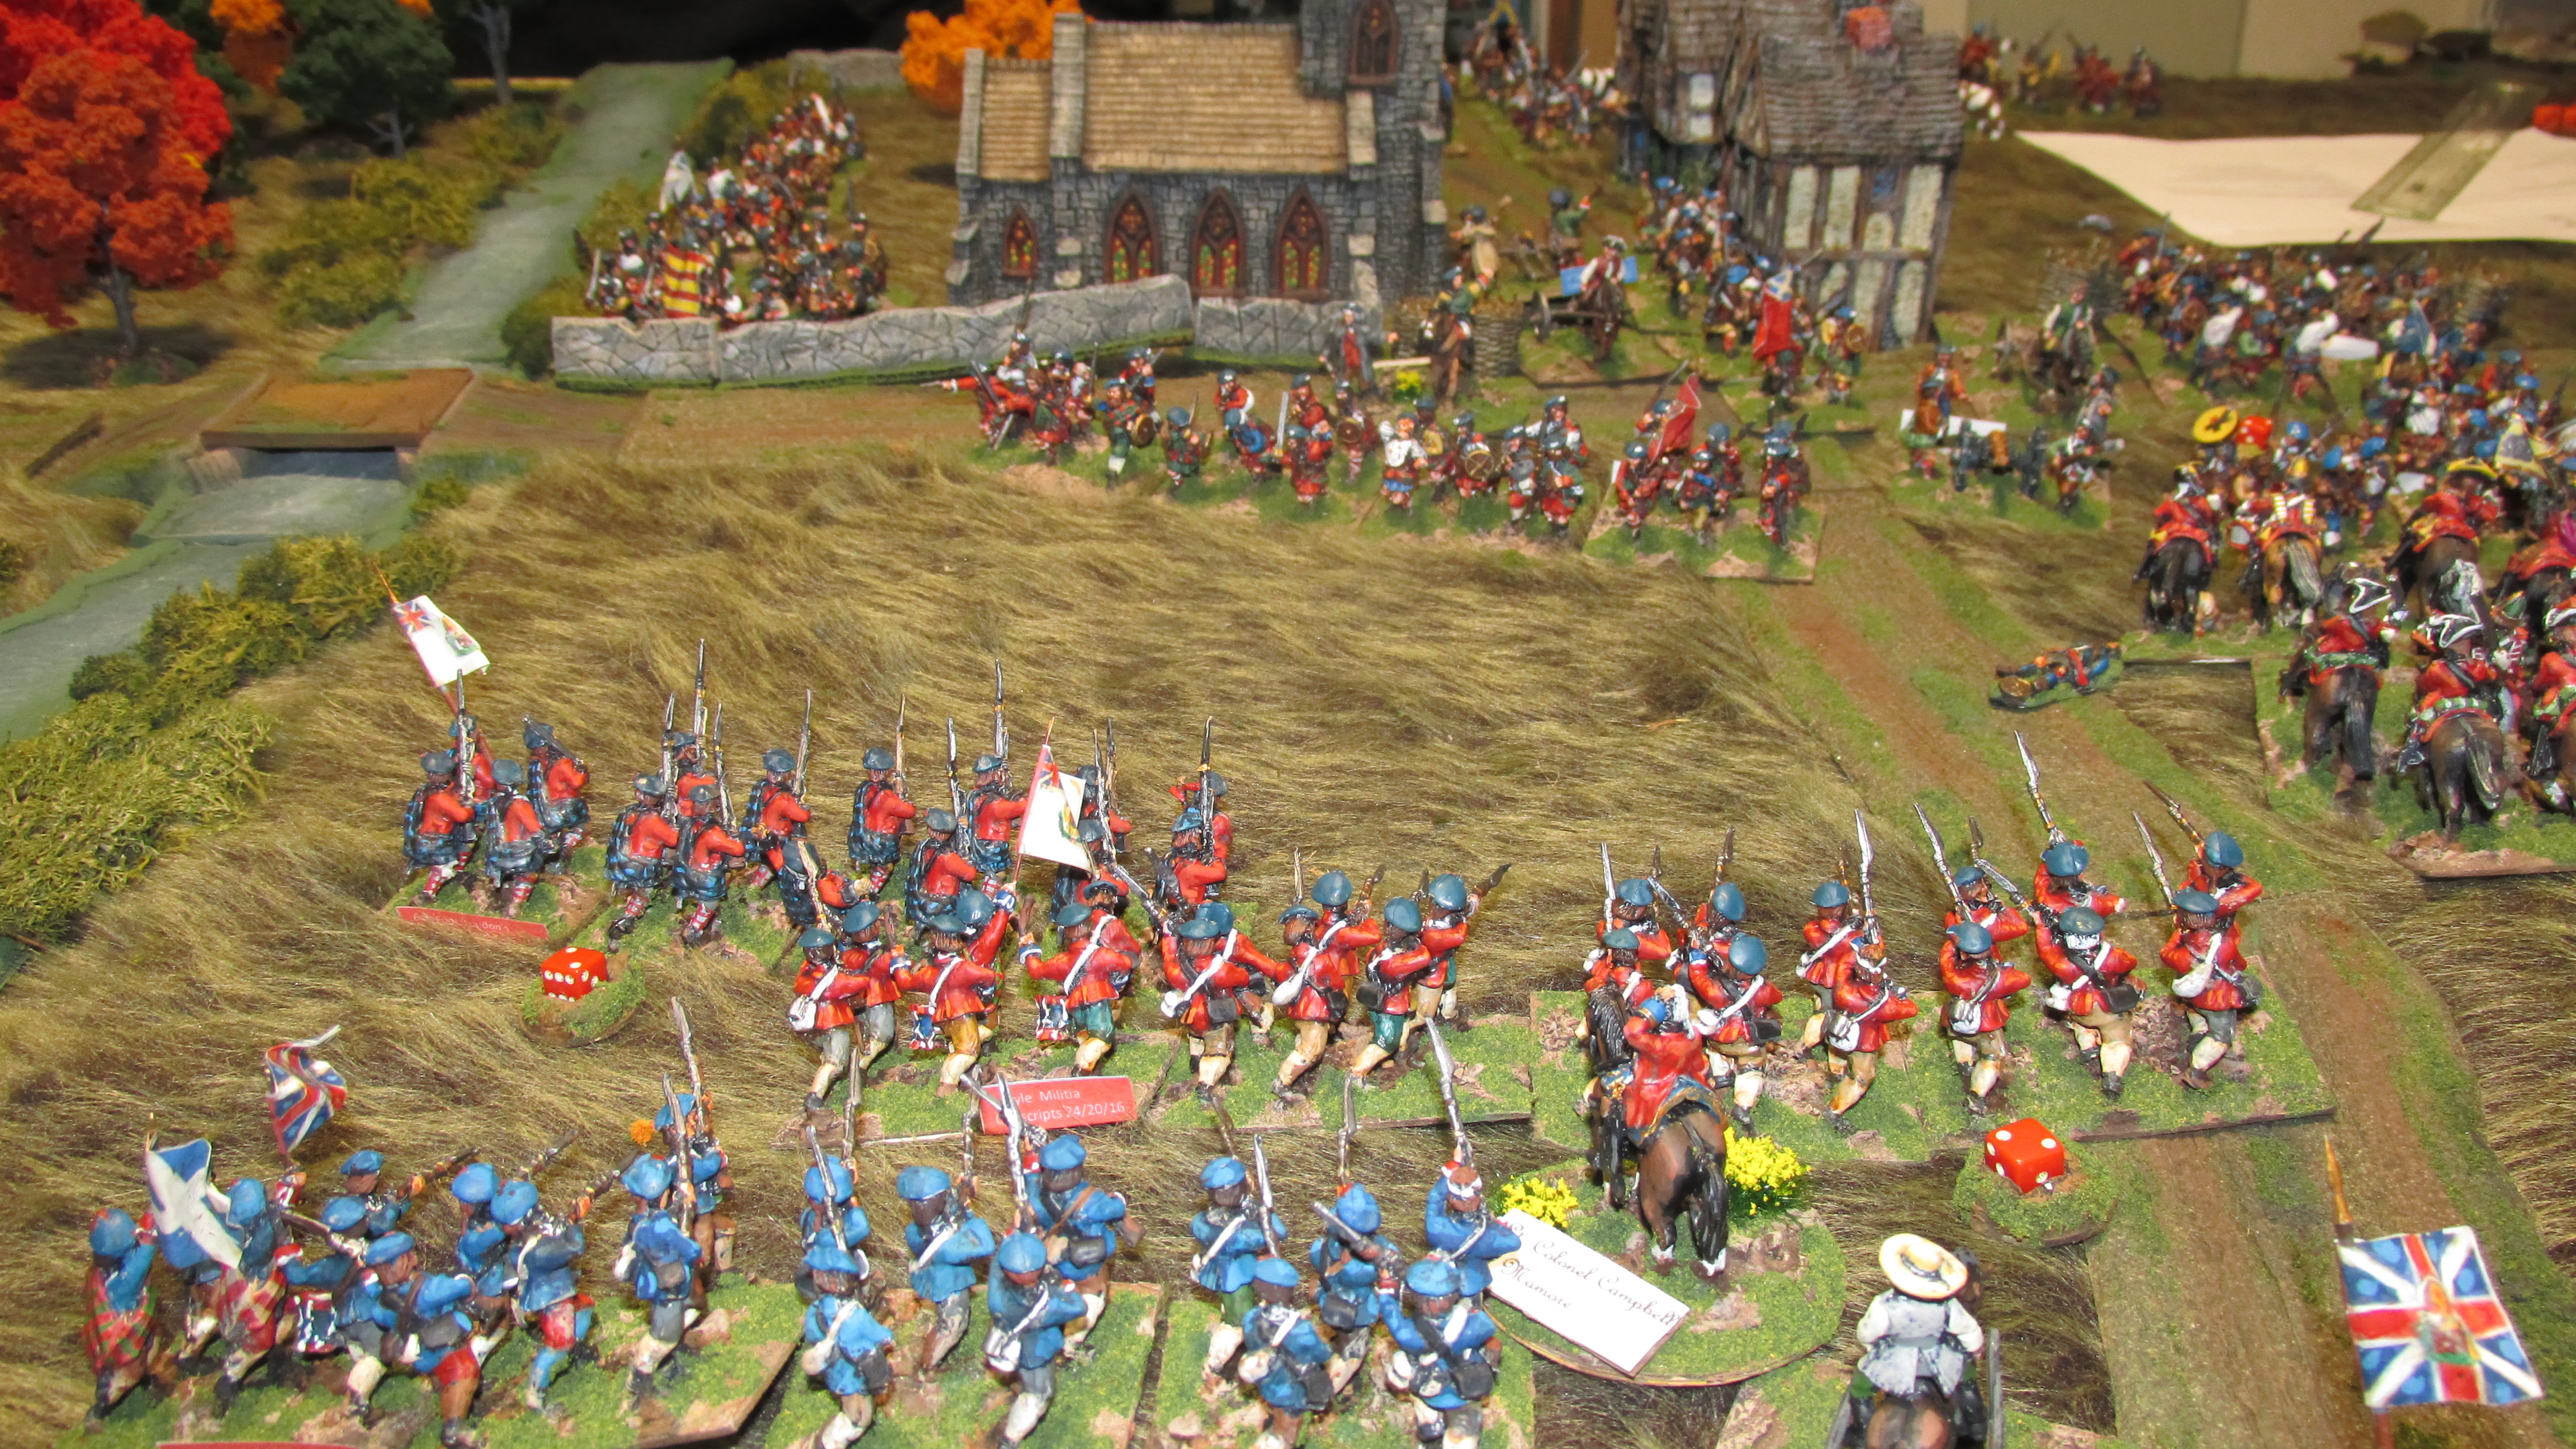
Turn 6- Legonier and Perth continue to battle it out. Campbell uses this distraction to advance his loyalist units to the crest of the hill.
Wolf, Cholmendeley and Stapleton shake their battalions into line and prepare to exchange volleys with one another. At the same time, Drummond and Olgilvy struggle to deploy their men into lines as well.
Turn 7- Perth's men get the better of Legonier's dragoons and drive them back towards their entry point. Murray charges a battalion of Campbell's Scots anticipating an easy victory only to be humbled by the stout defense of their countrymen still loyal to the king.
Mourderant trapses slowly up the hill to fill the void left by Legonier's hasty exit.
Wolf and Cholmenedley appear to be gaining the advantage in the firefight. Drummond's Atholl brigade braves the hail storm of lead and comes to grips with one of Wolf's regiments.
Turn 8- Colonel Macdonald's cavalry gallops up on the Jacobite left to threaten the Government flank. Mourdurant's men blast the Barksdales out of existence.
West of the river, Stapleton's elite battalions are taking a pounding. Drummond tries to relieve the pressure on them with repeated charges that are initially successful in driving back Wolf's right. Cholmendedly and Olgilvy continue to struggle to deploy in the confined space they are positioned in.
In the fierce fighting on the west side of the battlefield, both Wolf and Drummond sustain mortal wounds leaving their respective brigades leaderless for the moment.
In a devestating blow to the Governemtn cause, Campbell's depleted brigade of conscripts is forced to take a brigade morale test and rolls a "1". They flee the field to join Legonier's dragoons in humiliating rout.
Turn 9- Mourdurant's veterans are now alone on the right to face off against three highland brigades. MacDonald's horsemen learn a painful lesson on how powerful coordinated volleys of musketry and cannon can be. In a matter of minutes two small units are destroyed. The two others lose their will to continue the fight and rush back towards the safety of the village.
Stapleton's battered brigade is also forced back, but in a much more oderly fashion while the Atholl brigade fiercely grapples with Wolf's leaderless regiments.
Turn 10- An uneasy calm comes over the battlefield as both sides try to reorganize. The Bonnie Prince takes command of the Atholl brigade while General Hawley takes charge of Wolf's regiment. Cholmendedly shhifts one of his regiments back across the ford to offer support to Moudurant's brigade which is bracing for a charge from Murray's determined highlanders.
Turn 11-Once again the din of battle resounds throughout the battle as the climax approaches.The Atholl brigade's strength is spent and it begins to retreat towards the remnants of Stapleton's brigade.
Roy Stewart's men move out to the Jacobite left to lend support to Murray's attack.
Turn 12- The decisive moment has arrived. Murray's frenzied attack smashes into the Government line. The fighting is desperate and hand to hand. The redcoats are driven back with heavy losses. Murray's clansmen change facing to roll up the Government line.
Turn 13- In the chaos of the distentegrating Government line, Colonel Mordurant is mortally wounded, leaving his men leaderless at the worst possible time. The Duke of Perth is lost as well, adding to the confusion on this flank. The situatioh on the Government left has stablized. The Jacobites on this flank have been decimated.
The government's only hope now is for General Hawley to somehow get across the contested ford to bring his right under control. It is decided that Hawley has a 50/50 chance of making it across the ford safely. 1,2 or 3 he makes it, 4, 5 or 6 he is captured in the attempt. The Jacobite rolls a six. Hawley is captured and the battle is lost. Prince Charles has, at enormous cost, bested the Government army. It is a Jacobite victory.

Conclusion- We played for about five hours. In our discussion afterwards, we all agreed that the game mechanics worked well. Things moved right along. The use of cards to determine the turn sequence created quite a bit of suspense as did having to roll for how many actions could be performed. That being said, the players had some great suggestions for how to make things even better. One was to simplify how it is determined if units can issue defensive fire and to eliminate the penalty for being unloaded during mele. Another was that march column could only be used until you were 20" away from the enemy.At that point, units would have to deploy for battle. So, I'll update the charts and set up another battle to see how these changes work.