The following is an account of a fictional battle I fought awhile back using the Johnny Reb variation Johnyy Tremaine. It was a very fun game and I thought the rules were terrific. The main difference in this variation is the ranges, much shorter. Therefore, the fighting is very much up close and personal; a lot of the "white of the eyes" type of thing. I hope you enjoy the post.
The Battle of Wheeler’s Creek
This is a fictional battle fought in 1778 in a rural
valley in Eastern Pennsylvania. George Washington is fighting a defensive
battle against the bulk of the British army that is seeking to take Philadelphia. Lord Howe is leading with Cornwallis’
division that is backed up by Knyphausen’s.
Washington has deployed two divisions
of continentals and a large division of militia in two lines, with a third
division of Maryland
continentals in reserve.
Turn one. The
British step off. On their right, the
grenadier brigade advances steadily up a hillside, supported by Agnew’s
brigade. To the left, the British Guards
attack, preceded by the light infantry brigade.
The British draw first blood with a first fire of cannon at the North Carolina brigade
under General Nash. But the Americans
also inflict casualties firing canister at the British light infantry.
 |
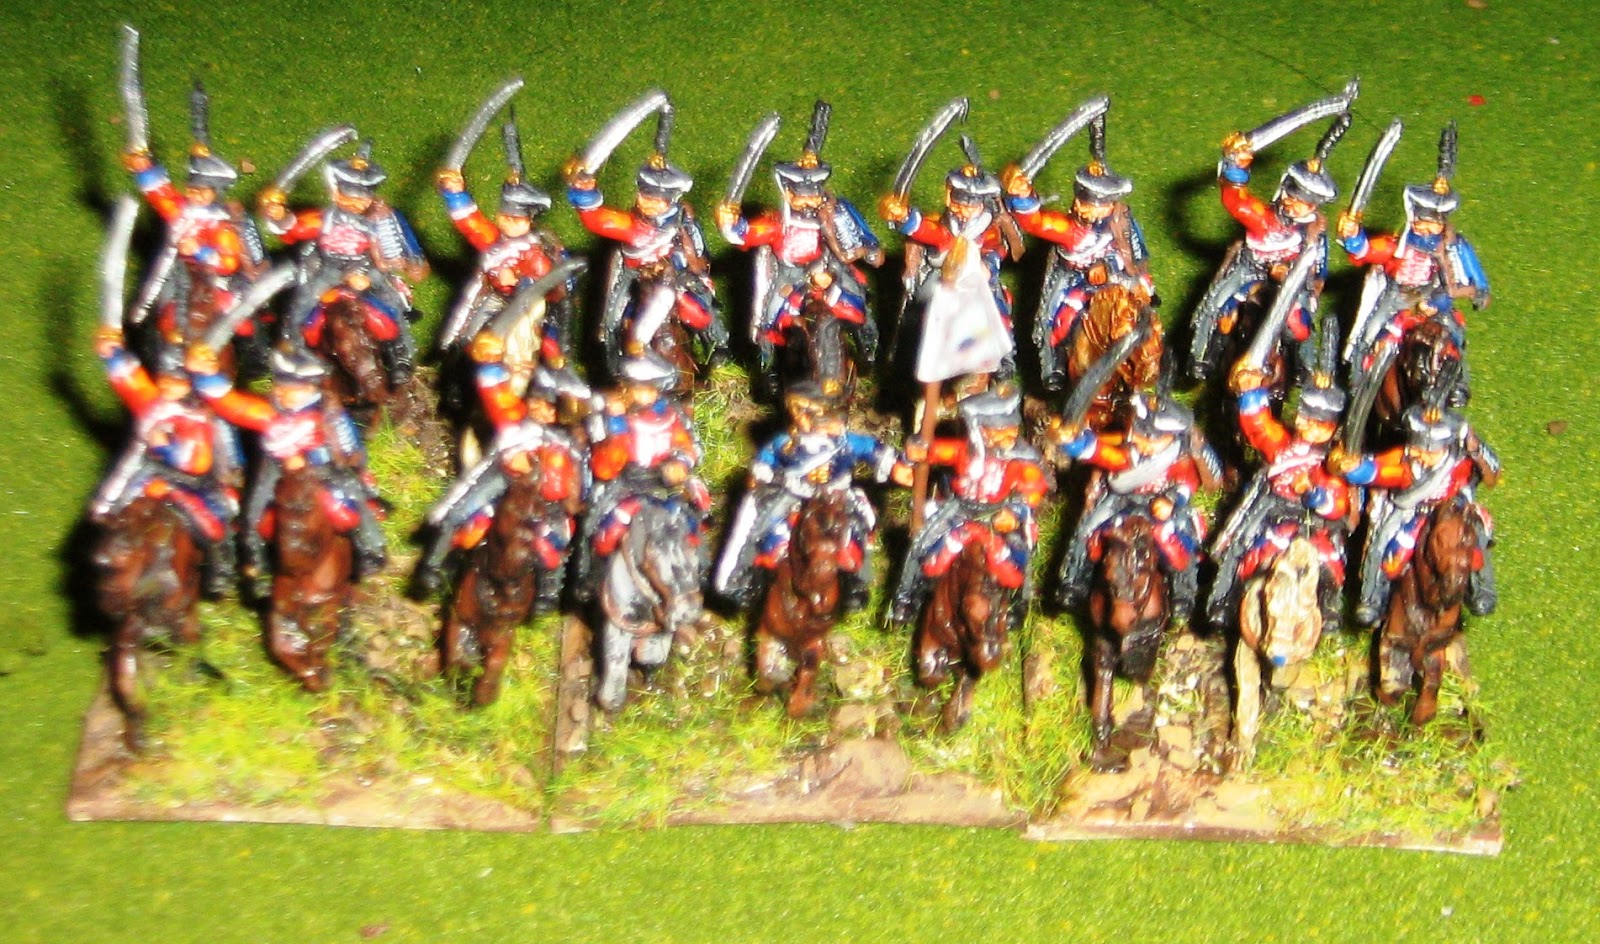
| The American Line, ready for action |
 |
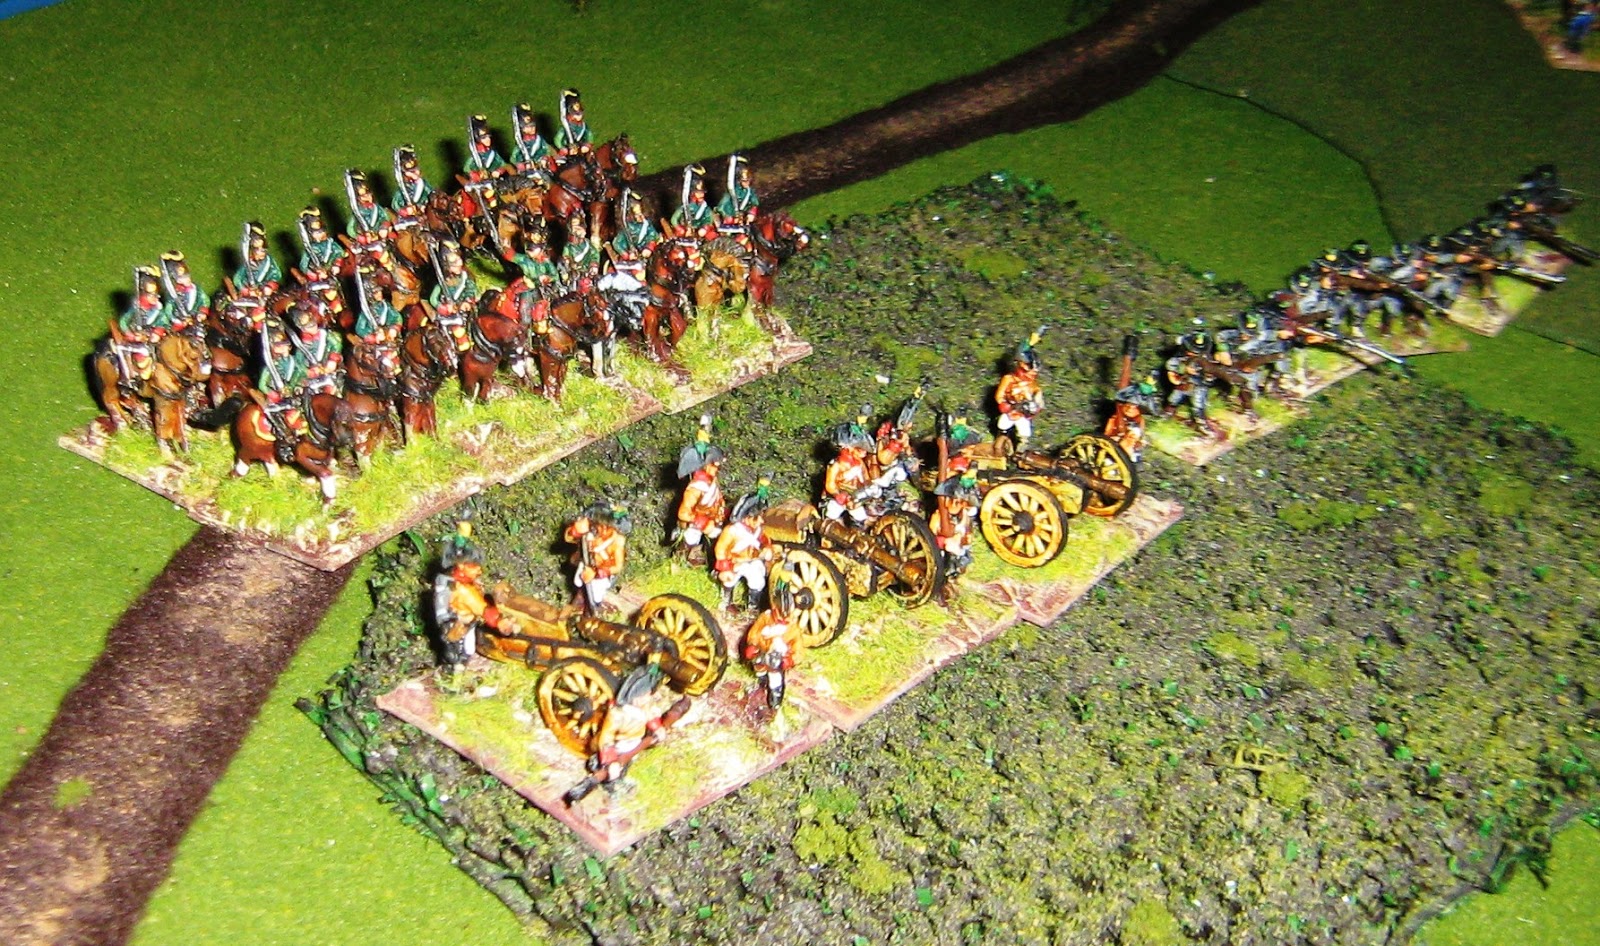
| The British, confident in the attack |
 |
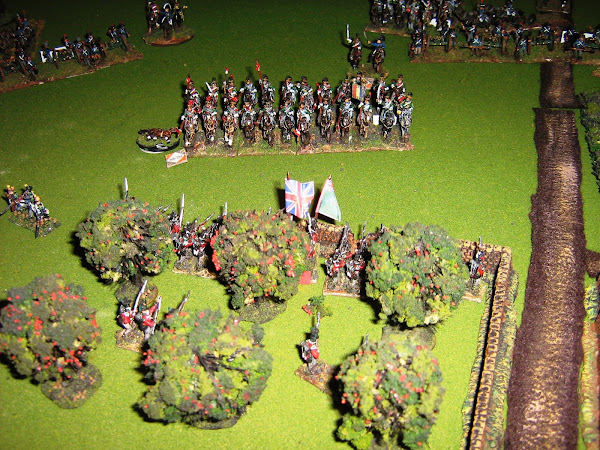
| American militia on the left flank |
Turn two. The
grenadiers advance into long musket range, but both sides hold their fire. Two American batteries limber up lest they be
captured. A battery on the far left of Washington’s line fires
canister at the redcoats in bearskins and inflicts one hit. On the British left, the guards continue to
move forward, screened by the light infantry.
On their extreme left flank, the light infantry have crossed Wheeler’s
Creek into a wood to engage the crack American riflemen. Things are sure to heat up on the next turn.
Turn three.
The grenadiers surprise the continentals with a first fire volley and
inflict some casualties. The British
lights get the best of the opening volleys against the riflemen.
 |
| The British first fire of the game |
Turn four.
This time both sides first fire, and the Brits take the worst of
it. One American unit runs low on
ammunition as does a unit of British light infantry. One battalion of grenadiers have lost 25%
casualties.
Turns five and six.
The volleys continued and both sides lost heavily. The Guards, having lost 33% of their
strength, disengaged, as did the New
Jersey regiments that faced them. But behind the boiling clouds of battle
smoke, the British had moved up some fresh units for a decisive push.
 |
| Fierce firefight |
 |
| casualties mount |
 |
| More Continental fird |
Turn seven. On
the British right three attacks went in.
The Americans were stubborn in their defense, but ultimately had to give
ground, yielding most of the fenced road to the King’s men. On the left, the elite light units of both
sides fought a bloody mele until both battalions were forced to withdraw to
regroup.
Turns eight.
The American 5th division continues to give ground and
ultimately disengages across Wheeler’s Creek.
Knyphausen’s division continues to enter the table as things get ready
to enter into the second phase of the game.
Turns nine and ten.
An uneasy lull settles over the battlefield as both sides regroup for
the next round. Alexander’s fifth
division is no longer in fighting form and has withdrawn from the field. On the British side, the Guards brigade is
also out of the fight and the grenadier brigade will be held back in reserve.
Turn eleven.
Grey’s and Agnew’s brigades, along with the Hessian grenadiers attack
across the creek. On the British right,
Knyphausen’s Hessian brigade joins in, assaulting the militia battalions dug in
in the woods. Hessian and British artillery
fire, but inflict no casualties and the militia hold steady.
 |
| Knyphausen Arrives |
 |
| The Hessian enter the fray |
 |
| The pressure on the American line mounts |
Turn twelve.
Things do not go well for the British.
A regiment of red coats and one of Hessian grenadiers are routed by
canister fire. A shudder seems to run
down the entire line.
Turns thirteen and fourteen. Once shaken into attack lines, the British
and Hessian brigades manfully moved into the attack. On the left, they were literally mowed down
by the steady volleys of the American continentals situated behind a
stonewall. Two more battalions, one of
Hessian grenadiers and one of highlanders, took to their heels. On the right, despite appalling casualties,
the Hessians managed to get a toehold into the position held by the American
militia. Now it’s time for the supports
to come up and carry on the attack.
Turn fifteen.
The British assault on the American right has all but been crushed. Four British regiments charged the stone wall
and were literally wiped out by point blank volleys. The only American casualty was the divisional
commander who was killed by a random shot.
 |
| The battle ends with the British shattered in attacking the stone wall |
 |
| Casualties at the wall give testimony to the fury of the fight. |