Friday, June 21, 2024

A Tutorial for Rising of the Clans

My homemade rules for the Jacobite Rebellion,The Rising of the Clans, are coming along well. In fact, I believe they are just about finished. With that in mind, I thought I would put together a brief tutorial so that others might get a better feel for the mechanics and offer input. Risning of the Clans is card driven. Each brigade, plus army commanders and aides de camp, have a card that is placed into the deck. When a brigade commander's card is drawn he may try to activate units under him. If all he wants to do is move, he may issue one move order to his brigade and just roll once. Otherwise, he must roll for each individual unit. Army COs may attach to a brigade which will improve the brigade's chances of activating units. The army CO may also re-roll one failed order per turn. If a unit rolls an unmodified 11 or 12 the order not only fails, but the brigade's turn is over, unless, of course, the army commander is attached and a re-roll is possible. These are the cards that will be in the deck for this game: The Government forces are defending a camp that has been established around a church. The Duke of Cumberland commands two brigades; one under BG James Cholmondeley and the other under BG John Mourdaunt. The Duke is assisted by an ADC.
Prince Charles Stewart has three brigades to attack with; two of highlanders under Roy Stewart and John Drummond, and one of Lowlanders under the Duke of Perth.
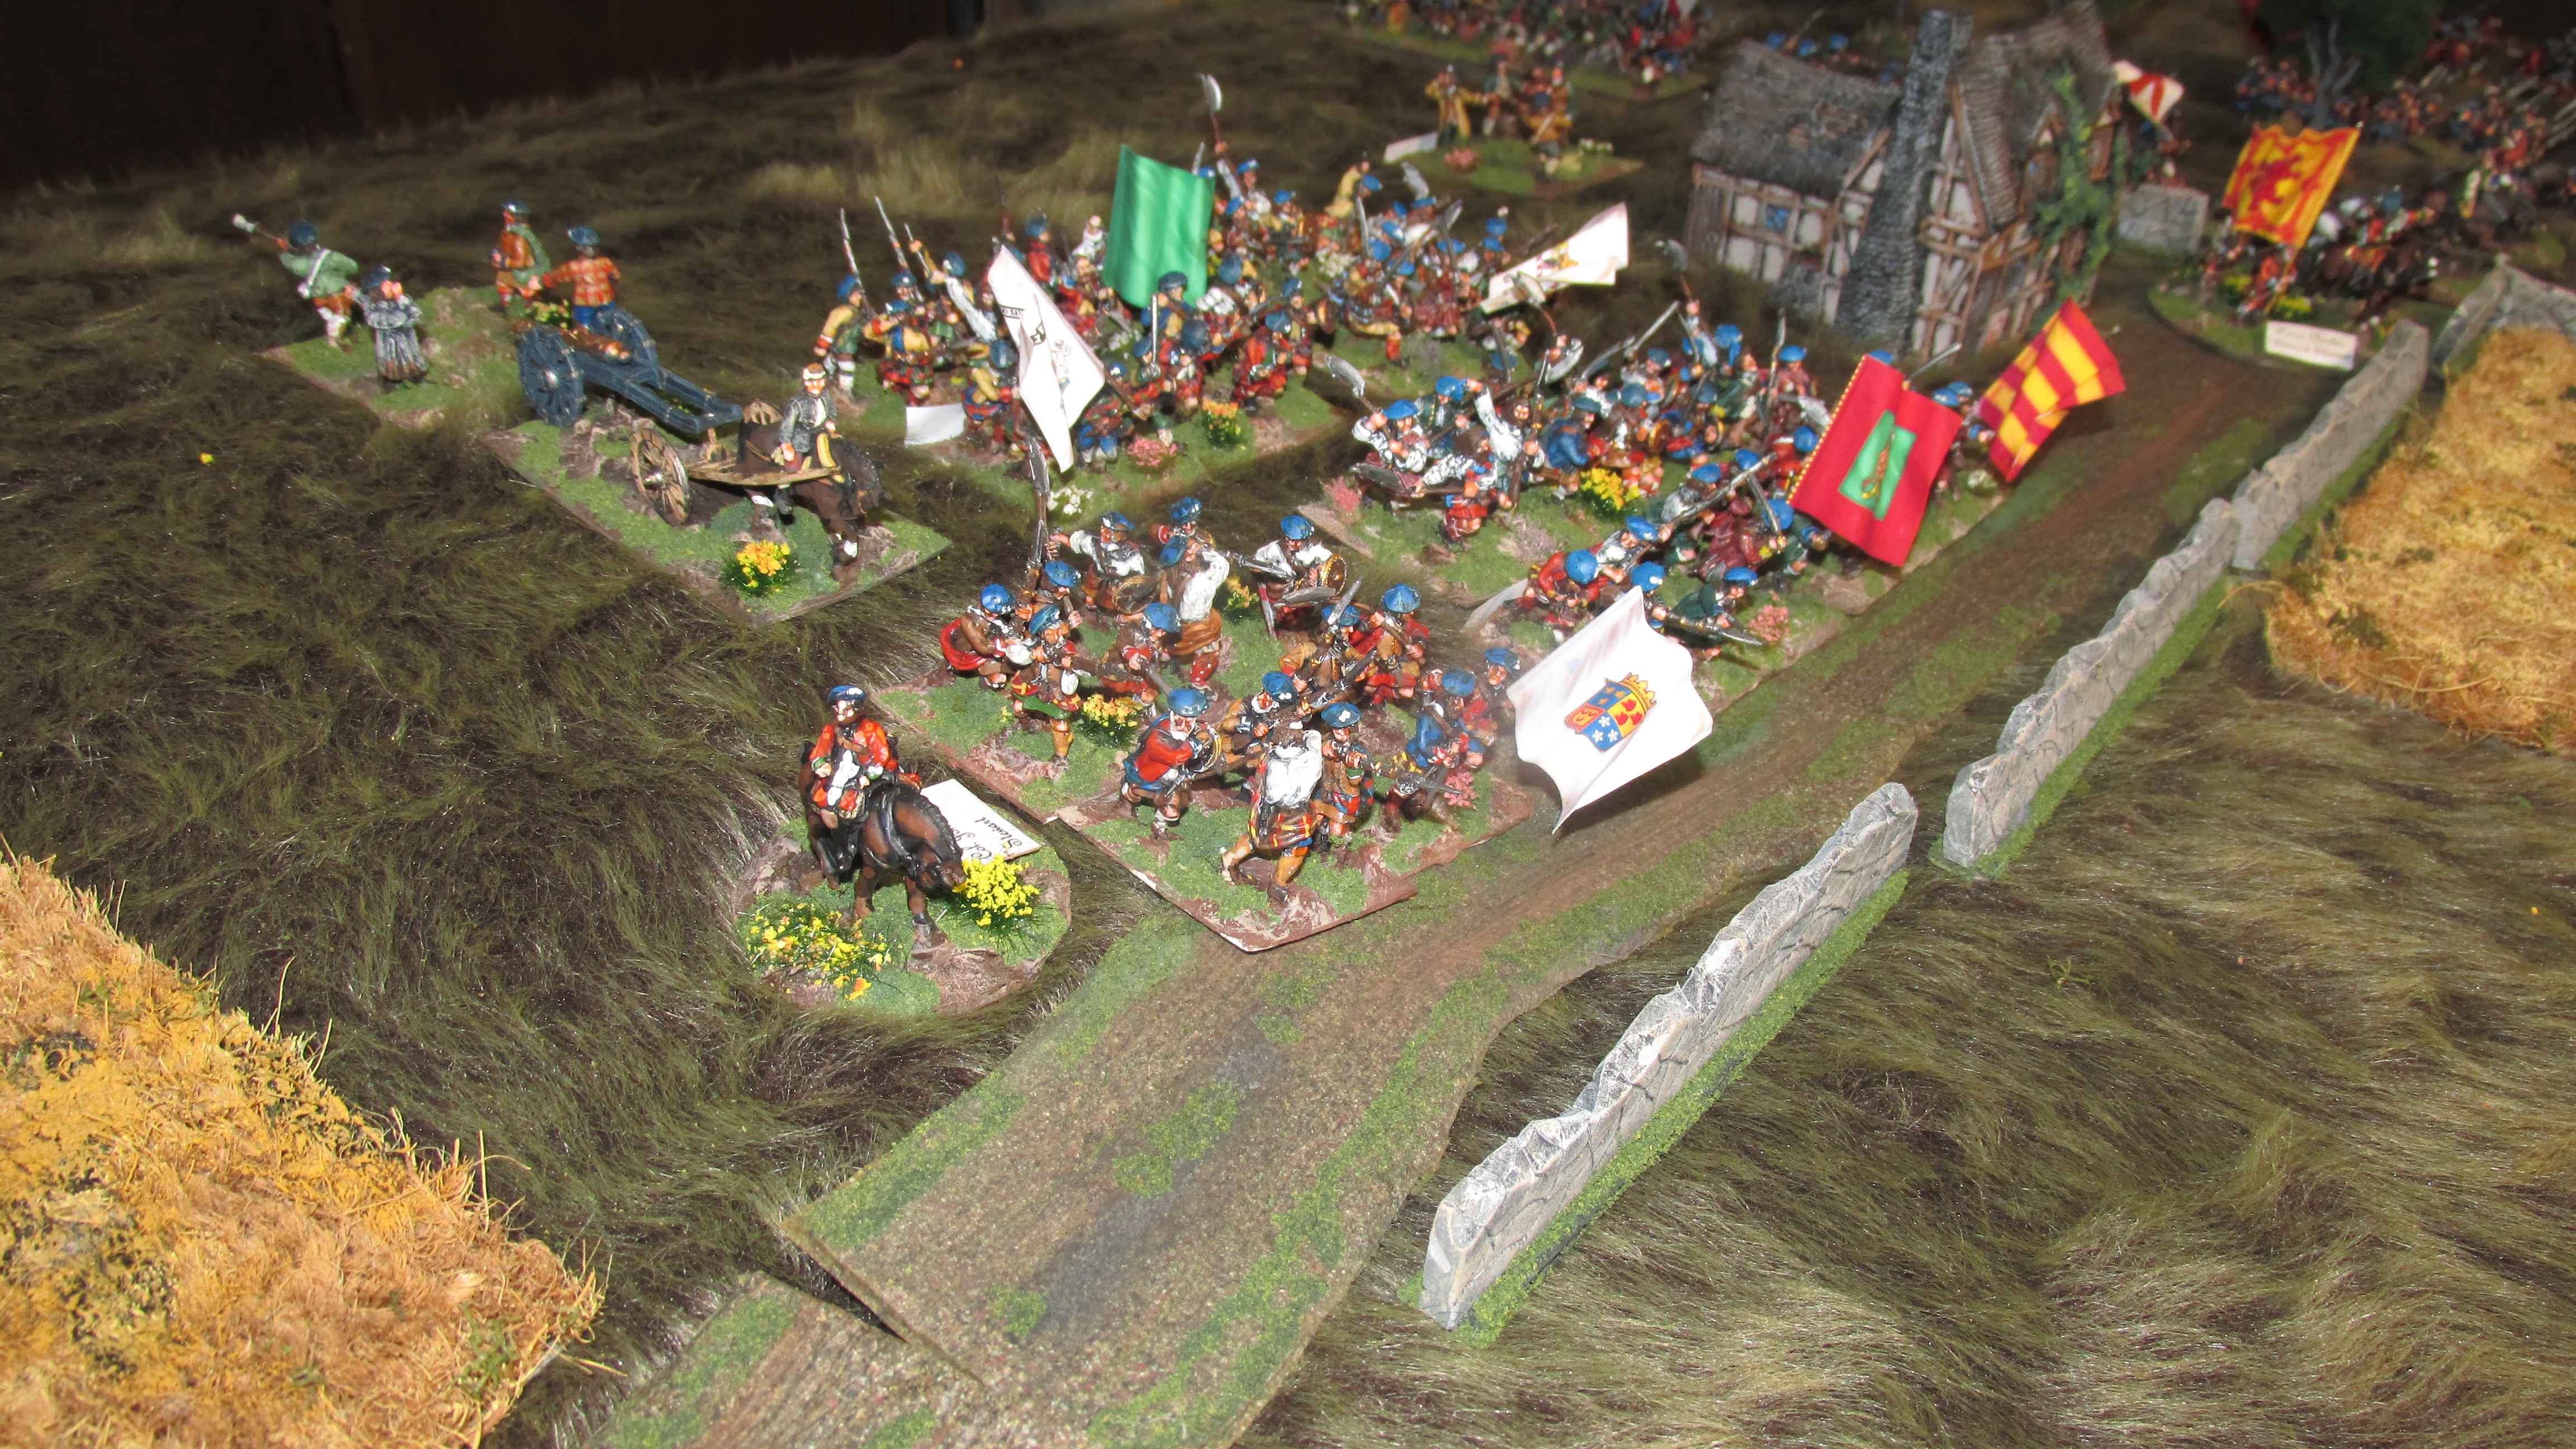
Here is what the table looks like as the game begins.
Turn 1 There are eight cards in our playing deck. They are shuffled and the first card is drawn.
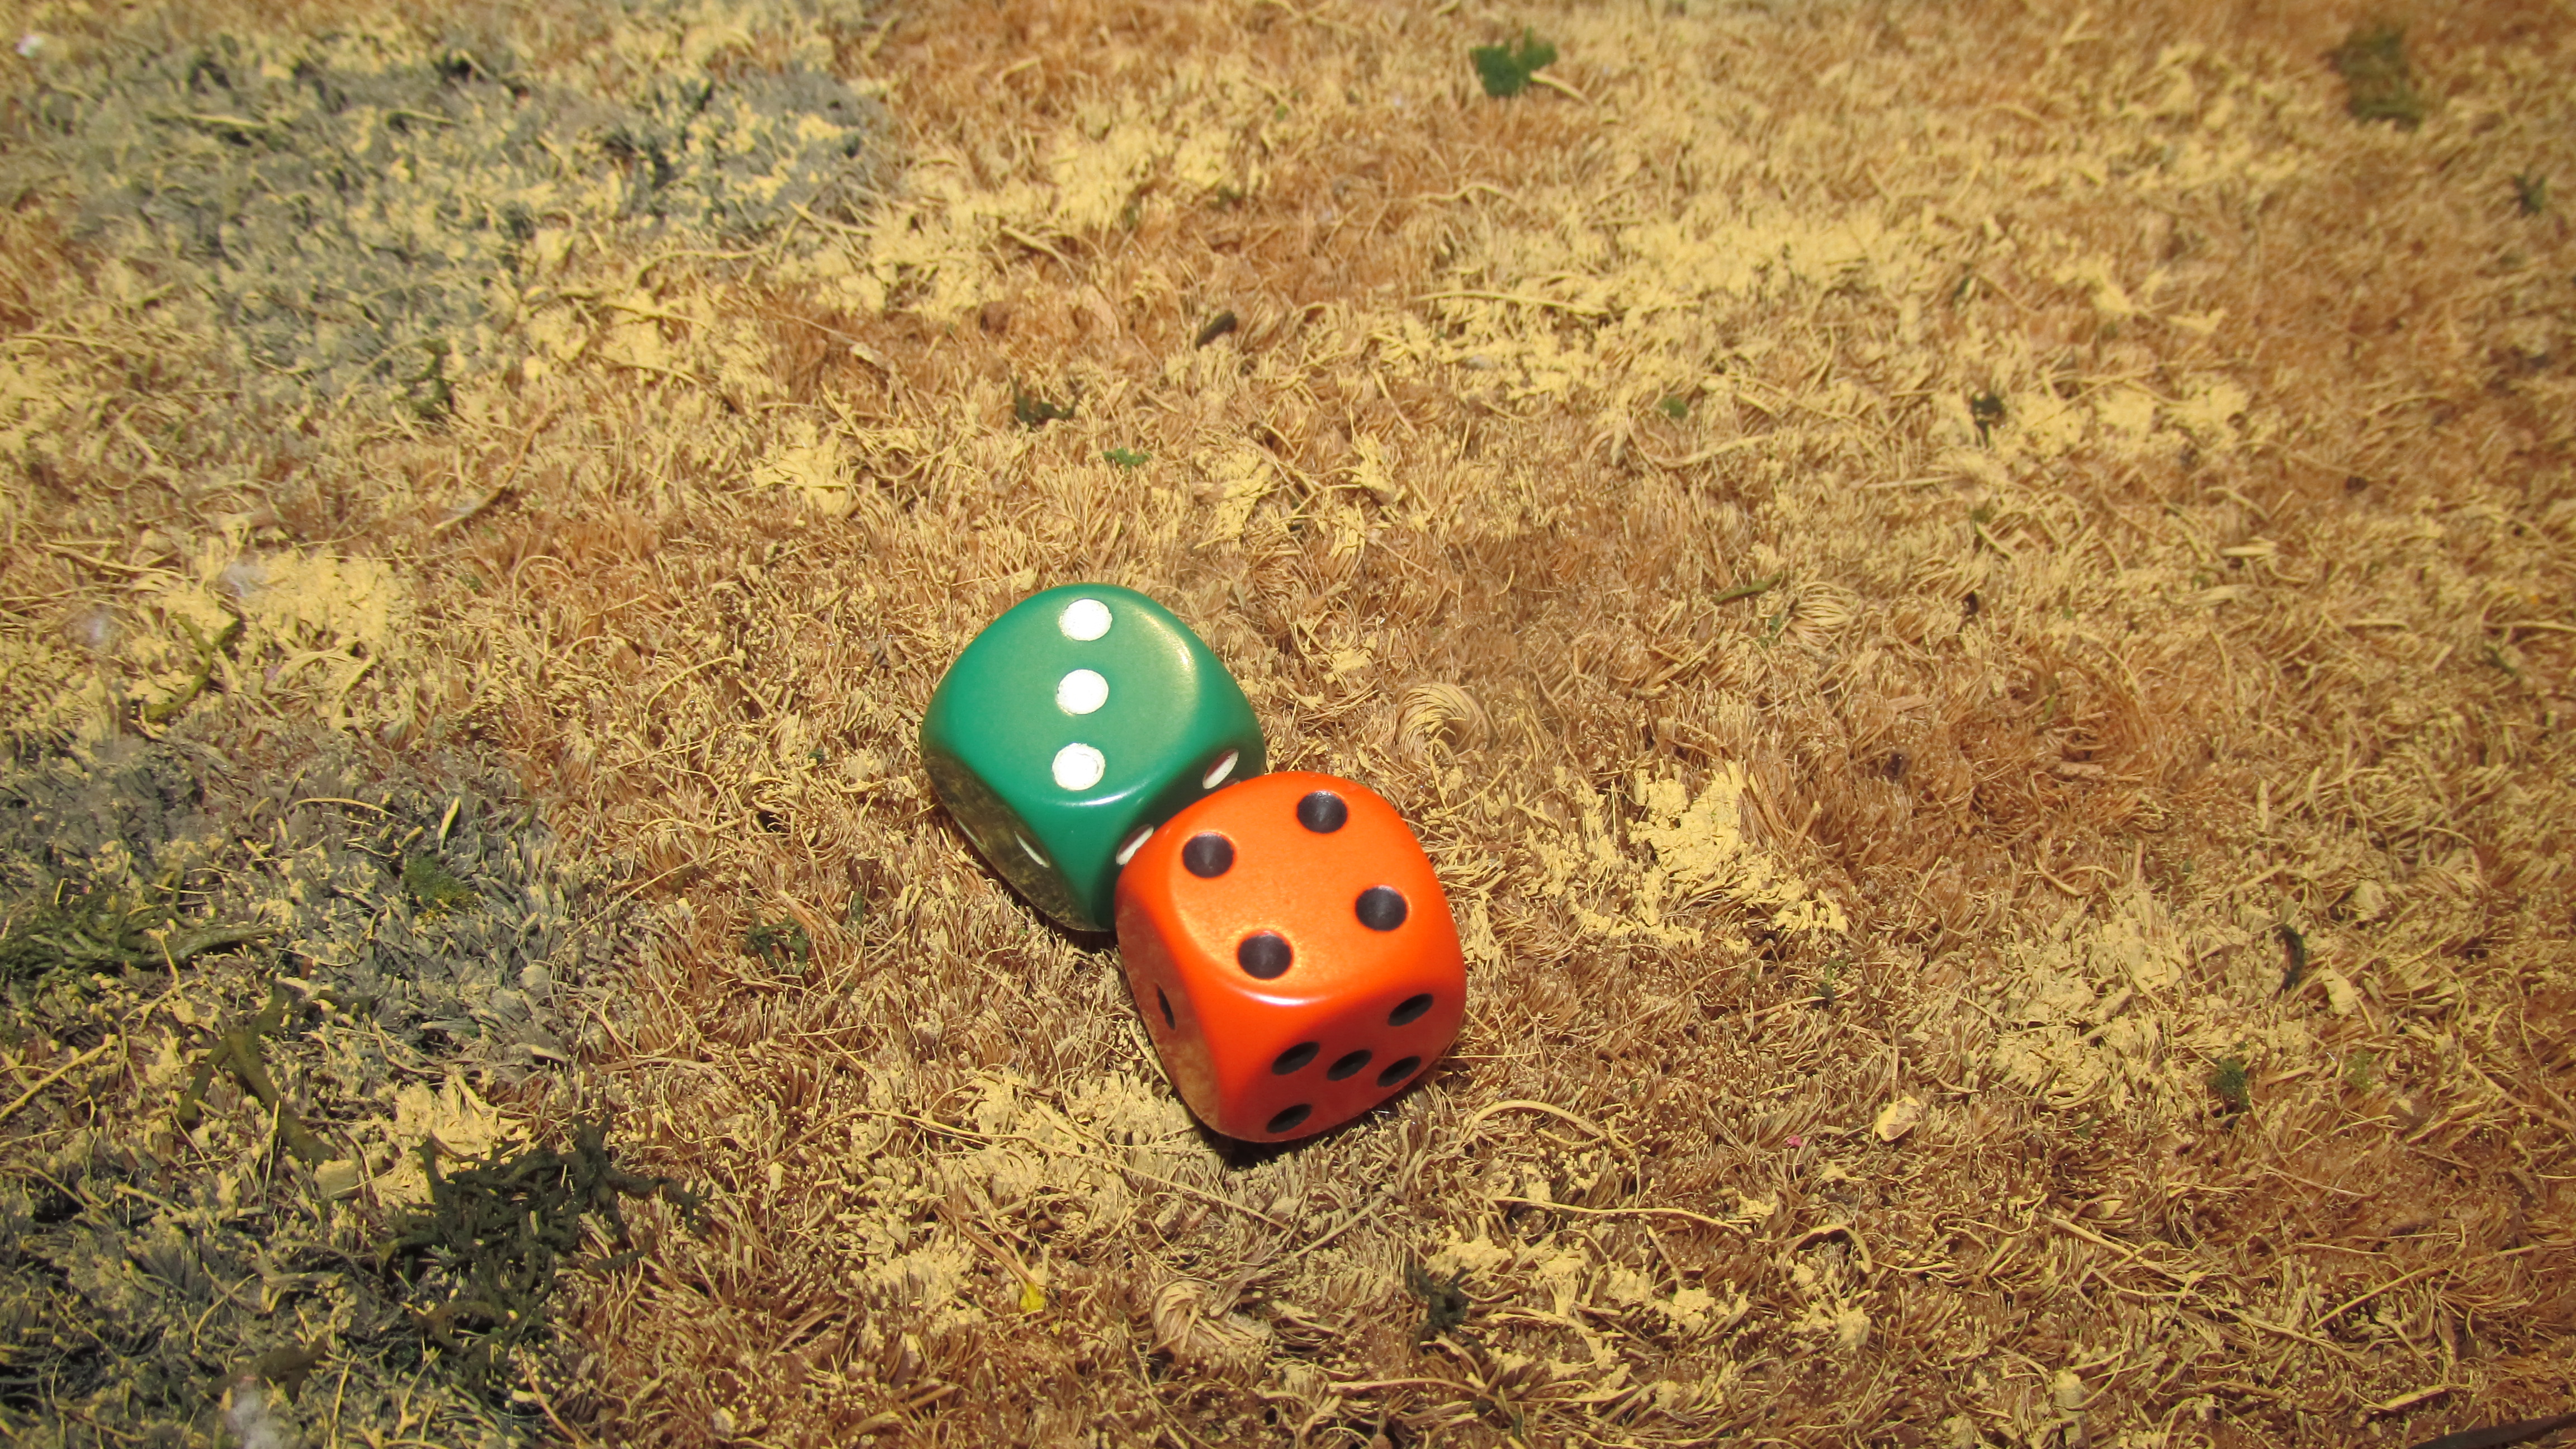
It is Col. John Roy Stewart. He wants to move forward this turn so he rolls once for his entire brigade. At this point, Charles Stewart has not attached himself to any brigade in order to await developments. Unfortunately, Roy Stewart rolls an "11". This means he is not able to do anything and the next card is drawn.
The next cards drawn are for Cumberland, Cholmondeley, and Mordaunt who are content to wait for the Scots to get into range. Drummond's card is next and he rolls a "3". This allows his units to move three times. (units may perform up to three functions, depending on their activation roll: move, fire, reload, remove disorder, rally back losses). Drummond's men are in attack columns (only highlanders are allowed to use this formation). This allows them to move 3 X 8 inches.
To clarify, on a modified roll of 8, 9 or 10, one action may be performed. On a roll of 6 or 7, two actions. On a five or less, 3 actions. Lastly, the Duke of Perth's card is drawn. He also wants to just move, so he rolls once for his entire brigade. The result is a 10, allowing one action for his line units. His conscript unit from Manchester, however, must add a "1" which now equals an 11, so they will not move this turn.
Turn 2 The cards are shuffled and the new turn begins. Drummond's card comes up first. He is about 15 inces away from Mordaunt's first line of defense, within charge range if he is fortunate enough to roll a seven or less. His clans are all veteran, so they will be able to deduct "1" from their indidvidual rolls. Drummond select his mortars first. They roll a "7", but being rated as conscripts, the mortors are only allowed one action. So they move up 8 inches.
Next,he selects the 1st battalion of Clan Macdonald of Glengarry to charge Mordaunt's line. He must advance regardless of the die roll. Fortune favors the men from Glengarry and they are able to close with the 37th Foot. The 2nd battalion from Glengarry is also selected to charge, but they are only able to get one activation, so will fall short of the 2nd Foot.
Drummond now tries to support the charges by activating his other two units. Macdonald of Clarnanald will support 1st Glenagarry.
It is now time to resolve the charge. The 37th Foot is behind cover and has not yet fired. They are allowed to roll a die to see if they can get off a volley before the highlanders crash into them. They roll a "5". Being a line unit, this is more than enough to pass the test.
Here is the chart that covers firing:
The 37th is rated line, so they get one die for every 5 men in the unit. They now have 24 which gives them 5 dice. They are firing at close range which means they hit on 5s and 6s. It is thier first fire, so they add one. They are regulars, so they add another, and they are firing at a column, so they add still one more. This means they will be hitting on anything but a one.(There are now saving rolls in my rules. A hit is a hit.)
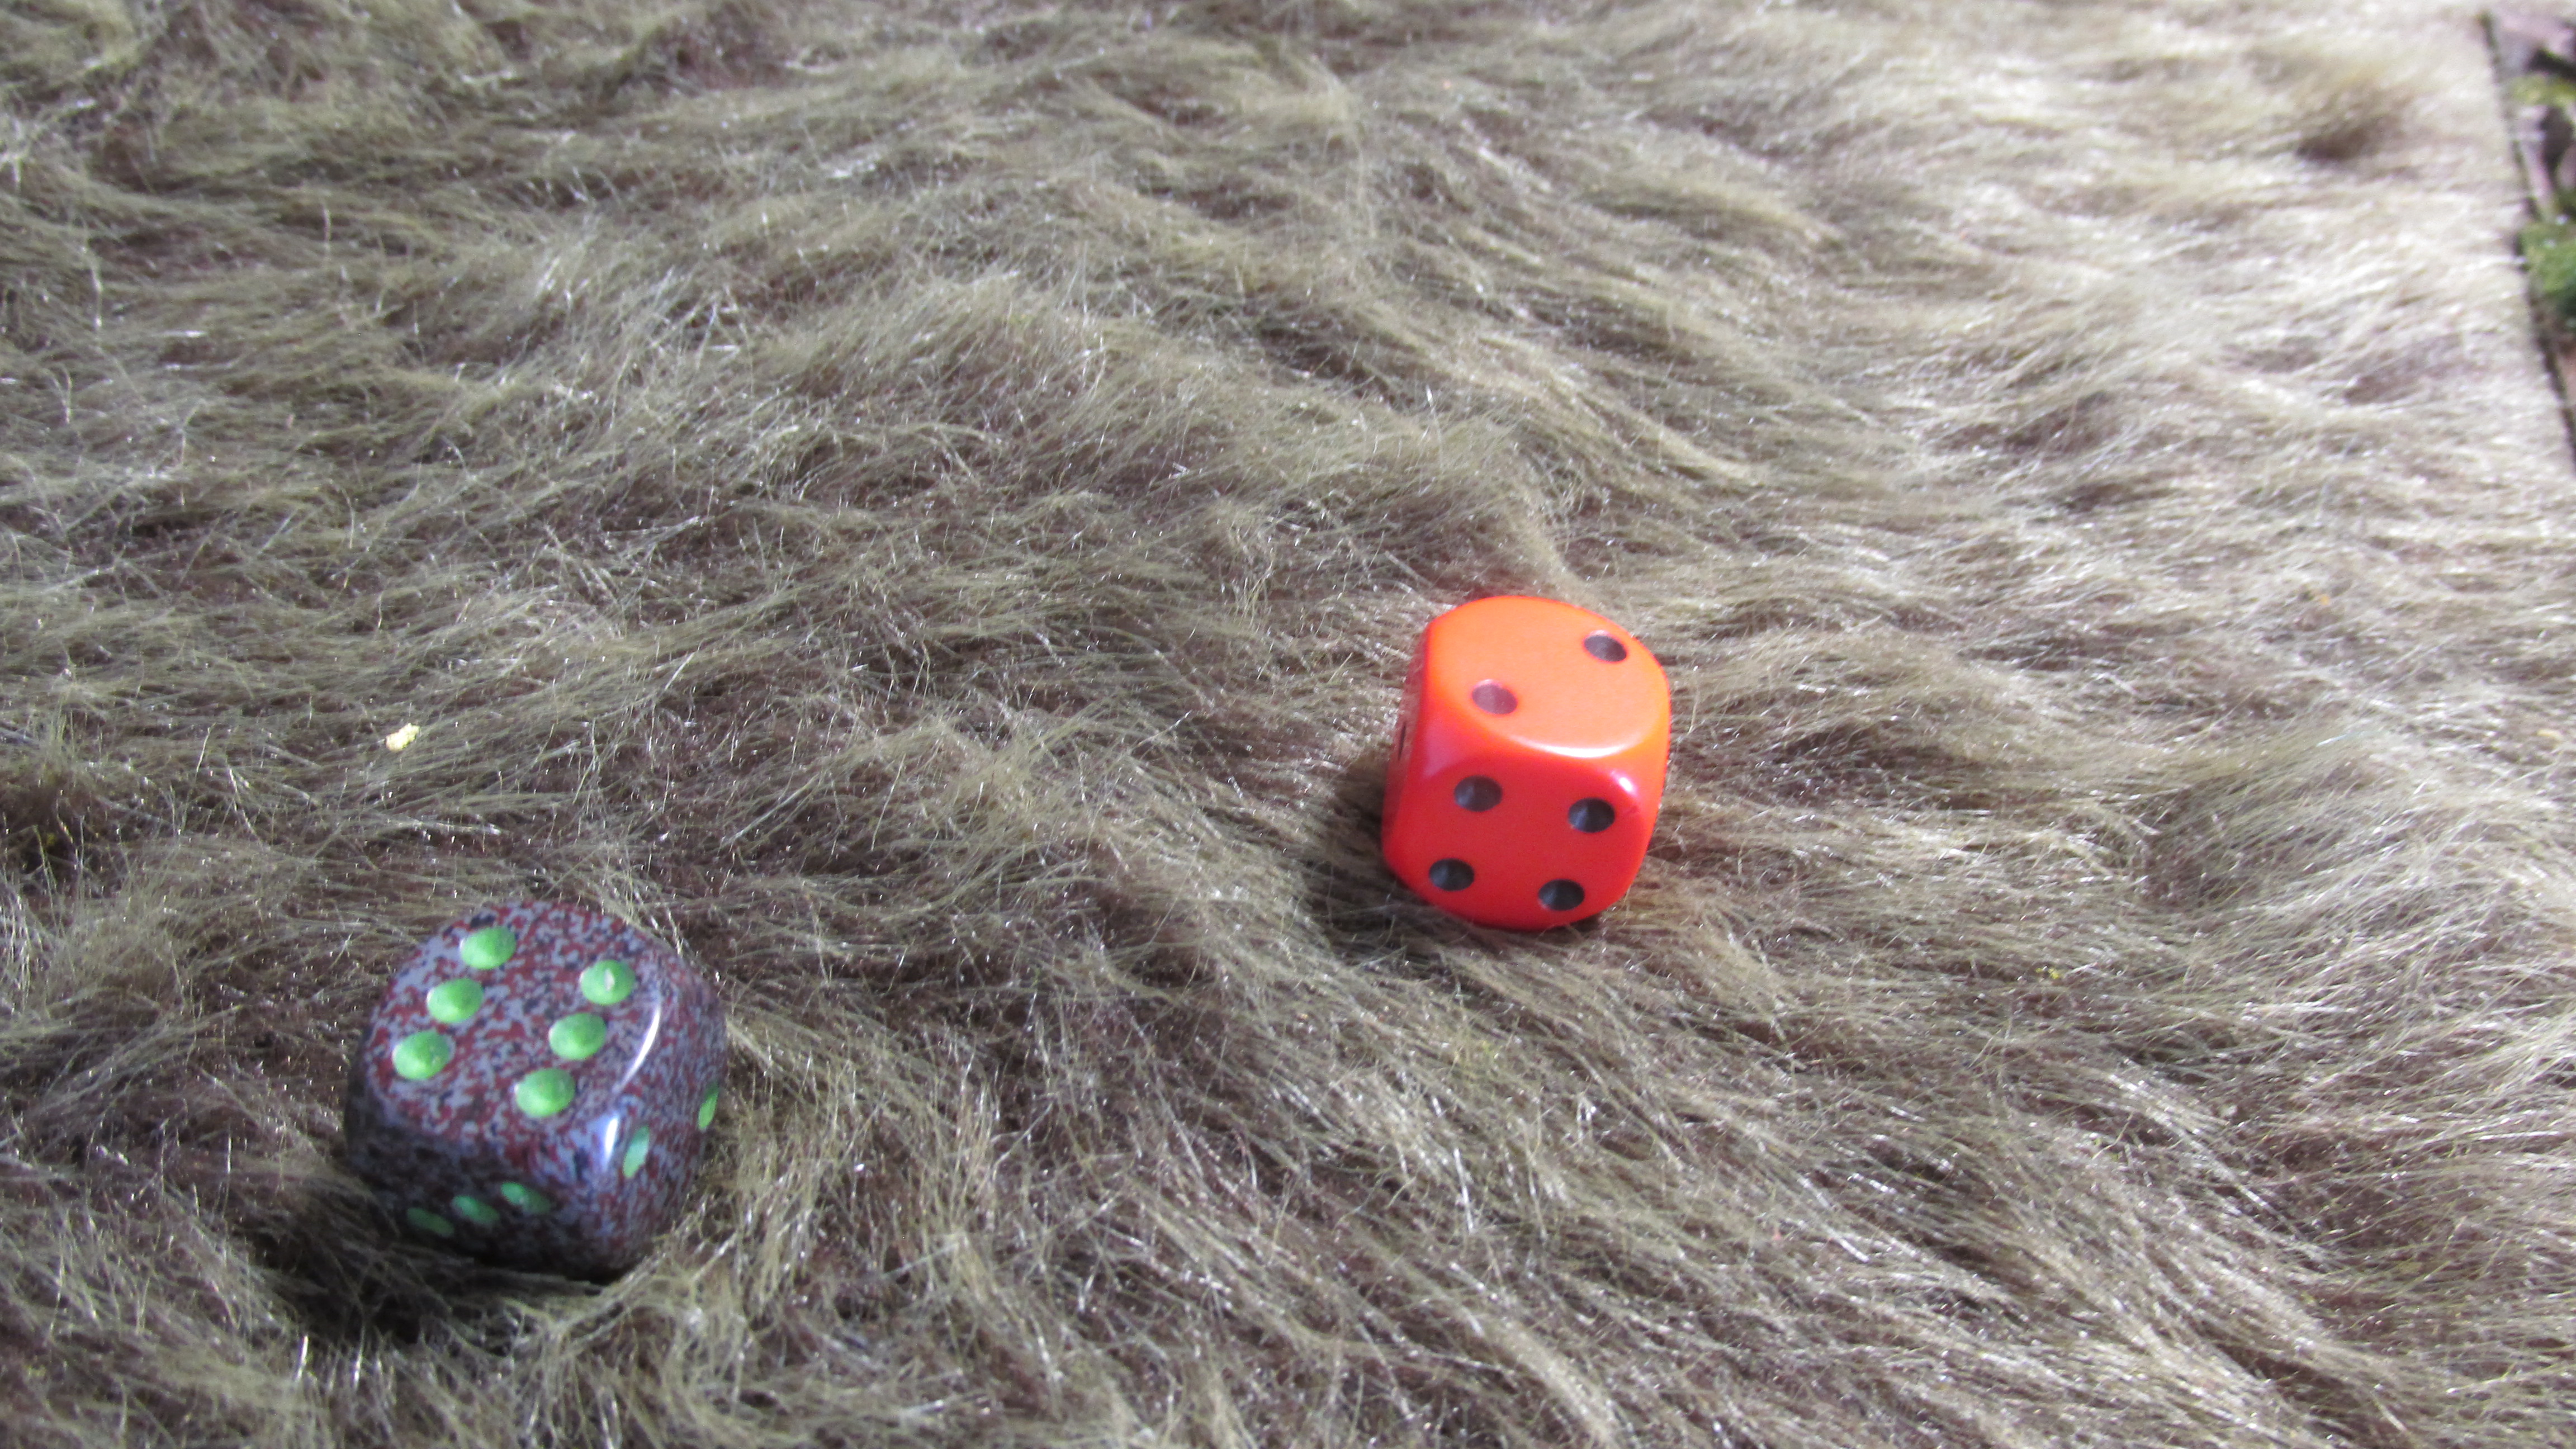
This is a pretty dismal roll. Even so, Clan Macdonald of Glengarry receive three casualties before the make contact with the 37th Foot. Now the mele must be resolved.
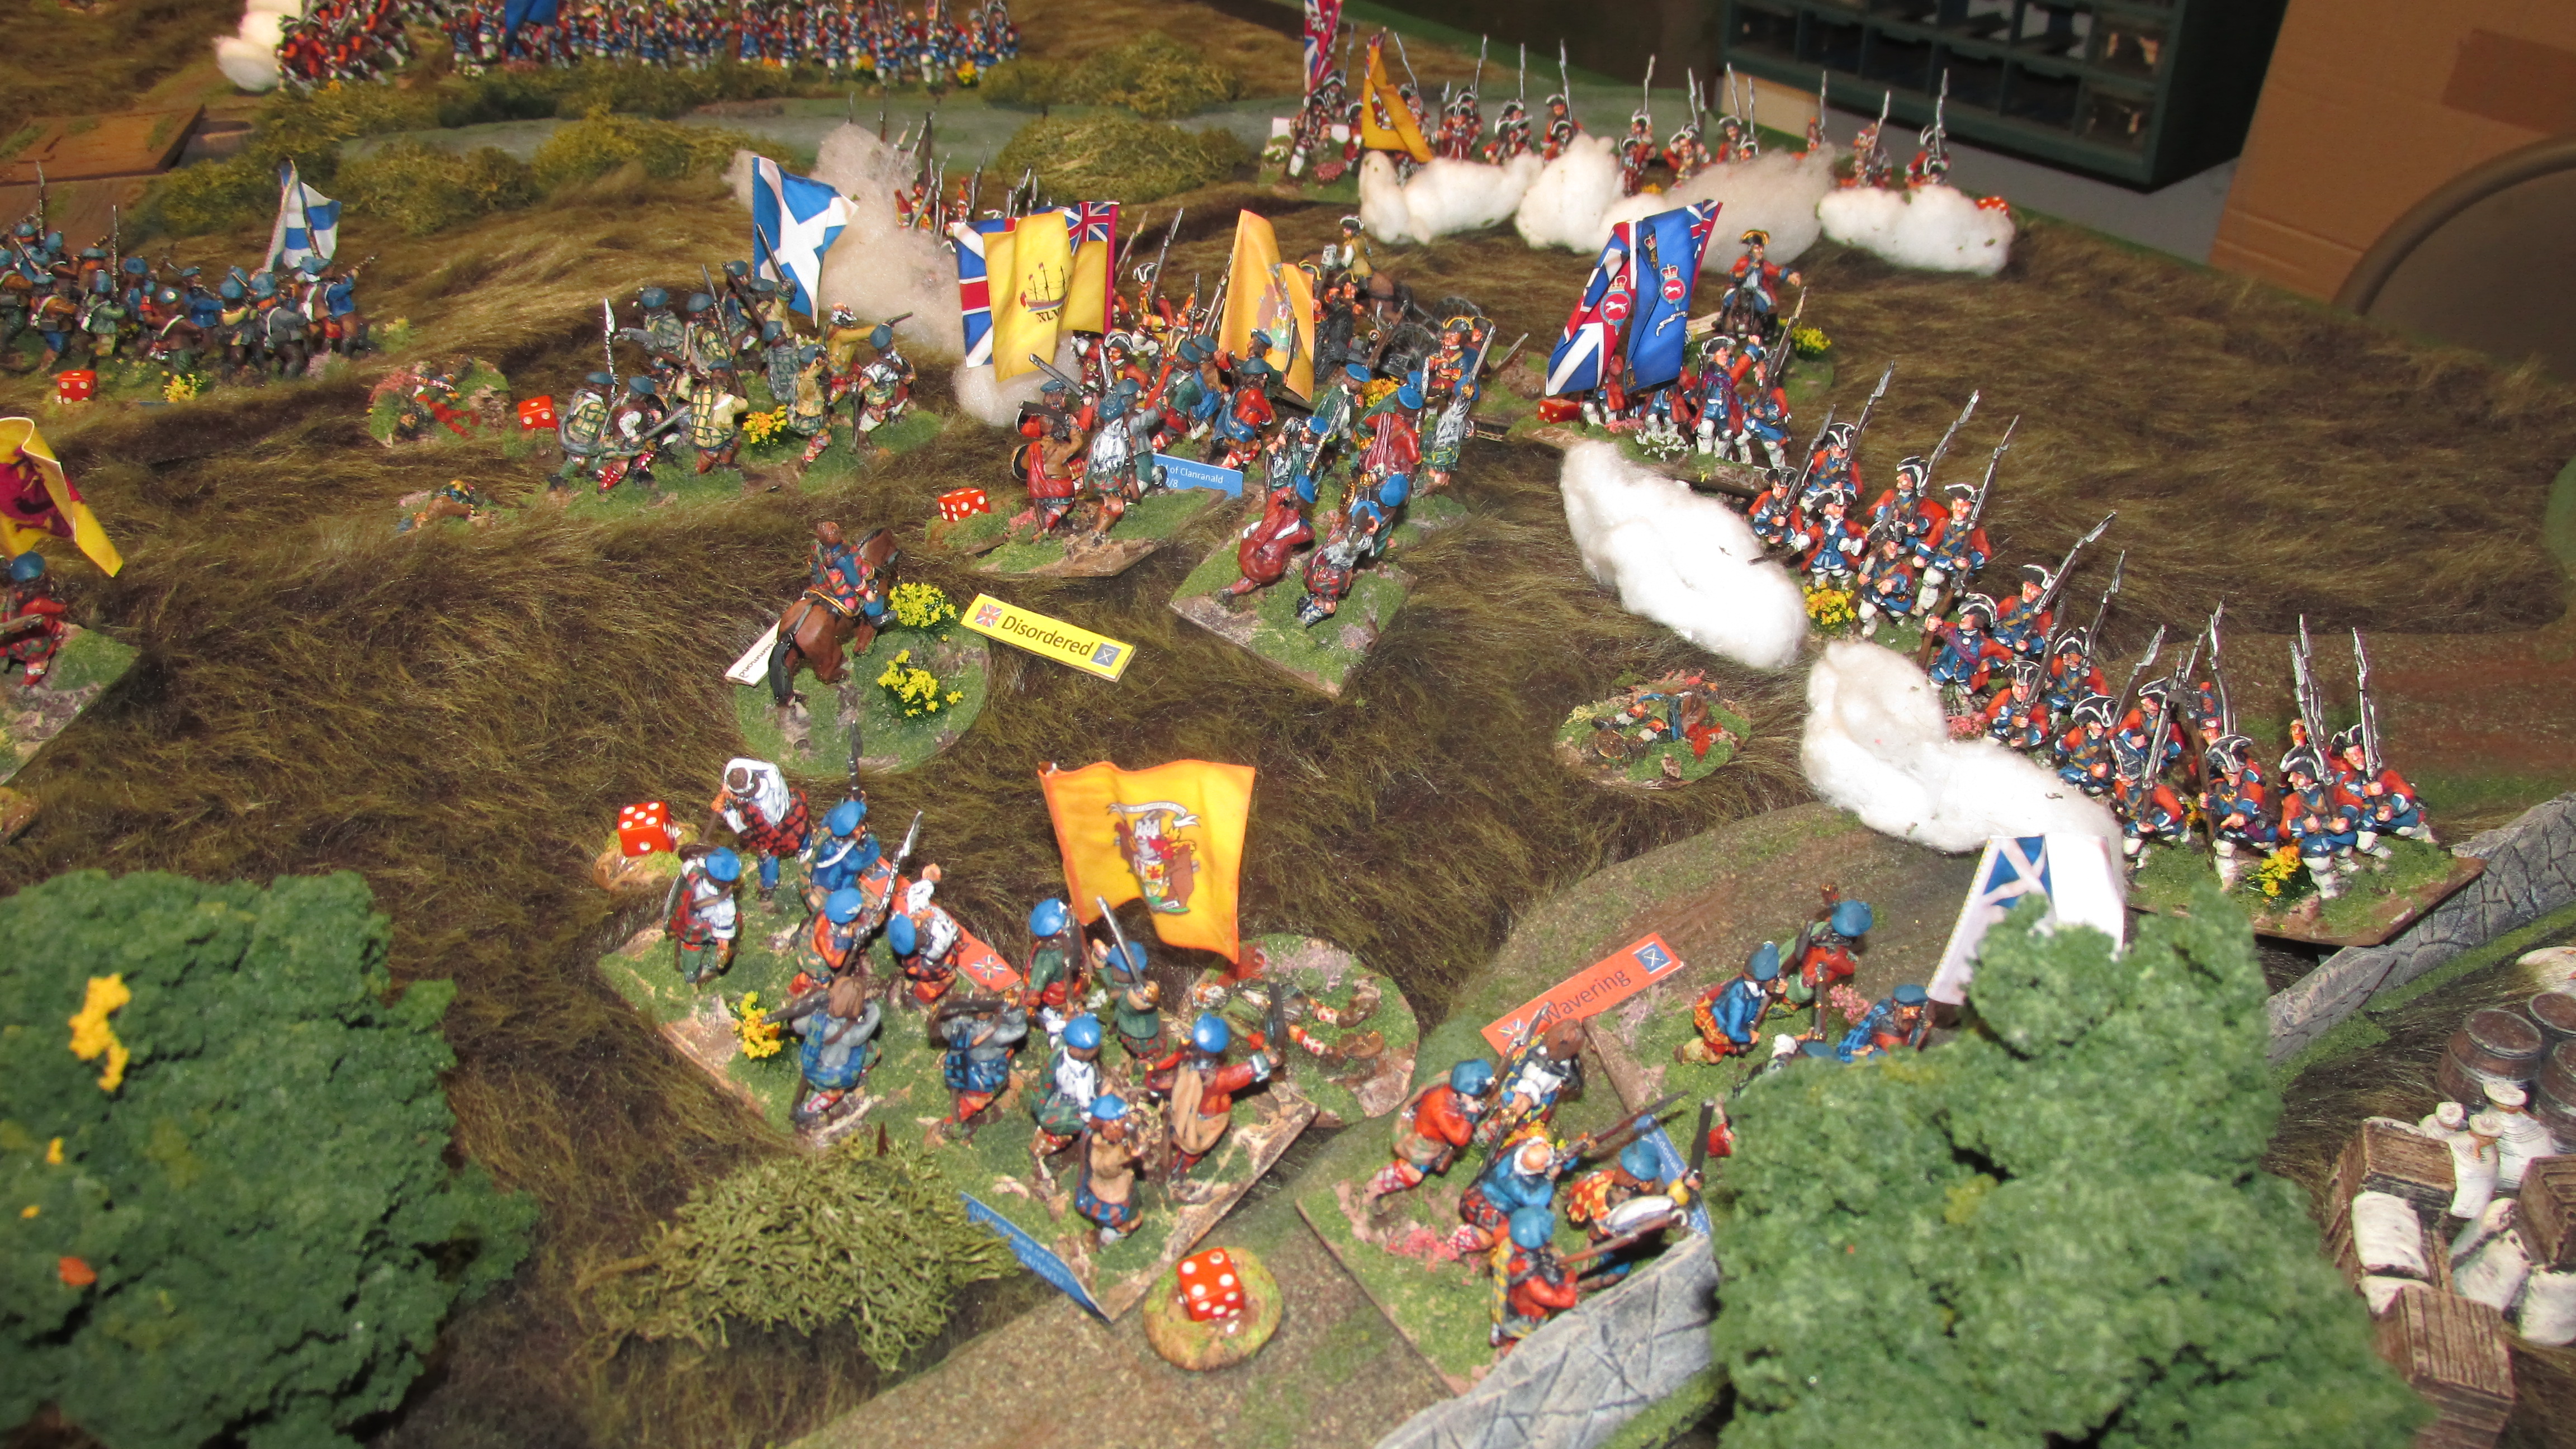
The 37th again gets one die for every five men, so they get five dice hitting on fives and sixes. The Glengarry men get one for every for men since they are veterans. They are down to 21 men, however, so they will get five dice. They get a plus two for being highlanders charging in an attack column, but minus one because the 37th are behind cover, so they are now hitting on 4s, 5s and 6s. The supporting unit adds half their dice in this case 2 dice) without the charding bonus and minus one for for the defender being behind cover. They hit on 6s. The 37th inflict 3 more casualties on the Glengarry men but suffer four in the process. They lose by one. The result is the 37th is driven back 3 inches disordered and the Glengarry men take the position but are also disordered.
Cholmondeley's card comes up, but the Scots are not yet in range so he opts to do nothing. Prince Charles uses his card coming up to attach himself to Roy Stewart's command in order to give him a better chance to support Drummond's attack. Roy Stewart's card comes up. He rolls a six, but with Charles's bonus it bcomes a 5. This allows his men three moves. After deducting three inches for having to cross over a low wall, they advance 21 inches.
The Duke of Perth uses his turn to continue his advance down the road. He rolls an 8 which only gives his men one action.
The last card drawn is Mordaunt's. He is unable to do anything with the 37th since they have already been involved in a charge this turn. He selects the 2nd Foot to fire a volley into the second battalion of Macdonald of Glengarry who were not able to make contact. He rolls a nine. Even with the bonus for being veterans, though, it is an 8 which allows only one action. The 2nd has 20 men and is rated veteran so they get to fire with five dice (one for every four men). They will also hit on anything but a one. They roll two sixes with three ones! Only two casualties are inflicted the 2nd is now unloaded.(The smoke in front of a unit signals that it is unloaded.)
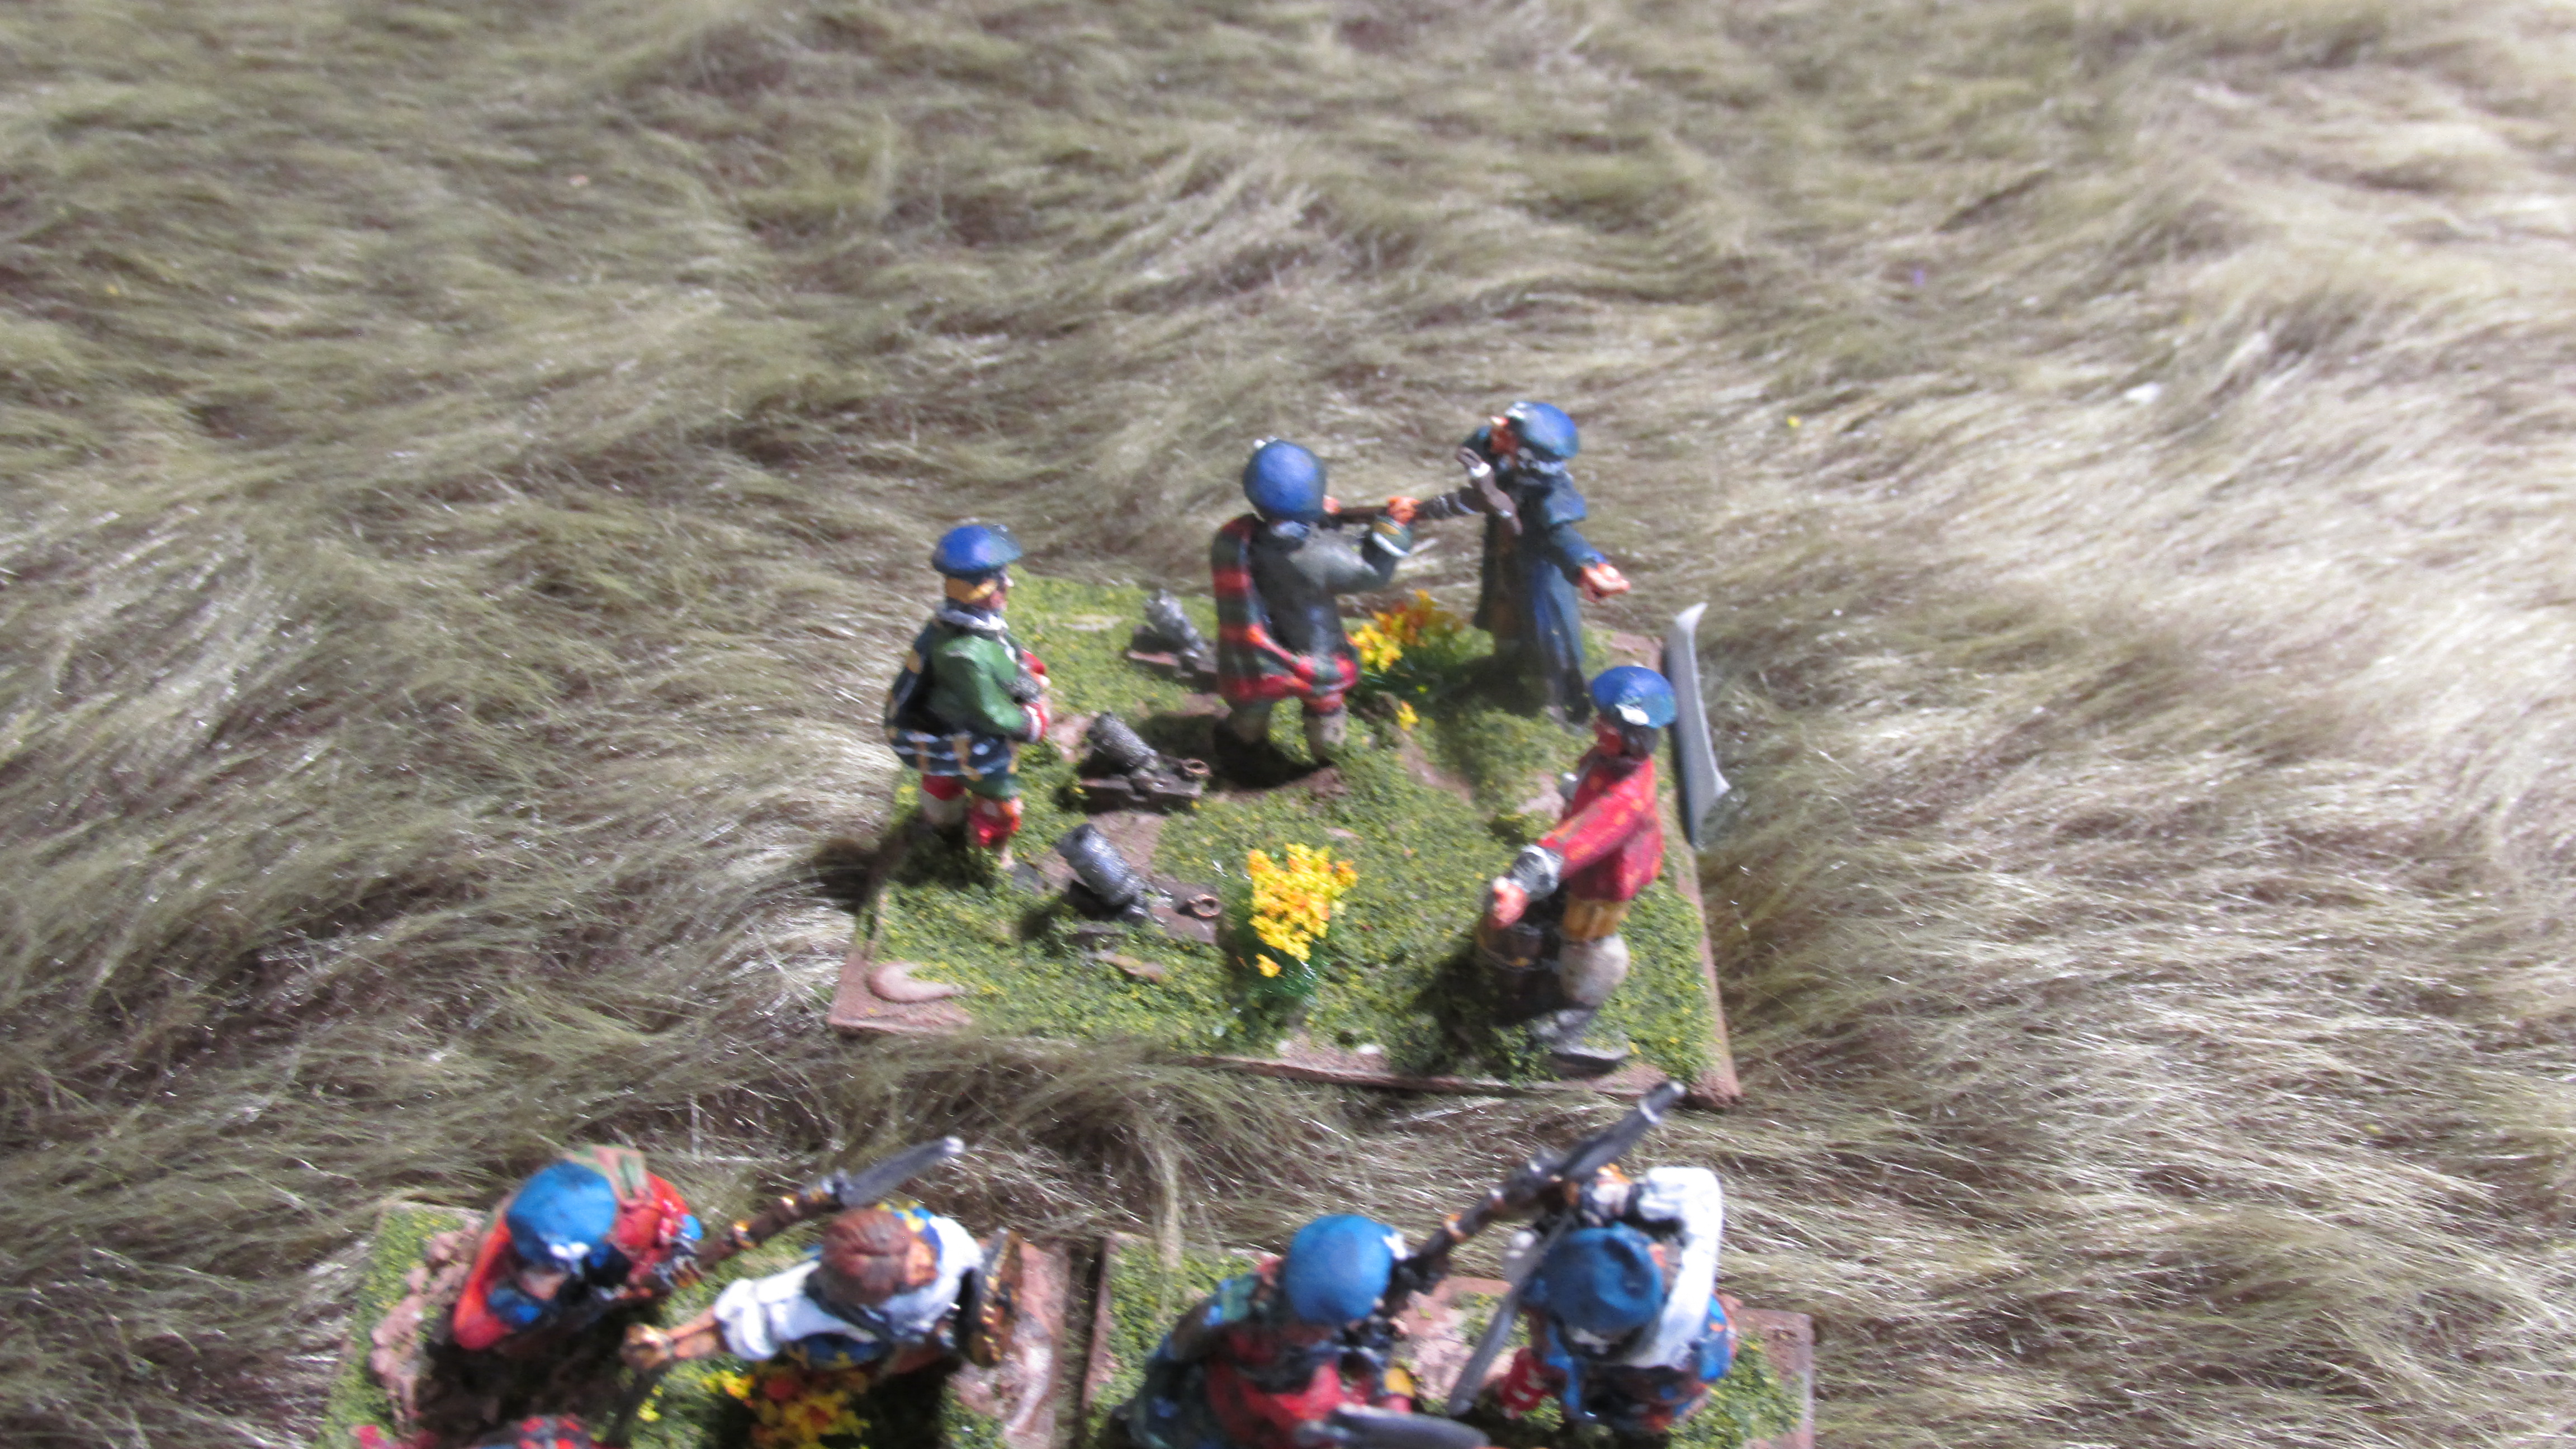
Turn 3 Again, the deck is shuffled and a new turn begins with the Duke of Perth. He selects his cannon first and rolls a six. The cannon being rated as conscripts must add one to that, but a seven still allows two actions. The gun is unlimbered and will fire at Cholmondely's line. It is a light gun firing at long range hitting on sixes. The cover is light so doesn't count against the gun. It is the gun's first time firing, so it gets a plus one to hit. It will hit on fives and sixes. He tolls two fours and a three. No hits.
The Duke uses the rest of his activations to reform his men into line in preparation to engage. (Lowlanders fight as regular infantry and are not able to charge in attack columns.)
Next up is John Roy Stewart who continues to advance on Drummond's left flank. On a very lucky note, Drummond's card is next. This will allow him to charge Mordaunt's men before they can reload, thus avoiding having to take a volley before closing. He issues orders to his mortars to fire. They get two dice hitting on fives and sixes. They roll a four and a three; no hits.
He then tabs the 1st battalion of Macdonald of Glengarry to continue their charge. He rolls a six. They are disordered which adds a plus one but they are also veteran which is minus one. The column gets two actions. They use the first to shake off the disorder and then the other to charge the 37th Foot which is now unloaded and unable to fire in defense. Clan Clanranald passes its activation and will support the charge. The second battalion of Madonald of Glengarry also passes its activation and will charge the unloaded 2nd Foot with the support of Macdonald of Barksdale. The weary men of Glengarry's first battalion are able to drive back the 37th Foot six inches, winning by two. The second battalion of Glengarry destroys the 2nd Foot by scoring six hits while taking only one, a difference of five. The 2nd Foot is routed from the field!
Mordaunt finally is able to respond to the crisis. He is able to get the 27th Foot to advance to stem the tide of the 2nd Glengarry battalion. He has the 43rd Black Watch battalion move up into a supporting position of his threatened flank. His cannon fires without success on John Roy's rapidly advancing columns.
Turn 4 This turn sees Mordaunt's card drawn first. He first tries to stablize the disordered 37th Foot. He rolls a 12! Thankfully, with Cumberland attached, he gets to re-roll with better results. the 37th is able to reform and reload. He is then able to give the 27th Foot two actions. They advance and pour a volley into the Glengarry men. Five shots result in five hits. Not only does Clan Glengarry lose a stand, they are now down to 16 men out of 24 and are worn.
Cholmondeley is next up. He orders his cannon to fire. No hits.
Cumberland, realizing the danger to his left flank, orders his aide de camp to attach himself to the 14th Foot of Cholmondeley's brigade and move it to support Mordaunt.
Roy Stewart's card comes up and he issues orders to continue to advance. He also fails a roll, but Prince Charles's presence allows him to re-roll with better results this time. His units move to within striking distances of Mordaunt's right flank line of defense.
The next card drawn is the Duke of Perth's. He continues to shake is units into line. His battery is able to fire once again, this time succeeding in getting a hit which disorders the 14th Foot.
Finally, Drummond is able to try to reorganize his battered brigade for a second push. In these rules, clans attack with ferocity but usually pay a high price due to the fire power of the disciplined Government regiments. That was certainly the case here. Drummond successfully pulls back the two battalions of Macdonald of Glengarry that have suffered over 25% casualties in their successful charges. It will be up to the supporing elements to follow up their hard won gains.
However, when he attempts to order in a second charge with the supports, he rolls a "12" and his turn is over.
I will wrap this up at this point. I will work through three or four more turns that will hopefully bring up brigade moral tests and leader casualties. If you have questions or comments please leave them. I'd love to get some input.

Monday, June 10, 2024

Wargaming with the Grandsons

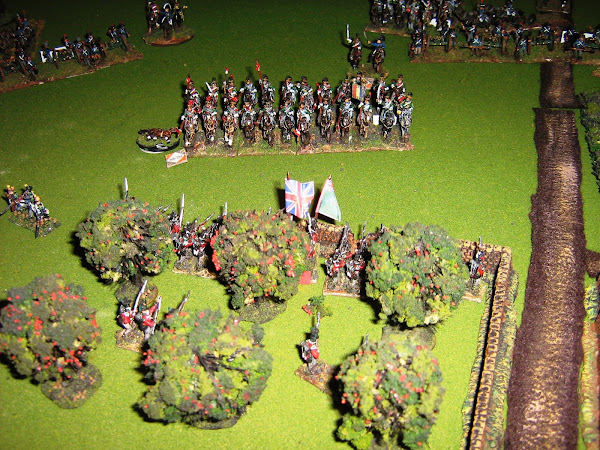
On my latest trip to Oregon I had the chance to preside over a wargame with four of my grandsons with the regiments I painted up for them for Christmas. I have developed some very simple rules that worked quite well. The ages of my grandsons are 6, 8, 10 and 14. Each one had a regiment made up of six companies of six figures each. There are five line companies and one company of grenadiers. In addition, each regiment is led by a mounted officer.
I made movement stands for each company to make moving them about easier. The movement stands are labeled 0ne through six. The rules are as follows: Initiative is determined at the beginning of each turn by each player rolling a die. The highest roll gets to go first. Each company can do two actions per turn; move six inches, change facing or fire. So, a company can move once and fire, fire and move six inches, change facing and move or fire, or move twice for a total movement of 12 inches. Firing is done by rolling a die for each figure in the company. At close range (0 to six inches) fives and sixes are hits and at long range (6 to 12 inches) sixes are hits. The grenadiers get to add +1 to their rolls. The commander can attach to a unit and also add +1 to the unit's roll. However, if the general is attached to a unit there is a chance he may become a casualty. Units may also use their movement to charge. Both charges and firing are done straight ahead. Charging units roll one die per figure and receive a +1 for charging. The defender also rolls one die per figure without the plus one. Whoever inflicts the most casualties is the winner. The loser must fall back one move. If the officer is attached, the unit receives an additonal plus one to each die roll. However, if the unit he is attached to receives casualties there is a chance he may be hit. The opposing player rolls a die and on a six the officer is removed from play.
In our game, we used a small throw rug as our battlefield with each grandson deploying his regiment on one of the four edges. Initiative was determined and off we went. Not too long into the conflict one grandson asked his brother to form an alliance. He agreed and the flavor of the game changed dramatically. The older grandsons wisely kept their grenadiers in reserve. One grandson even came up with the tactic of firing and then retiring 6 inches to get beyound close range. Another figured out how to maneuver onto the flank of his opponent and get a +1 bonus for both firing and charging. The fortunes of war swung back and forth. In the end, it came down to the last two figures of one regiment charging the last remaining figure of his brother. He rolled a two and a five, his brother a six. In the end, only one soldier remained. The whole affair took about an hour. They all had a great time and can't wait to do it again. This Christmas they are each getting a gun and limber to add to their collection to add yet another element to the game.

Tuesday, May 28, 2024

Latest Commission

The latest commission I just completed was the army of Montrose, epic scale. It will be a force to be reckoned with.

Sunday, May 26, 2024

Memorial Day, 2024

Memorial Day, 2024 Today in church our pastor played a video voiceover of Ronald Reagan's 1985 Memorial Day address. It was a beautiful piece. One aspect of it in particular stood out to me. Reagan observed that most of those who have died in service to our country were quite young, in their teens and 20s. He pointed out that they really gave up two lives: the one they were living at the time and the one they would never get to live. This was true of my great uncle, Harold Brown. He was the sibling that was closest to my grandmother. Harold enlisted in 1918 and was in D Company of the 308th Infantry Regiment. In October of 1918 he volunteered to participate in the fourth and final attempt to reach a portion of the regiment that had been cut off and surrounded. The first three had failed. He volunteered knowing that it would probably cost him his life. Tragically, it did. For his valor, he was awarded the Distinguished Service Cross, the second highest honor our country can bestow on its service people. Reagan's words were certainly true in Harold's case. He sacrificed the life he was living. In addition, he gave up the life he would have lived. He left behind a young bride and a daughter he never met. He never got to have a career or be a grandparent. His commitment to his comrades and his country prompted to put it all on the line. Though I never met him, I am so proud to be in his family line. It is for him, and hundreds of others like him that we have Memorial Day. May we never forget them. Casualty Info Home Town Bakersfield Casualty Date Oct 04, 1918 Cause KIA-Killed in Action Reason Unknown, Not Reported Location France Conflict World War I Location of Interment American Cemetery - Commune of Binarville, France

Friday, May 17, 2024

Rising of the Clans After Action Report: The Battle of Bedford

My two former students, James and Chris, arrived right on time for a second game of Rising of the Clans. I was looking forward to see what they thought of the tweaks I had made to the rules since the last game we had. We rolled to decide who what command what. Chris found himself leading the Scots and James the government forces. Turn one- Chris aggressively sent both of his infantry brigades, one of highlander and the other of lowlanders, straight ahead to attack the red lines in front of him. He fired off his artillery, inflicting the first casualties of the game. Due to a poor command roll, Chris's cavalry failed to advance on the left flank. James, seeing that his right flank was vulnerable, attached commanding general Hawley to Campbell's brigade of militia to hurry them off in that direction. Other than that, he chose to leave his other three brigades in place to await the inevitable rush of the Scots.
Turn two- Chris received two more brigades coming up behind his center. He sent Drummond's highlanders over to his right to cross the river into Bedford. He had Murray's highlanders push forward to support Roy Stewart's attack on Lascelle's forward line of redcoats. In a stunning development, Stewart's clansmen ferociously charged into Lascelle's line. The weight of numbers saw two of Lascelle's regiments routed from the field. This forced his brigade to take a break test as it had lost half of its strength. James rolled a "1" resulting in the other two regiments fleeing the battle as well. This was a very disappointing beginning to the game for James. Fortunately for him, on turn three Wolfe's brigade arrived to reinforce his center.
Drummond's men move into Bedford.
The aftermath of Stewart's successful attack.
One of Lascelle's surviving regiments gets off a volley into Olgilvy's men before it flees the field.
Chris's cavalry finally started to move forward to engage the government right. Turns three and four- To the horror of Prince Charlie, Stewart's men, intoxicated with victory, continue to rush headlong into the volleys of James's second line and are decimated. James moves two of his cavalry regiments into the void left by Lascelle's departure and sends the other two across the river to attemp to hold that flank. Drummond continues to advance through the town of Bedford. The Scottish cavalry put pressue on the government right. Fitzjames's horse drive back Mordaunt's artillery while the rest of the brigade prepares to crash into Campbell's arriving militia regiments. Roy Stewart's largest regiment, the Camerons of Locheil, are virtually destroyed in their breakthrough. His brigade must now take a break test which results in them having to pull back 20". Murray's men will now have to attempt to exploit Stewart's initial success. Turns three and four also see the arrival of the rest of both armies arrive on the table. Perth's lowlanders come in on the Jacobite right and are directed toward the center. Stapleton's elite brigade of French regulars comes on in the center. Hawley's forces is suppliemtned by Cholmondelely's brigade which comes in on his left in marching column. The order in which cards are drawn in the next turn will be critical for both sides.
Drummond's men continue to advance on the Jacobite right.
Stewart's men are mowed down by the disciplind volleys of the British regulars and forced from the field.
It will now be up to Murray's men to continue the attack. Turn five- On the Jacobite right, Drummond's card comes up first. He charges one unit up the road and catchs two of Cholmondeley's regiments in march column, destroying them. Another of Drummond's clans is able to catch two dragoon units in the flank. They, too, are destroyed and removed from play. Perth's men are rather disorganized trying to get into position along the river to support the Jacobite center. James's two remaining dragoon regiments demonstrate great courage in charging headlong into Ollgilvy's men with some success. This enables Wolfe's men to deploy into a solid line behind them. The Jacobite cavalry throws itself against Campbell's militia. It is initially successful, but its lack of numbers ultimately see it driven off.
Ominously, Stapleton's elite soldiers lumber forward to attempt to break through Mordaunt's brigade stationed behind a stone wall along the road.
Perth and Olgilvy struggle to make an impact in the center.
The Scottish horse gallantly assault Campbell's men, but are ultimately broken by the attempt. Turn six- This roller coaster of a battle continues to unfold with yet another turn of fortune. This time, Cholmondeley's card comes up first. He is lucky on his command rolls and is able to get off two volleys into Drummond's crowded columns. Olgilvy is able to drive off the rest of Hawley's cavalry. Stapleton's highly disciplined troops calmy form into line and blast away at Mordaunt's line. Drummond is able to push forward his reserves to continue to bring pressure on Cholmondoley's line, driving back one regiment only to be brought to a hault by the stout resistance of a battery.
Drummond's meet the same fate of other victorious clans, being torn to pieces by murderous volleys of musketry.
Stapleton's men attempt to break through the government center. Turn seven-Stapleton rolls well on his commands and in three separate action is able to fire a volley and then charge into the British line, winning two of these critical mele's. Elsewhere, however, lossess continue to mount among the highland brigades of Murray and Drummond. This forces both to have to take break tests which they both fail and the flee the field. It is up to the lowlander brigades to hold on in the center to buy time for Stapleton's attack to succeed.
The casualty stands bear testimony to the horrific casualties suffered by the highlanders in the center.
The last gasps of Drummond's brigade before he is killed leading a desperate charge trying to retrieve the situation.
Stapleton continues to hammer away at Mordaunt's line.
The lowlander brigades trying to hold on in the center. Turn eight- It would be up to the French regulars to pull victory out of the grip of defeat. Two units broke through Mordaunt's line only to be confronted by Wolfe's relatively fresh regiments. Dice were rolled, modifiers added, and Wolfe was able to withstand the final attack of the French.
It was declared that the government forces had narrowly won the day. Four of the seven Jacobite brigades had been broken and driven from the field. Hawley had seen two of his brigades flee off the table. Prince Charles' bid to invade England and regain his crown had been thwarted, but at great cost. In this second game, both of my players thought the changes made to the rules were effective. They enjoyed the uncertainty that the use of cards and the rolling for number of actions brought to the game. They also liked how units lost potency as their strenght wore down as a result of casualties. Initially, it seemed that the highland charge was too powerful, but later events showed that British musketry was even more devestating in the longrun, which gave the game a realistic feel.

Thursday, May 16, 2024

A Storm Is Coming!

Getting ready for another play test of my Rising of the Clans rules with two of my former students tomorrow morning. The scenario: November, 1745- Prince Charles has managed to raise a very large army, supplemented with a full brigade of French regulars. However, it took longer than expected and General Hawley has used the time well in raising a large army of his own. Hawley has brought his force to a small village on the eastern highway leading to Newcastle. Both armies have orders to convene at Bedford. Charles has three of his brigades with him as the sun rises: MacDonald’s cavalry, Roy Stewart’s highlanders and Olgivly’s lowlanders. His other four brigades are not far behind. Hawley has four brigades on the field deployed in two lines on the open space east of Bedford. He has chosen not to occupy the village. He has Legonier’s cavalry, Campbell’s brigade of militia and Mourdant’s and Lascelle’s brigades of regulars. His other two units are coming as quickly as possible, but it is not certain when or if they will arrive in time. Here is what the table looks like as action begins.