Sharp Practice is one of my favorite rule sets. I have figures to play it from four different periods. While I enjoy all of them, my American War of Independence figures have a special place in my heart. My collection gives me a lot of options in putting armies on the table. In this action, the American side is heavy on the militia side. There are five groups of 10 figures each. They are supported by two groups of Continentals and two groups of state troops. There are six Continental skirmishers, six riflemen, a medium cannon and a group of eight dragoons. Their mission is to defend a bridge so that a large force of lobster backs cannont encrouach on a large swath of rich farmland General Washington is counting on to feed his hungry army.
The British high command is intent on upsetting this plan. No less than five groups of regulars, two of skirmishers, two of loyalists, one group of grenadiers, a medium gun and a troop of dragoons are determined to capture and hold the vital bridge.
The first of the king's soldiers to arrive are the dragoons of Captain Edward Lassiter. They move quickly down the road towards the bridge. These are followed by two groups of regulars under the command of Lieutenant Horatio Westbrook. He is young and ambitious, determined to make a good showing in his first action. However, in his haste, he sprains his ankel (random events card) which will temper his enthusiasm significantly. Also appearing on turn one for the Brits are the medium gun commanded by Sergeant William Foxworthy and a unit of skirmishers led by Lieutenant George Cooper. Cooper takes his men off the road towards a wood to the left of the vital bridge.


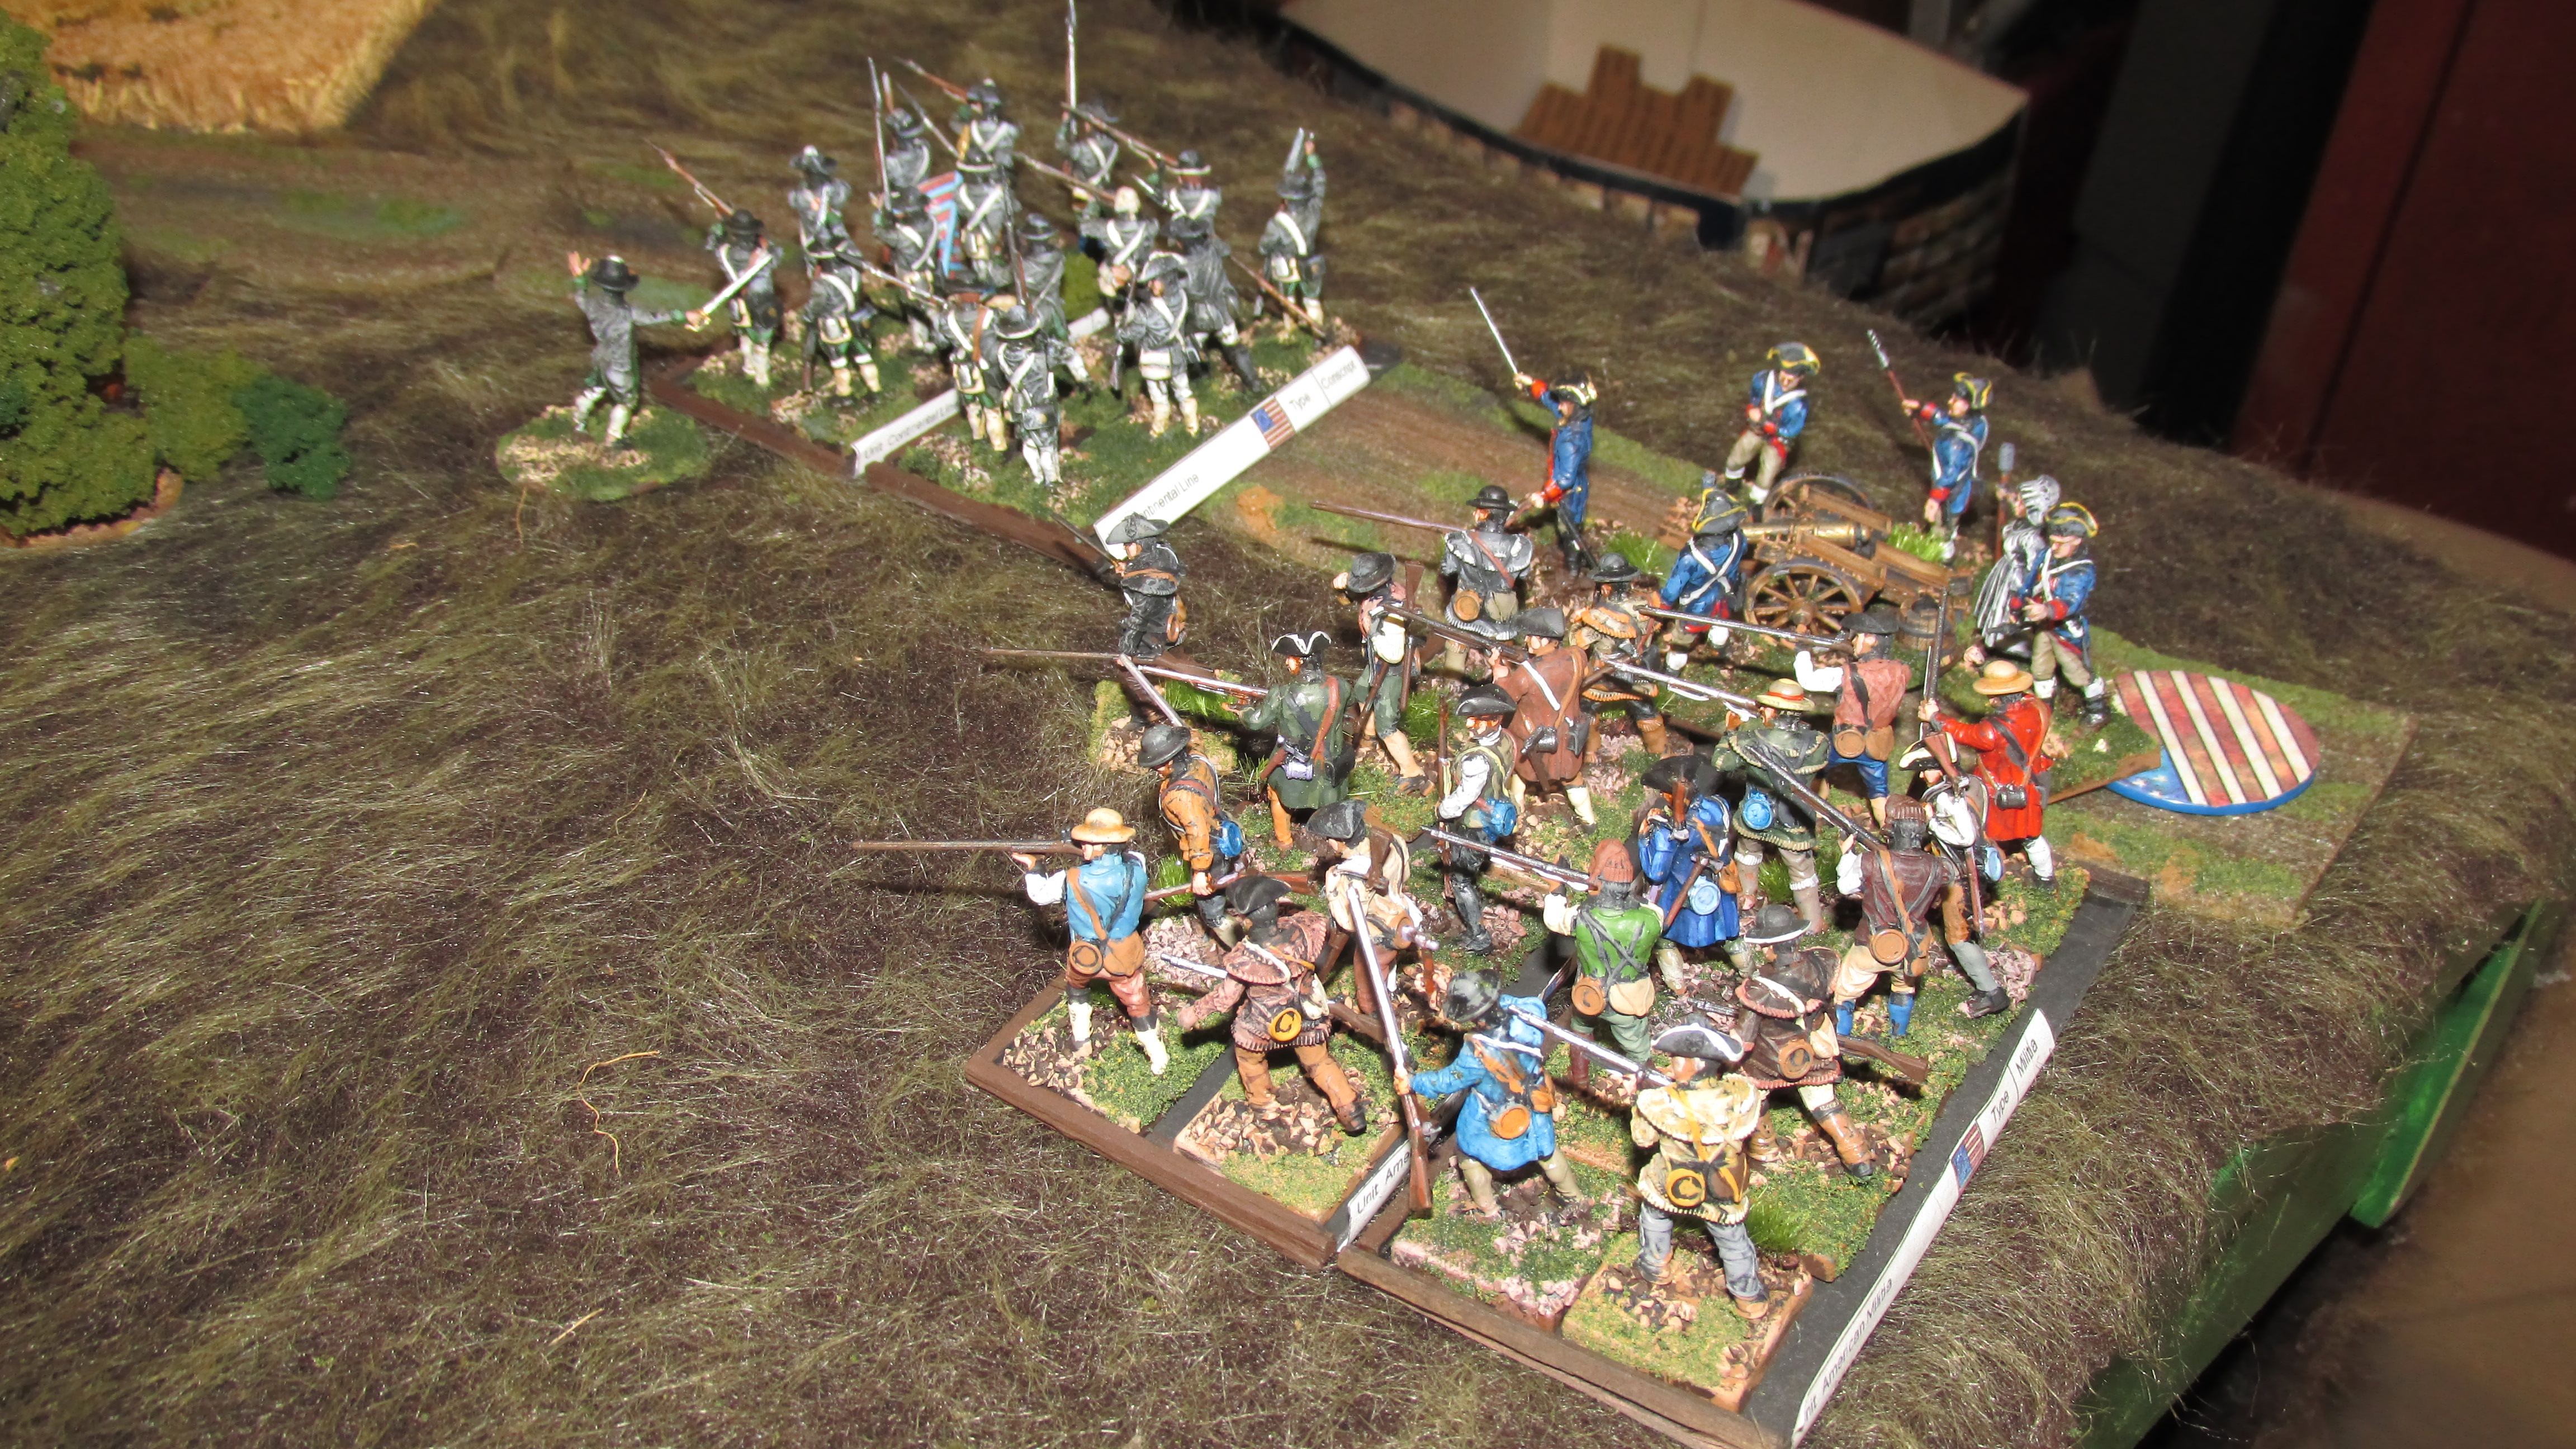
Mirroring his counterpart on the British side, Lieutenant Jonathon Lee canters down the main road at the head of his troop Continental dragoons. They are followed by Major Lionel Hampton's three groups of militia and Captain Jeremiah Harrod's two groups of Virginia Continentals. Finally, Sergeant Nathaniel Rothwell brings on his elite unit of Continental skirmishers and belines toward the church which will be the anchor of the Americans' defense.
Turn two sees both sides continue their advance, and both with mixed results. Lee's Continental dragoons steal a march by cashing in four cards to get a second move. He and his men are within yards of the all important bridge. The other Americans, however, roll very poorly and manage only to move a few inches up the road. Captain Ezra Jones arrives with his two groups of state troops, but has no room to maneuver due to the sluggish advance of his comrades.
The intrepid Horatio Westbrook takes advantage of cashing in four cards as well and manages to hobble into close support of Captain Lassiter's dragoons.
On turn three Lee's dragoons make it to the bridge, though they are quite lonely there with their infantry support still lagging behind. Captain Jones joins Sergeant Rothwell in a dash to the church.
Two more groups of militia arrive under the direction of Lieutenant Andrew Hardwood along with the medium gun commanded by 20 year old Lieutenant Obediah Richards.

On the British side, Lassiter moves his dragoons off the road to clear a path for the overzealous Westbrook. Casting caution to the wind in his pursuit of glory, he leads his two groups down the road in a column, despite seeing the dust being kicked up by Lee's horsemen on the other side of the bridge.
As is so often the case, and one of the main reason I love these rules, the draw of the cards would be of critical importance. As fate would have it, Lieutenant Lee's card was close to the top of the deck. The dashing young officer could not resist such a tempting target as the bunched up redcoats marching down the road towards him. Increasing the pace of his troopers from cantering to the gallop, the plucky horsemen dashed over the bridge and up the road staright towards Westbrook's quivering men. Sabres cross with bayonets in a swirl of hand to hand combat. Three of Westbrook's men crumple to the ground wounded. Westbrook receives a severe wound to his right arm. The advantage narrowly goes to Lee who also loses three men, driving back the British.

As this dramatic struggle unfolds, both sides continue to rush to the sound of battle. Hampton's militiamen make it to within a few feet of the precious crossing. Now, all of the units are on the table.


Turn Five- This time the good fortune lies with the British. Westbrook's shaken infantry men get the initiative. The form into line, present thier muskets and unleash a ragged volley. Despite the odds, the 10 hits only result in two casualties with five shock. There is only a one in six chance that the daring Lieutenant Lee will be hit, but he, too, receives a bullet to the shoulder. When his card is drawn, he turns his men around and makes a hasty retreat to the bridge and the safety beyond. Major Hampton has wisely left room for the fleeing horsemen to get by. He forms his three groups into a formidable line. One group will benefit from the cover of the church yard fence. Sergeant Rothwell's skirmishers get closer to a supporting position on Hampton's left flank. Leiutenant Cooper's British skirmishers scattle into the woods to Hampton's right in hopes of being able to harrass the civilian soldiers.


No comments:
Post a Comment