
Saturday, May 30, 2015
Old Glory 15s final chapter
I will close this chapter with a final post. Old Glory 15s did the right thing by comping me some figures to make up for the previous three orders that were short figures. They did an excellent job of getting me my missing figures and the comped figures to me in a timely fashion. But, God bless them, one of the comped figure bags was missing a figure. I appreciate all that they did for me, but the problem is still not fixed. I know they mean well, but their system is dysfunctional. How hard is it to count to 48? They aren't able to do it. They mean well. They are trying hard. But in my world, trying hard isn't enough. The proof is in the pudding. Old Glory 15s just don't have their act together. It's a shame, because they have a great range of figures. But there are other options in this great hobby of ours, and I will be calling on them to meet my hobby needs from now on. Service matters.


Wednesday, May 27, 2015
Old Glory 15s Update
I believe that it is important to be fair and not to hold grudges. In that spirit, I want to report that the folks at Old Glory 15s contacted me on Monday admitting that they had made an error on the mailing label. The result was that the package they had promised was returned to them. An apology was offered along with a gesture to make things right.
Old Glory 15s could have just ignored me. They didn't. Instead, they did all I could reasonably expect to try to make things right, and even went beyond that. I felt I needed to acknowledge that publicly.
Old Glory 15s could have just ignored me. They didn't. Instead, they did all I could reasonably expect to try to make things right, and even went beyond that. I felt I needed to acknowledge that publicly.
Saturday, May 23, 2015
I am done with Old Glory 15s
I am not a complainer. I do whatever it takes to maintain my loyalties, but I believe loyalty must be a two way street. For 25 years Old Glory 15s have been my figures of choice. I have spent literally thousands of dollars on them over the years, but my last three orders were missing a considerable number of figures. Repeated emails were either not returned or met with some pretty flimsy excuses. The bottom line is that they have not corrected these mistakes after repeated requests and so I have decided to take my business elsewhere and I am encouraging everyone I know to do the same. Here is my latest and last email to Old Glory 15s:
I posted a comment on TMP about how dissatisfied I was with your lack of follow through on what I thought were legitimate complaints about your service. I was stunned to see a follow-up that claimed you tried to send me the missing pieces I had notified you about. I don't believe this is the case at all. If it were, why didn't you contact me via email which you have on file?
I will no longer do business with you and I am steering my students who constantly ask me where to obtain figures away from you. I was once a very loyal customer, but you failed me time and again. Enough is enough. I am not alone in my opinion as is apparent from the number of responses I had on my TMP post. (End)
From here on out I will be purchasing Blue Moon figures. Change does not come easily to me, but in this case, it's long overdue.
I am through with my rant. When my first order of Blue Moon Napoleonics arrives I will be sure to post pictures of the painted figures.
I posted a comment on TMP about how dissatisfied I was with your lack of follow through on what I thought were legitimate complaints about your service. I was stunned to see a follow-up that claimed you tried to send me the missing pieces I had notified you about. I don't believe this is the case at all. If it were, why didn't you contact me via email which you have on file?
I will no longer do business with you and I am steering my students who constantly ask me where to obtain figures away from you. I was once a very loyal customer, but you failed me time and again. Enough is enough. I am not alone in my opinion as is apparent from the number of responses I had on my TMP post. (End)
From here on out I will be purchasing Blue Moon figures. Change does not come easily to me, but in this case, it's long overdue.
I am through with my rant. When my first order of Blue Moon Napoleonics arrives I will be sure to post pictures of the painted figures.
40k Finished
My marathon painting session with 282 40k figures is done! I have to say, I enjoyed the project much more than I thought I would. The detail on the figures was excellent and the variety of colors was fun. I improved on my ability to shade using dry-brushing. Apparently, this client has more for me to do, so I'll able to put my new skills to further work. Here are some shots of the other types I did.
 |
| These are Nurgle terminators. |
 |
| These are the Undivided. I liked their color scheme of black, gold and red the most. |
 |
| Tzeentch are primarily blue. |
 |
| Slannesh are done in purples. |
Sunday, May 10, 2015
40k!?
I am working on a large commission of 40k figures. What an education this has been. It's all very strange to me, but the figures have lots of detail and since they are fictional, it leaves a lot of room for imagination. But it has also confirmed the fact that I am definitely a historical wargamer.

 |
| These are Khorne Chaos warriors. Red and gold |

 |
| These are cultists and as close to actual humans that I will paint in this lot. |
Saturday, May 2, 2015
Battles for Empire Game
Yesterday our little wargaming group switched genres and traveled back to the 1870s as Her Majesty's army took on the Zulu hordes. 3 players commanded six companies of British soldiers and five others led the Zulu host into battle.
The objective was for the British column to make its way to the end of the table. The Zulus, on the other hand, were to stop them. It had been quite a long time since we have played these rules so we were rusty. I made the mistake of starting the opponents too far apart in light of the limited amount of time we had to play. Nevertheless, the kids seemed to enjoy themselves and the game ended in a stirring charge that nearly turned the tide in the Zulus' favor.
The Zulus suffered terribly for their heroics; the British column didn't make it even half way across the table. Therefore, the game was determined to be a draw, though both sides departed fervently believing that they had gotten the better of their opponent.
The objective was for the British column to make its way to the end of the table. The Zulus, on the other hand, were to stop them. It had been quite a long time since we have played these rules so we were rusty. I made the mistake of starting the opponents too far apart in light of the limited amount of time we had to play. Nevertheless, the kids seemed to enjoy themselves and the game ended in a stirring charge that nearly turned the tide in the Zulus' favor.
The Zulus suffered terribly for their heroics; the British column didn't make it even half way across the table. Therefore, the game was determined to be a draw, though both sides departed fervently believing that they had gotten the better of their opponent.
 |
| The Zulus enter the table. Their arrival and quality were determined by die rolls at the beginning of each turn. |
 |
| The British column at the beginning of the game. |
 |
| The Zulus move inexorably towards the red line. |
 |
| The two sides are almost at each other. |
 |
| Just prior to the awe inspiring charge of the decimated Zulu impi. |
Saturday, April 18, 2015
Shellbyville concluded
Turn 11- The struggle has become desperate at this point. Divisional commander Cash is pushing forward his last reserves in Herringshaw's brigade while Karas is pressing his men to attack the rebel right flank which is being held by the battered rookies of the 4th Va cavalry who have taken up a line at the edge of a wood.
At the bridge, the 3rd NY charges the 5th SC. The fighting becomes hand-to-hand. the 3rd is driven back, but they have bought time for the 118th NY to cross the bridge and form a line, but this fresh regiment of Heringshaw's is immediately disordered by well aimed cannon fire.
In the Confederate half of the turn, Dinwiddie tries to organize his men into an organized defense. As he is doing so, the 2nd NY Lt. Battery hurls forth another deadly fusilade. Dinwiddies is struck by a shell fragment and dies instantly. Now both infantry brigadiers are dead, leaving the foot soldiers leaderless.
Turn 12- Karas leads one of his regiments in a charge on the fragile 4th Va. The Virginians hold their fire until the last minute and surprise the yankee infantry with a stunning volley. When the smoke clears, Karas's horse is seen galloping off riderless. His men press on, but are only able to just barely push back the rebel cavalry.
At the bridge, General Freeman is desperately trying to give orders to the cowering men all around him. As he does, a reb cannon ball finds him and mortally wounds him. There is now no one to sort things out on the west side of the bridge.
Turn 13- Too much has been spent to turn back now, so divisional commander Cash makes his way to the chaos west of the bridge. He tries to rally the 108th Pa, but the men from the Keystone state have had enough and flee back across the bridge, leaving two thirds of their regiment dead on the field. One of Herringshaw's last regiments crosses the bridge in hopes of being able to tip the scales in the Union's favor, but the march column provides a delectable target for the southern gunners. Scores of men are knocked down including the bold General Cash.
And with his demise the battle ends. All of the Union's general officers have been killed in action. Freeman's brigade has suffered the highest number of casualties. Herringshaw's men have faired only slightly better. Karas's brigade is almost completely intact, but having no one to lead them can do nothing more than form a solid line in anticipation of the counter-attack that never comes. The 2nd NY Lt. Artillery still holds its excellent firing position, but is critically low on ammunition.
For the Confederates, their losses have been moderate. Culbert's cavalry has fought well and paid the price. Herringbone's South Carolina brigade will need to be pulled out of the line to refit. It will be up to Dinwiddie's Mississippians to hold the line until reinforcements can arrive. Shelbyville has been saved, but just barely.
The casualties for the battle were as follows:
Confederates
Purdy's Cavalry 360, including 2 guns
Herringbone's (k) Brigade 360
Dinwiddie's (k) Brigade 80
800
Union Cash's (k) Division
Freeman's (k) Brigade 880 (entire 6th NJ killed or captured)
Karas's (k) Brigade 120
Herringshaw's (k) Brigade 600
1600
The Union clearly paid a very high price in their effort to take Shellbyville. Though most of the yankees were either trained or green, they fought bravely. They suffered from the narrow approach to getting into the battle. The Confederates, on the other hand, had the advantage of the higher ground and could find cover in the defense. The most significant statistic, however, is the number of general officers that were lost on both sides. I have never had such a staggering percentage of commanders fall in the same battle.
Final thoughts- This was a fun battle. The random arrival of troops added an element of suspense. The biggest problem for the Union was that they just had one crossing point. That bottleneck proved to be their downfall. The Confederate cavalry was hard pressed, but managed to tie up the yankee infantry long enough for help to arrive.
The Union artillery was splendid. Time and again it bested its southern counterparts and then punished any infantry that tried to take up a position overlooking the bridge. But the Confederate gunners certainly got in their licks, and three "10's", though depleting their ammo, also took out three yankee commanders. And that was the real difference in the game.
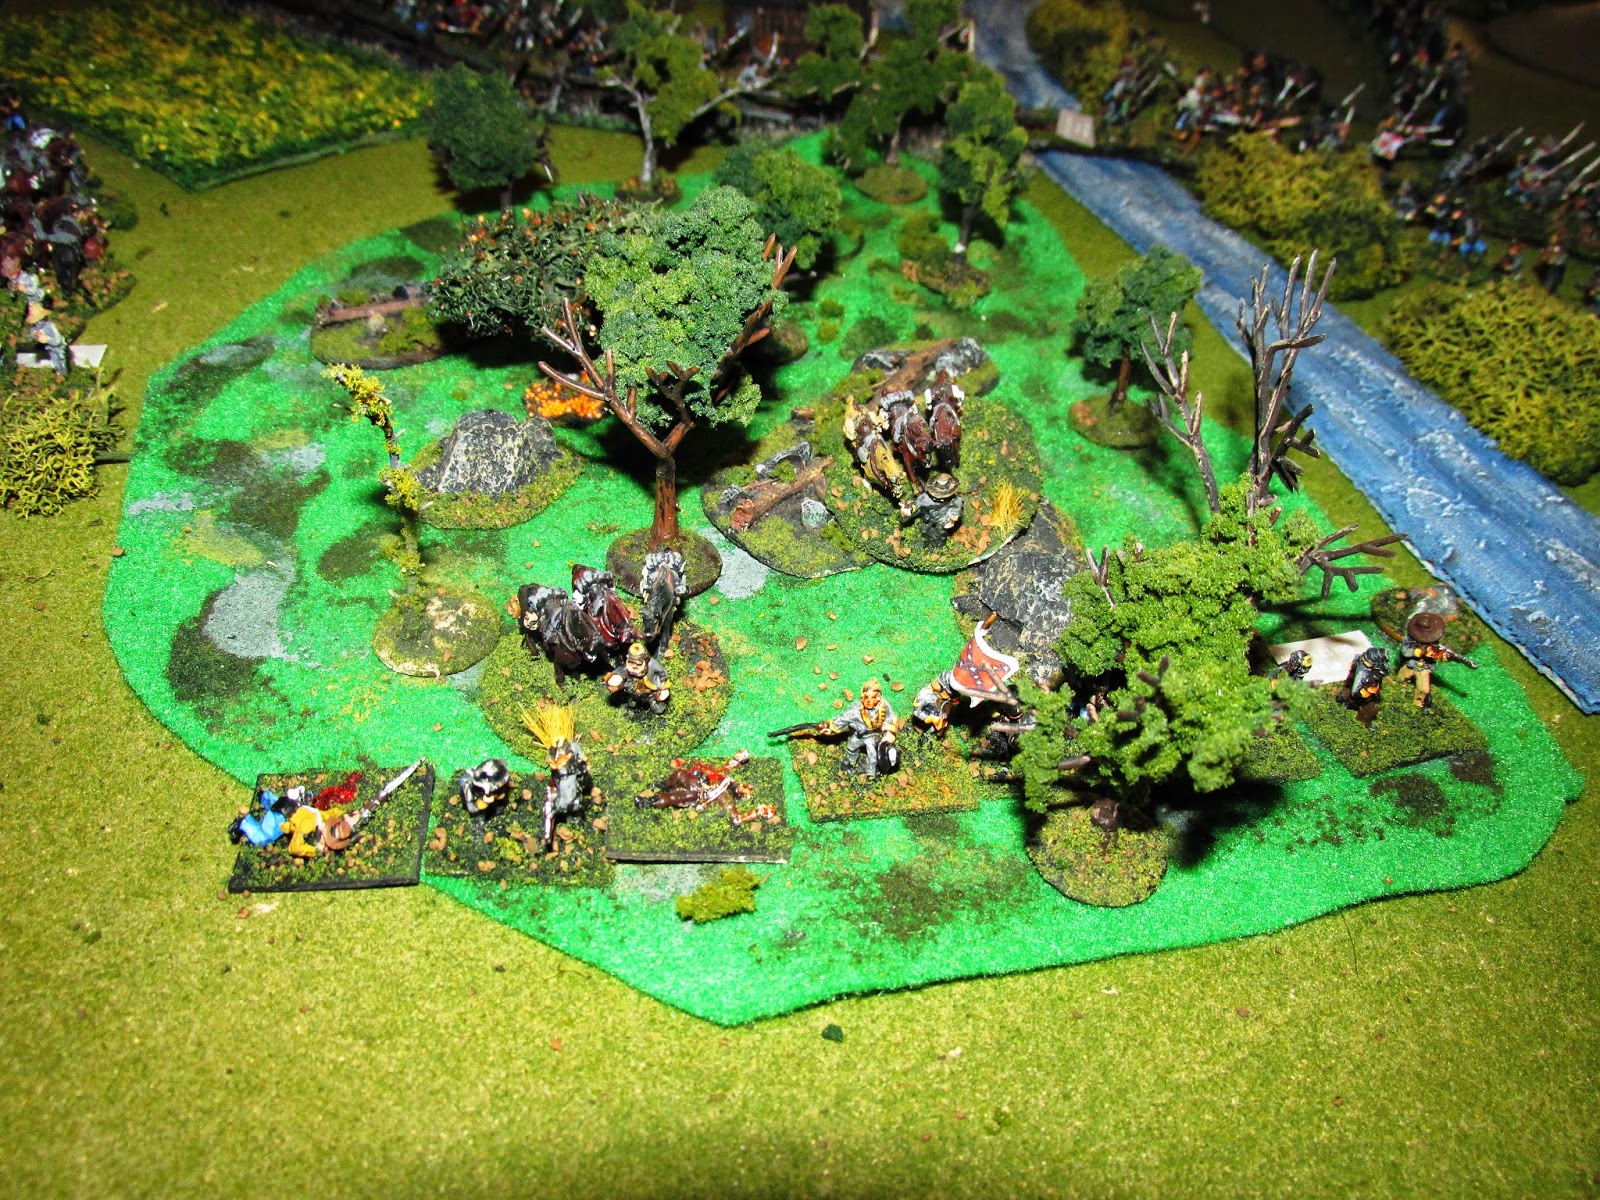 |
| The depleted 4th Va holding the wood |
 |
| Karas's men unleash a volley that does still more damage to the 4th Va |
 |
| After the repulse of the 3rd NY, the 19th MS is able to go into line of battle |
Turn 12- Karas leads one of his regiments in a charge on the fragile 4th Va. The Virginians hold their fire until the last minute and surprise the yankee infantry with a stunning volley. When the smoke clears, Karas's horse is seen galloping off riderless. His men press on, but are only able to just barely push back the rebel cavalry.
At the bridge, General Freeman is desperately trying to give orders to the cowering men all around him. As he does, a reb cannon ball finds him and mortally wounds him. There is now no one to sort things out on the west side of the bridge.
 |
| The moment when Dinwiddie is killed at the head of his Mississippians |
 |
| The 9th SC blazes away at Karas's men |
 |
| The carnage just west of the bridge |
 |
| The success that cost Karas his life |
 |
| The rebel battery rolls a "10" |
 |
| Cash rolls a "10" on the leader loss chart. He is killed instantly |
 |
| The Union left flank is secured |
For the Confederates, their losses have been moderate. Culbert's cavalry has fought well and paid the price. Herringbone's South Carolina brigade will need to be pulled out of the line to refit. It will be up to Dinwiddie's Mississippians to hold the line until reinforcements can arrive. Shelbyville has been saved, but just barely.
The casualties for the battle were as follows:
Confederates
Purdy's Cavalry 360, including 2 guns
Herringbone's (k) Brigade 360
Dinwiddie's (k) Brigade 80
800
Union Cash's (k) Division
Freeman's (k) Brigade 880 (entire 6th NJ killed or captured)
Karas's (k) Brigade 120
Herringshaw's (k) Brigade 600
1600
The Union clearly paid a very high price in their effort to take Shellbyville. Though most of the yankees were either trained or green, they fought bravely. They suffered from the narrow approach to getting into the battle. The Confederates, on the other hand, had the advantage of the higher ground and could find cover in the defense. The most significant statistic, however, is the number of general officers that were lost on both sides. I have never had such a staggering percentage of commanders fall in the same battle.
Final thoughts- This was a fun battle. The random arrival of troops added an element of suspense. The biggest problem for the Union was that they just had one crossing point. That bottleneck proved to be their downfall. The Confederate cavalry was hard pressed, but managed to tie up the yankee infantry long enough for help to arrive.
The Union artillery was splendid. Time and again it bested its southern counterparts and then punished any infantry that tried to take up a position overlooking the bridge. But the Confederate gunners certainly got in their licks, and three "10's", though depleting their ammo, also took out three yankee commanders. And that was the real difference in the game.
Subscribe to:
Posts (Atom)