I was able to get all of my completed units on the table today for a much more serious play test of my rules. For the most part, I liked how the game flowed and felt the rules captured the feel of the period. On the other hand, I also saw the need to modify the command portion of the game. I just had too many fails as you will see in the report below. I also made some changes to the mele modifiers. Any unit charging gets a +1 to their die rolls, clans in column and cavalry get +2. Here is an account of the battle before these rules changes were made.
Turn One- The Jacobites were to be the aggressors. All but Macdonald and his highlanders advanced towards the enemy. Macdonald's men, despite being the most elite in the army, were rather reluctant to come to grips with the king's men. (too many high activation rolls.) Lord Murray's Atholl brigade was able to move within cannon range of the Government forces on the hill and suffered the first casualty of the game.


Turn Two-
Lord Murray quickly put his battalions into line. Olgilvy's men advanced to support Murray's left flank. For a second straight turn, Macdonald's highlanders refused to move.
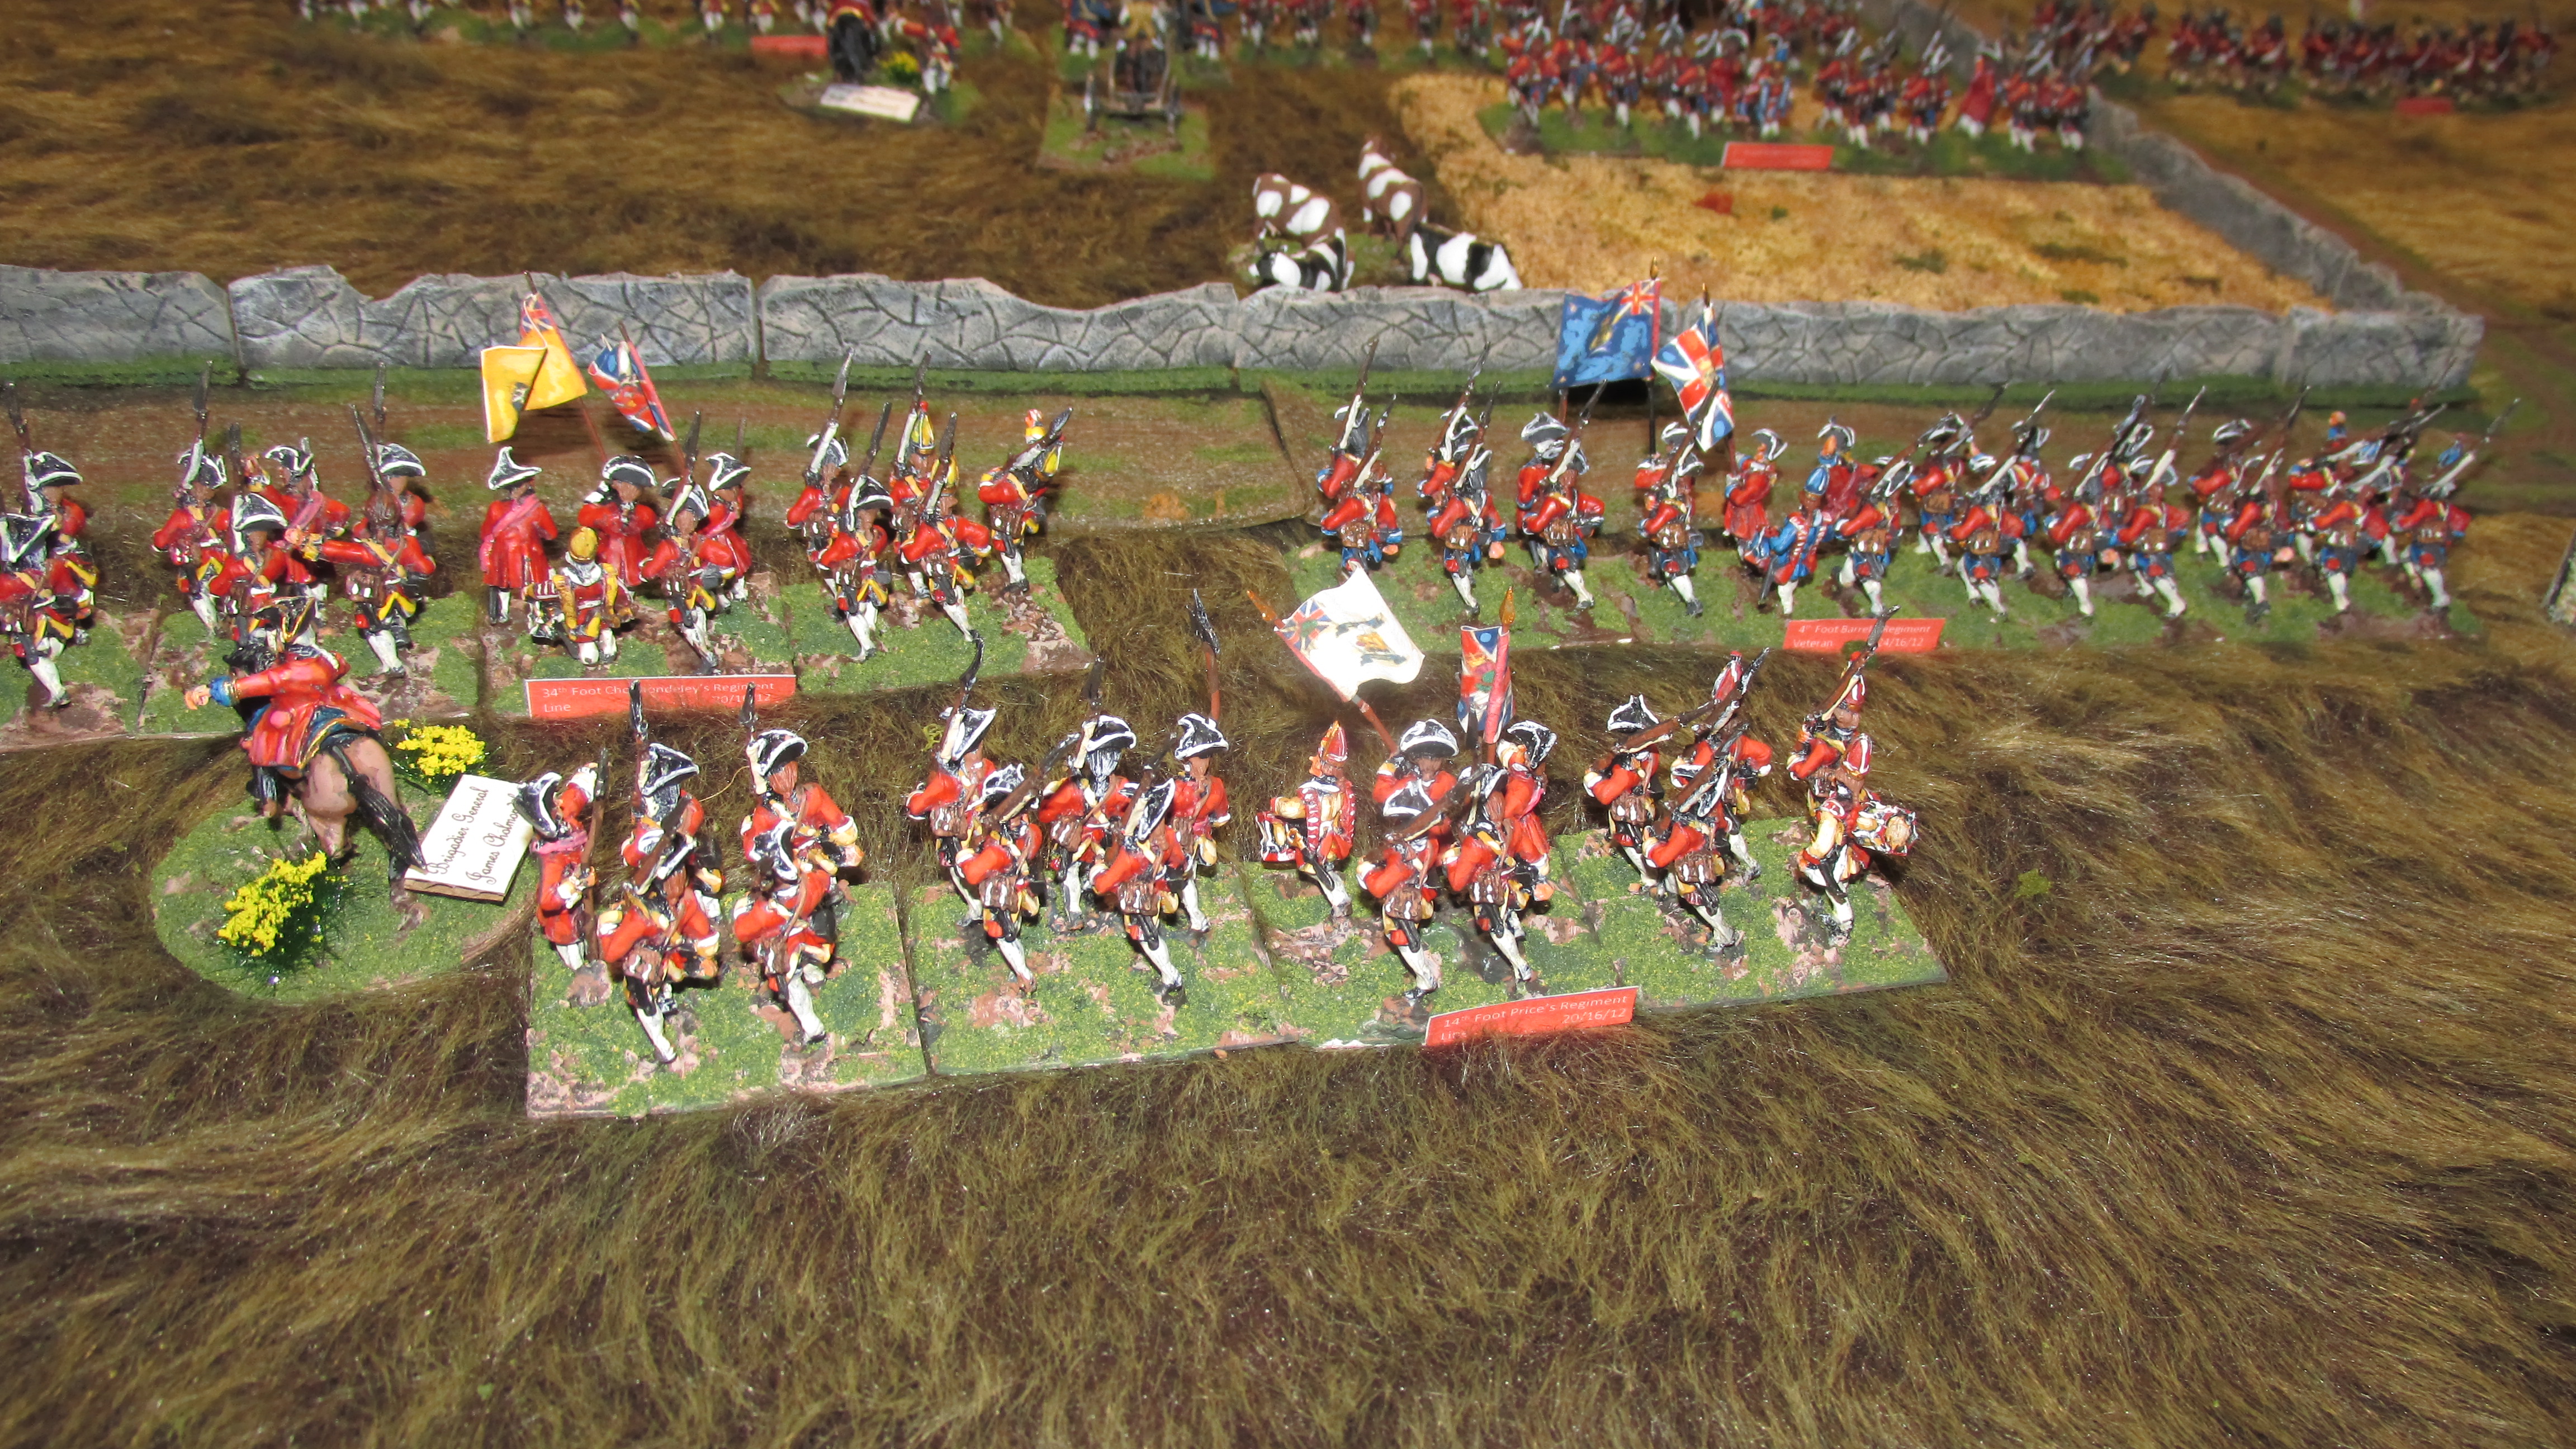
On the Government side,Cholomedely moved his brigade into the protection of a stone wall to his front.
Turn Four-
The Atholl Brigade began its advance towards Campbell's loyalists holding the hill. Olgilvy came up in support on his left. Macdonald finally got his men off theirs and on theirs.
Turn Five-
Volleys begin to thunder as Murray's Atholl brigade engages Campbell's men. At long range, not much damage is done. The Royal Ecossais move up in line to support Murray's attack. Macdonald is also moving closer to the Government left.
Turn Six-
Murray's attack goes in. Men begin to fall as musketry and cannister blast away at the advancing Jacobites. Legonier orders his 14th Dragoons to support Campbell's line. Macdonald gets two of his battalions, those of Barisdale and Keppoch, across the hedgerow and within striking distance of the Government left.
Turn Seven-
Macdonad's highlanders hunker down and advance through the murderous fire of Pulthey's regiment of foot. The 14th Dragoons rather foolishly tried to charge the Ecossais regiment and lost a quarter of their men for the attempt.
Turn Eight-
Barisdale and Keppoch plunge into Pultnet's veteran infantry. The combat is hand to hand. Pultney's men are driven back 3", but the Scots have paid dearly for their success. On the other flank, Murray is exhorting his men up the hill to try to dislodge the loyalist regiments holding it.
Turn Nine-
Murray's men, depite suffering significant casualties, are able to drive back Campbell's men. On the other flank, Pultney's regiment stoutly holds its position and forces the clans fo Barisdale and Keppoch to retire 9". The Locheil regiment also charged, but was turned back by Sempfill's regiment and the Royal Artillery.
At this point I called the game. I learned a lot and will make some changes to the command and mele sections of the game. It's all good. I am having a blast! Your input is much appreciated. Please leave your comments below.


Great batrep! It looks like a very bloody encounter. Planning on doing the same in 15mm - got the minis (mostly) but need to finish off a few other projects first.
ReplyDeleteOut of curiosity, you might want to check out the Battle of Prestonpans campaign vlogs on YT! They've got some great ideas.
The minis look dashing!