 |
| I have played multiple game of Sharp Practice, yet this is the first time that the Tiffin chip was pulled first! All of the units automatically became reloaded. |
Turn 8: This was a very bloody chapter in the game. The zouaves were able to fire first. This did terrible damage to the three rebel groups opposite them. Two had to fall back and the formation was broken, resulting in the loss of three points on the moral table.
 |
| Close ranged volleys rip the rebel groups apart. |
 |
The jubilant zouaves celebrated too early, however, as at the end of the turn two rebel groups, concealed in the woods, blasted the flank of the formation. At this range, the Confederates could hardly miss. Several sixes were rolled and the colorful ranks were thinned considerably.
|
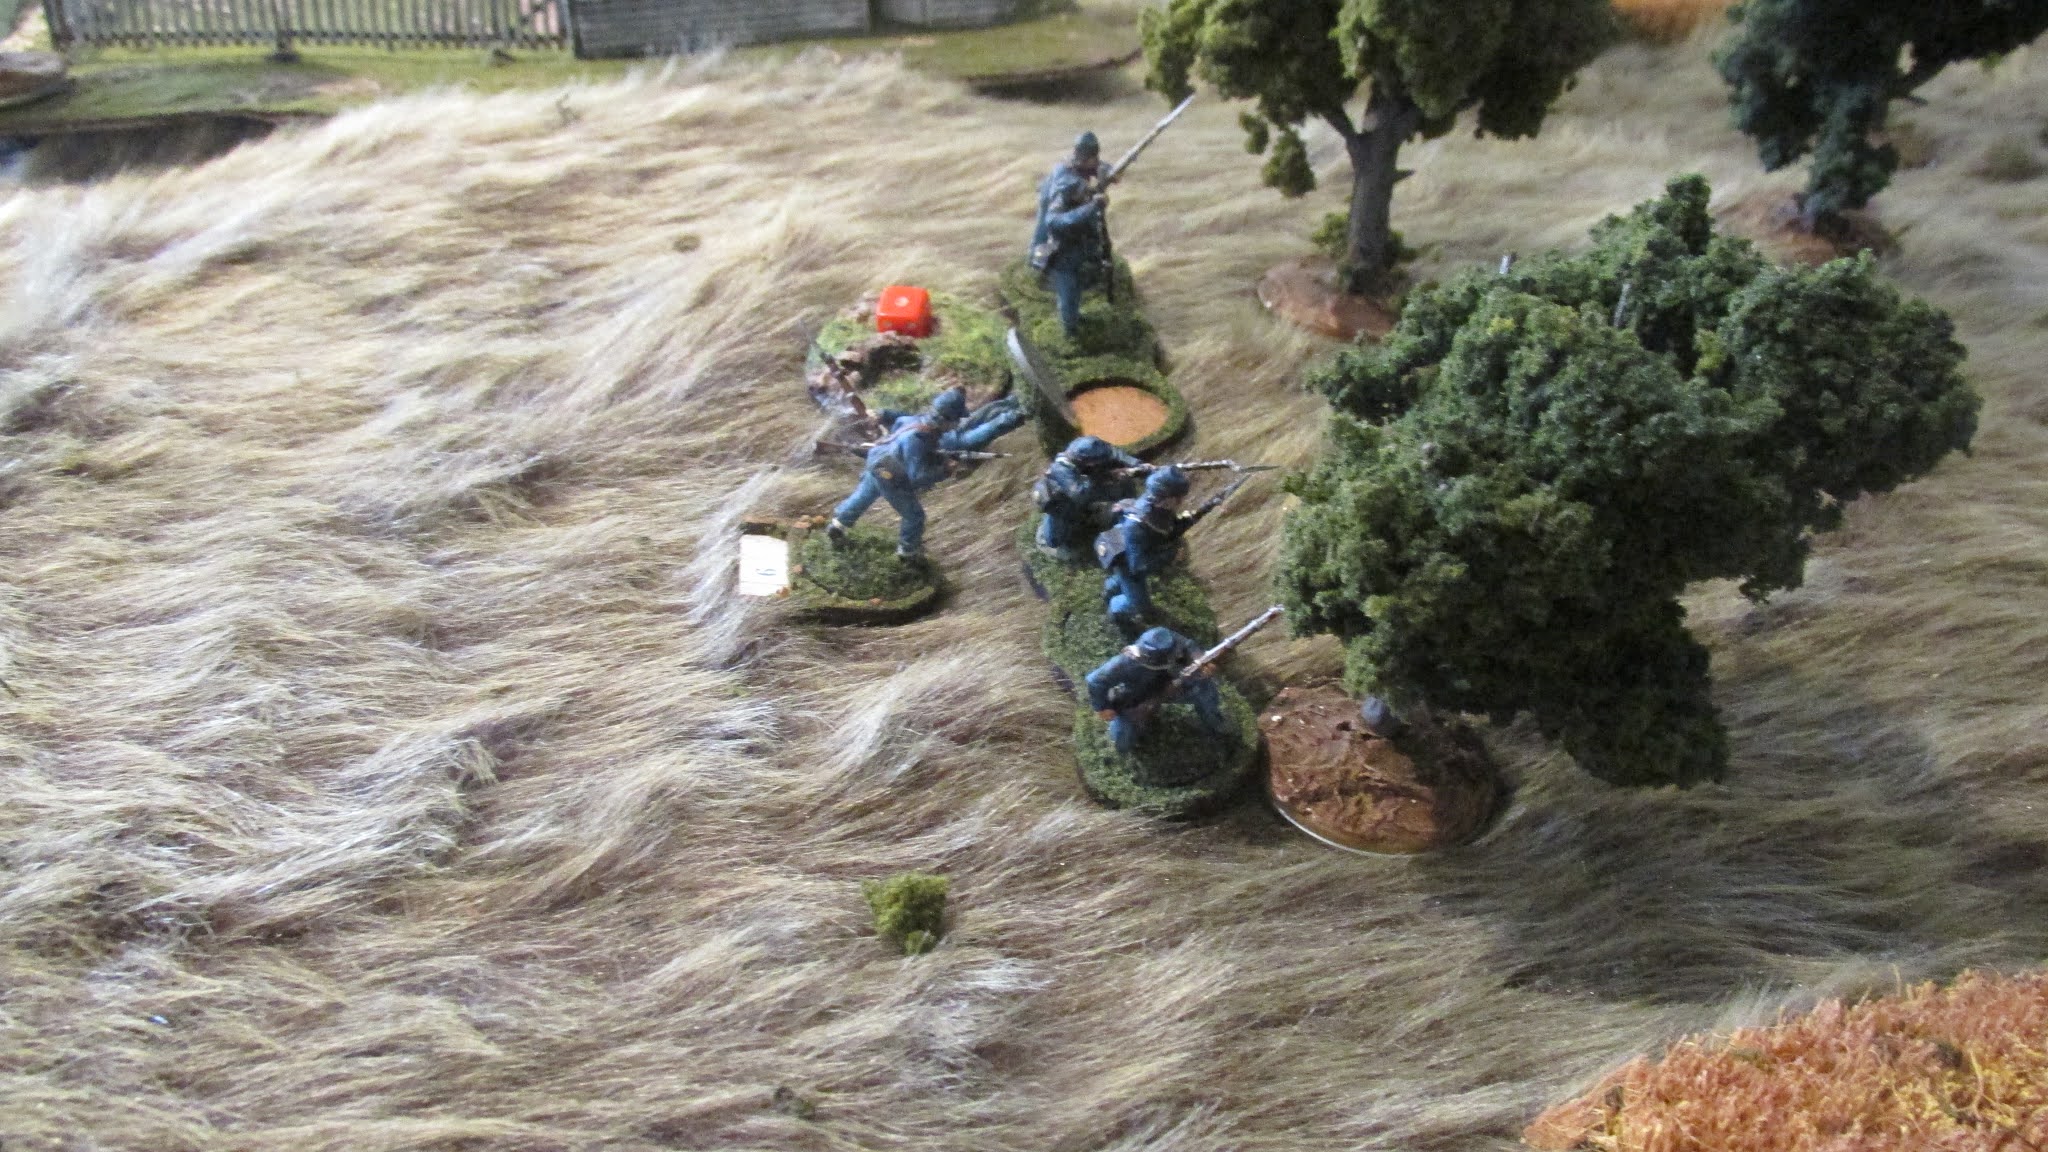
In the woods behind the Miller farm, the rebels got the jump on a lone group of Union skirmishers. The group's leader was knocked out, but no loss of morale occurred.
 |
| Two groups of Confederate skirmishers fire at their yankee counterparts. |
 |
| The blue clad unit sustains considerable losses, including its leader. |
The last action of the turn saw the Union gun fire at a column of rebels rushing forward to support the crumbling line. The packed formation resulted in severe losses to the rebels.
At this point it would appear that the Confederates are in trouble. Their main battle line has been shredded, and numerous Union groups are pouring forward to reinforce the zouaves. Can the rebs regroup in time?


No comments:
Post a Comment